How to Use and Create LUTs in Photoshop for Creative Effects
Want an easy and quick way to give a whole new look to your images? Look no further than LUTs!
For the following Los Angeles city scape photo I did most of the edit in Capture One 12, including adding some clarity, playing with the color balance, using the color editor for the magenta/teal color grade, and adding some film grain. I'm actually very happy with how the image looked without a LUT applied, but I still wanted to play around to see what else could be done to the image.
In the following before and after, the before version is the version edited using Capture One, and then the after version is the version edited using Photoshop to add a LUT:
Before / After:
Let’s now get started with using and creating LUTs in Photoshop, but first let’s go over what LUTs are…
What is a LUT?
A LUT, short for Look Up Table, is a method of color grading that has been used for a long time in video editing. What many people don’t know if that LUTs can also be used for photo retouching using Photoshop. Basically they are files that give instructions on how to map colors to other colors in video footage or photos. LUT files therefore make it easy to apply a whole color grade process in one click. People have generated LUTs to achieve all kinds of looks, and Photoshop even comes loaded with just under 30 LUTs that you can use right away.
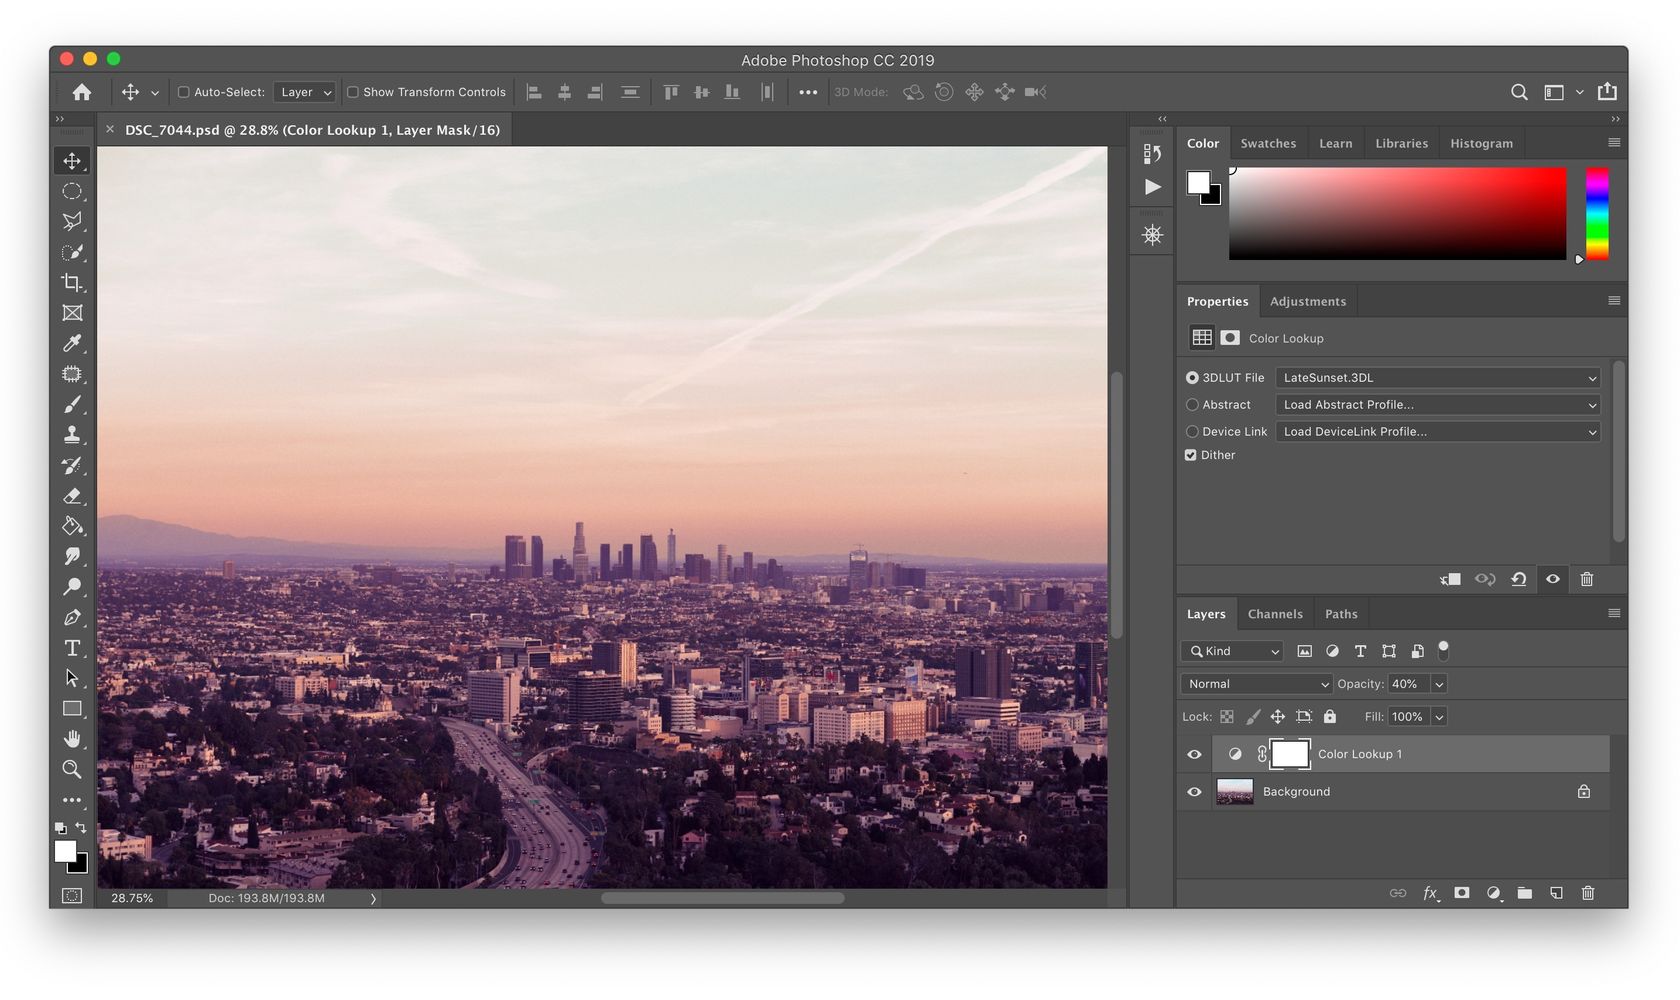
In fact, for the final color effect in the image from this post, I used a LUT that comes by default with Photoshop called LateSunset. It’s appropriate because I took this shot just a few minutes after the actual sun set.
Using LUTs
Using LUTs in Photoshop is easy as pie 🥧, and there’s only one step involved:
- Add a new Color Lookup adjustment layer and, under 3DLUT File chose a LUT that fits your needs.
Now, some of them are pretty intense, so try reducing the opacity to see how they would look. For this image, I could see that the LateSunset LUT had some potential, but it’s only when I reduced the opacity of the Color Lookup adjustment layer to 40% that it actually looked right.
That easy!

Some LUTs will look better on low-key images, while others work better on high-key ones. Others still will work well only for images that already have a particular feel or tonal range. Until you become used to the different LUTs you use, it’s really a process of trial and error to find the correct fit. In fact, I wish there was an easy way to switch between them in quick succession, it would make it faster to try different ones.
Free Photoshop LUTs
Even if Photoshop comes loaded with some great default LUTs, there are plenty more available in the wild for all kinds of effect. Basically, videographers and photographers have been creating LUT files for a long time, and some are making them publicly available for free online. You’ll also find professional packs out there available for a fee, which can be worth it for the increase in productivity/creativity that good quality LUTs can give you.
Some of the great sources for free LUTs that I’ve found are Lutify.me, On1 and RocketStock.
Once you’ve gone ahead and downloaded some LUT files, follow along with the next section to learn how to load and use them in Photoshop.
Loading External LUTs
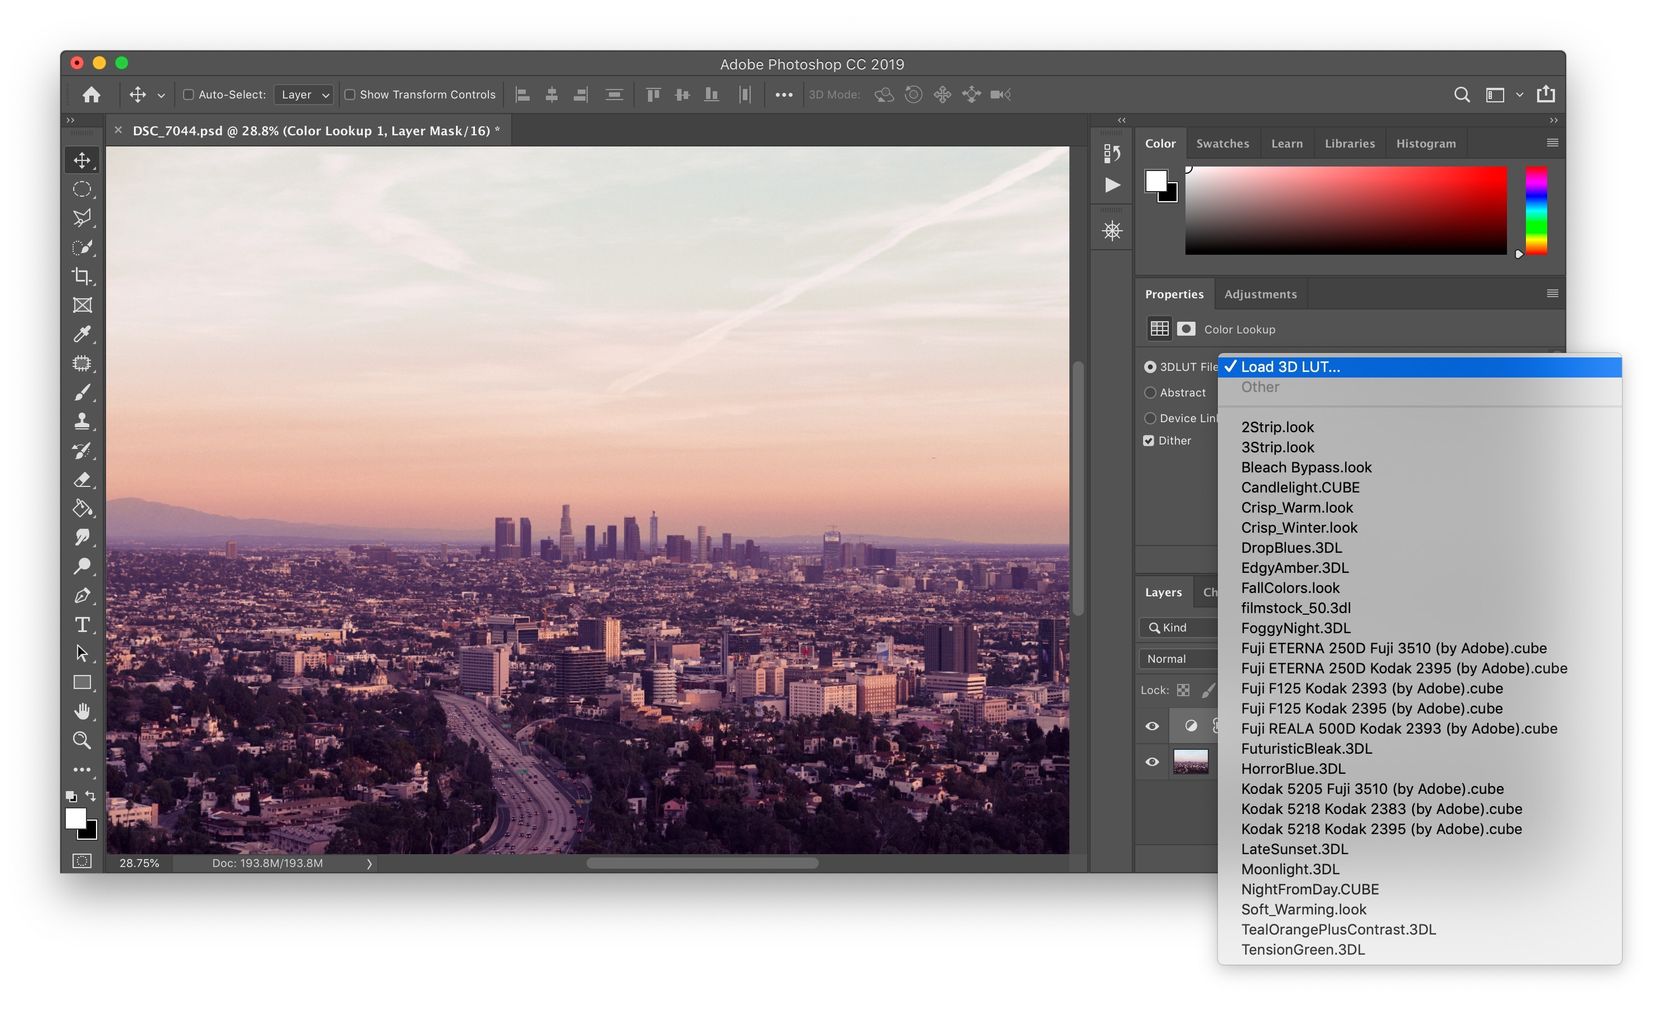
You can load a LUT once by selecting Load 3D LUT from the 3DLUT File menu in the Color Lookup properties:

That can quickly become pretty tedious though for LUTs that you tend to use frequently. To install them permanently into Photoshop, just drop your LUT files in the Photoshop folder for them:
- On a Mac: Find in under Applications > Photoshop CC 2019 > Presets > 3DLuts
- On Windows: Find it under Program Files > Photoshop CC 2019 > Presets > 3DLuts
And now the LUTs you’ve put into that folder will show up in Photoshop in the dropdown menu from the Color Lookup properties panel along the default ones that were already there.
Creating Your Own LUTs
Using available LUTs is all well and good, but what if you want to create your own with specific adjustments that you like to make to your images? Well that’s easy to do too in Photoshop! Basically, you can turn a bunch of adjustment layers into a LUT file that you can then use for future photos in just one click.
Here’s how to do it:
- For the image you’re working on, make sure there’s only one layer for the image and that it’s a locked/background layer. If it’s not a background layer, just go to Layer > New > Background from Layer.
- Add your adjustment layers and tweak their settings as you would when you’re doing a normal edit. Make sure only adjustment layers are added.
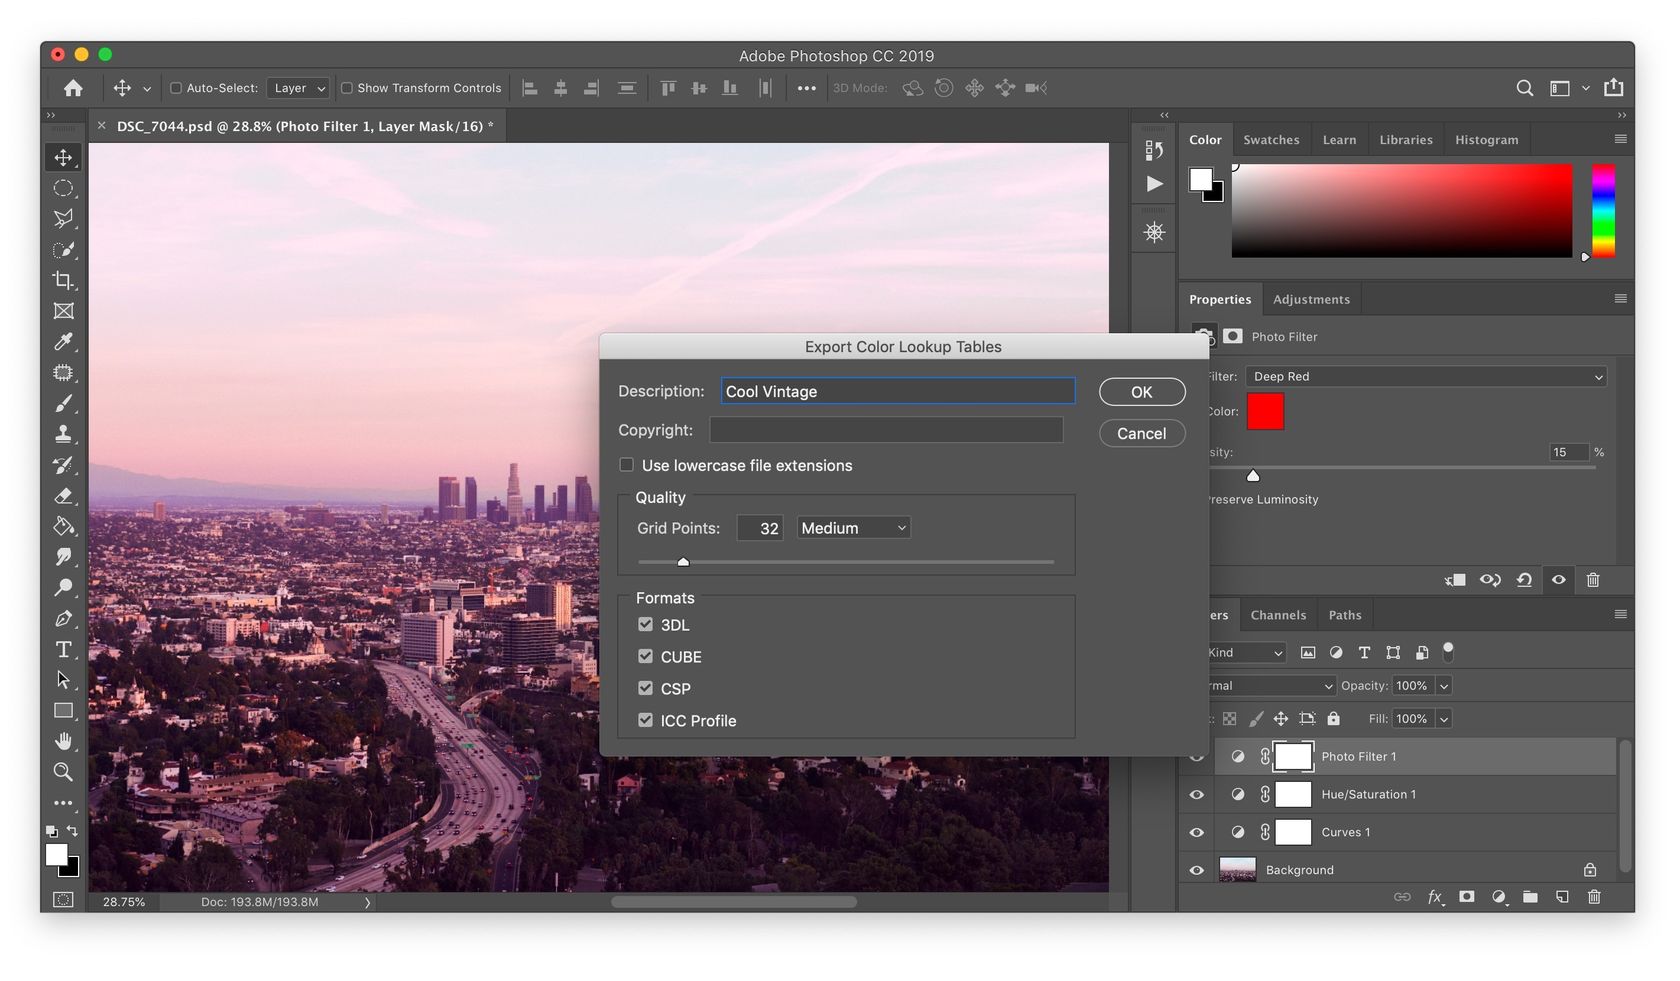
- Now go to File > Exports > Color Lookup Tables. The LUT export dialog will appear.
- Give it a name/description, a copyright holder if you plan on publishing it, and you can leave the rest to the default values. You might be tempted to change the quality to Maximum, but the LUT file that will be create would be really large, and usually a quality of Medium works perfectly.
- Now just click OK and choose where you want to put your LUT file.

And that’s it! You now have a LUT file that you can load manually or add to the list of LUT files that Photoshop loads, and you can use it whenever you need it for future images.
🌄 Image info:
- Camera: Nikon D800
- Focal length: 70mm
- Shutter speed: 1/100s
- Aperture: f/9
- ISO: 250