Recreating Instagram's Amaro Filter in Adobe Photoshop
Amaro is a popular filter on Instagram that increases the brightness, adds blue tints in the shadows and yellow tints in the highlights. Here I recreated an effect similar to the Amaro filter, while tweaking values a bit so that it would look especially good on the image I used.
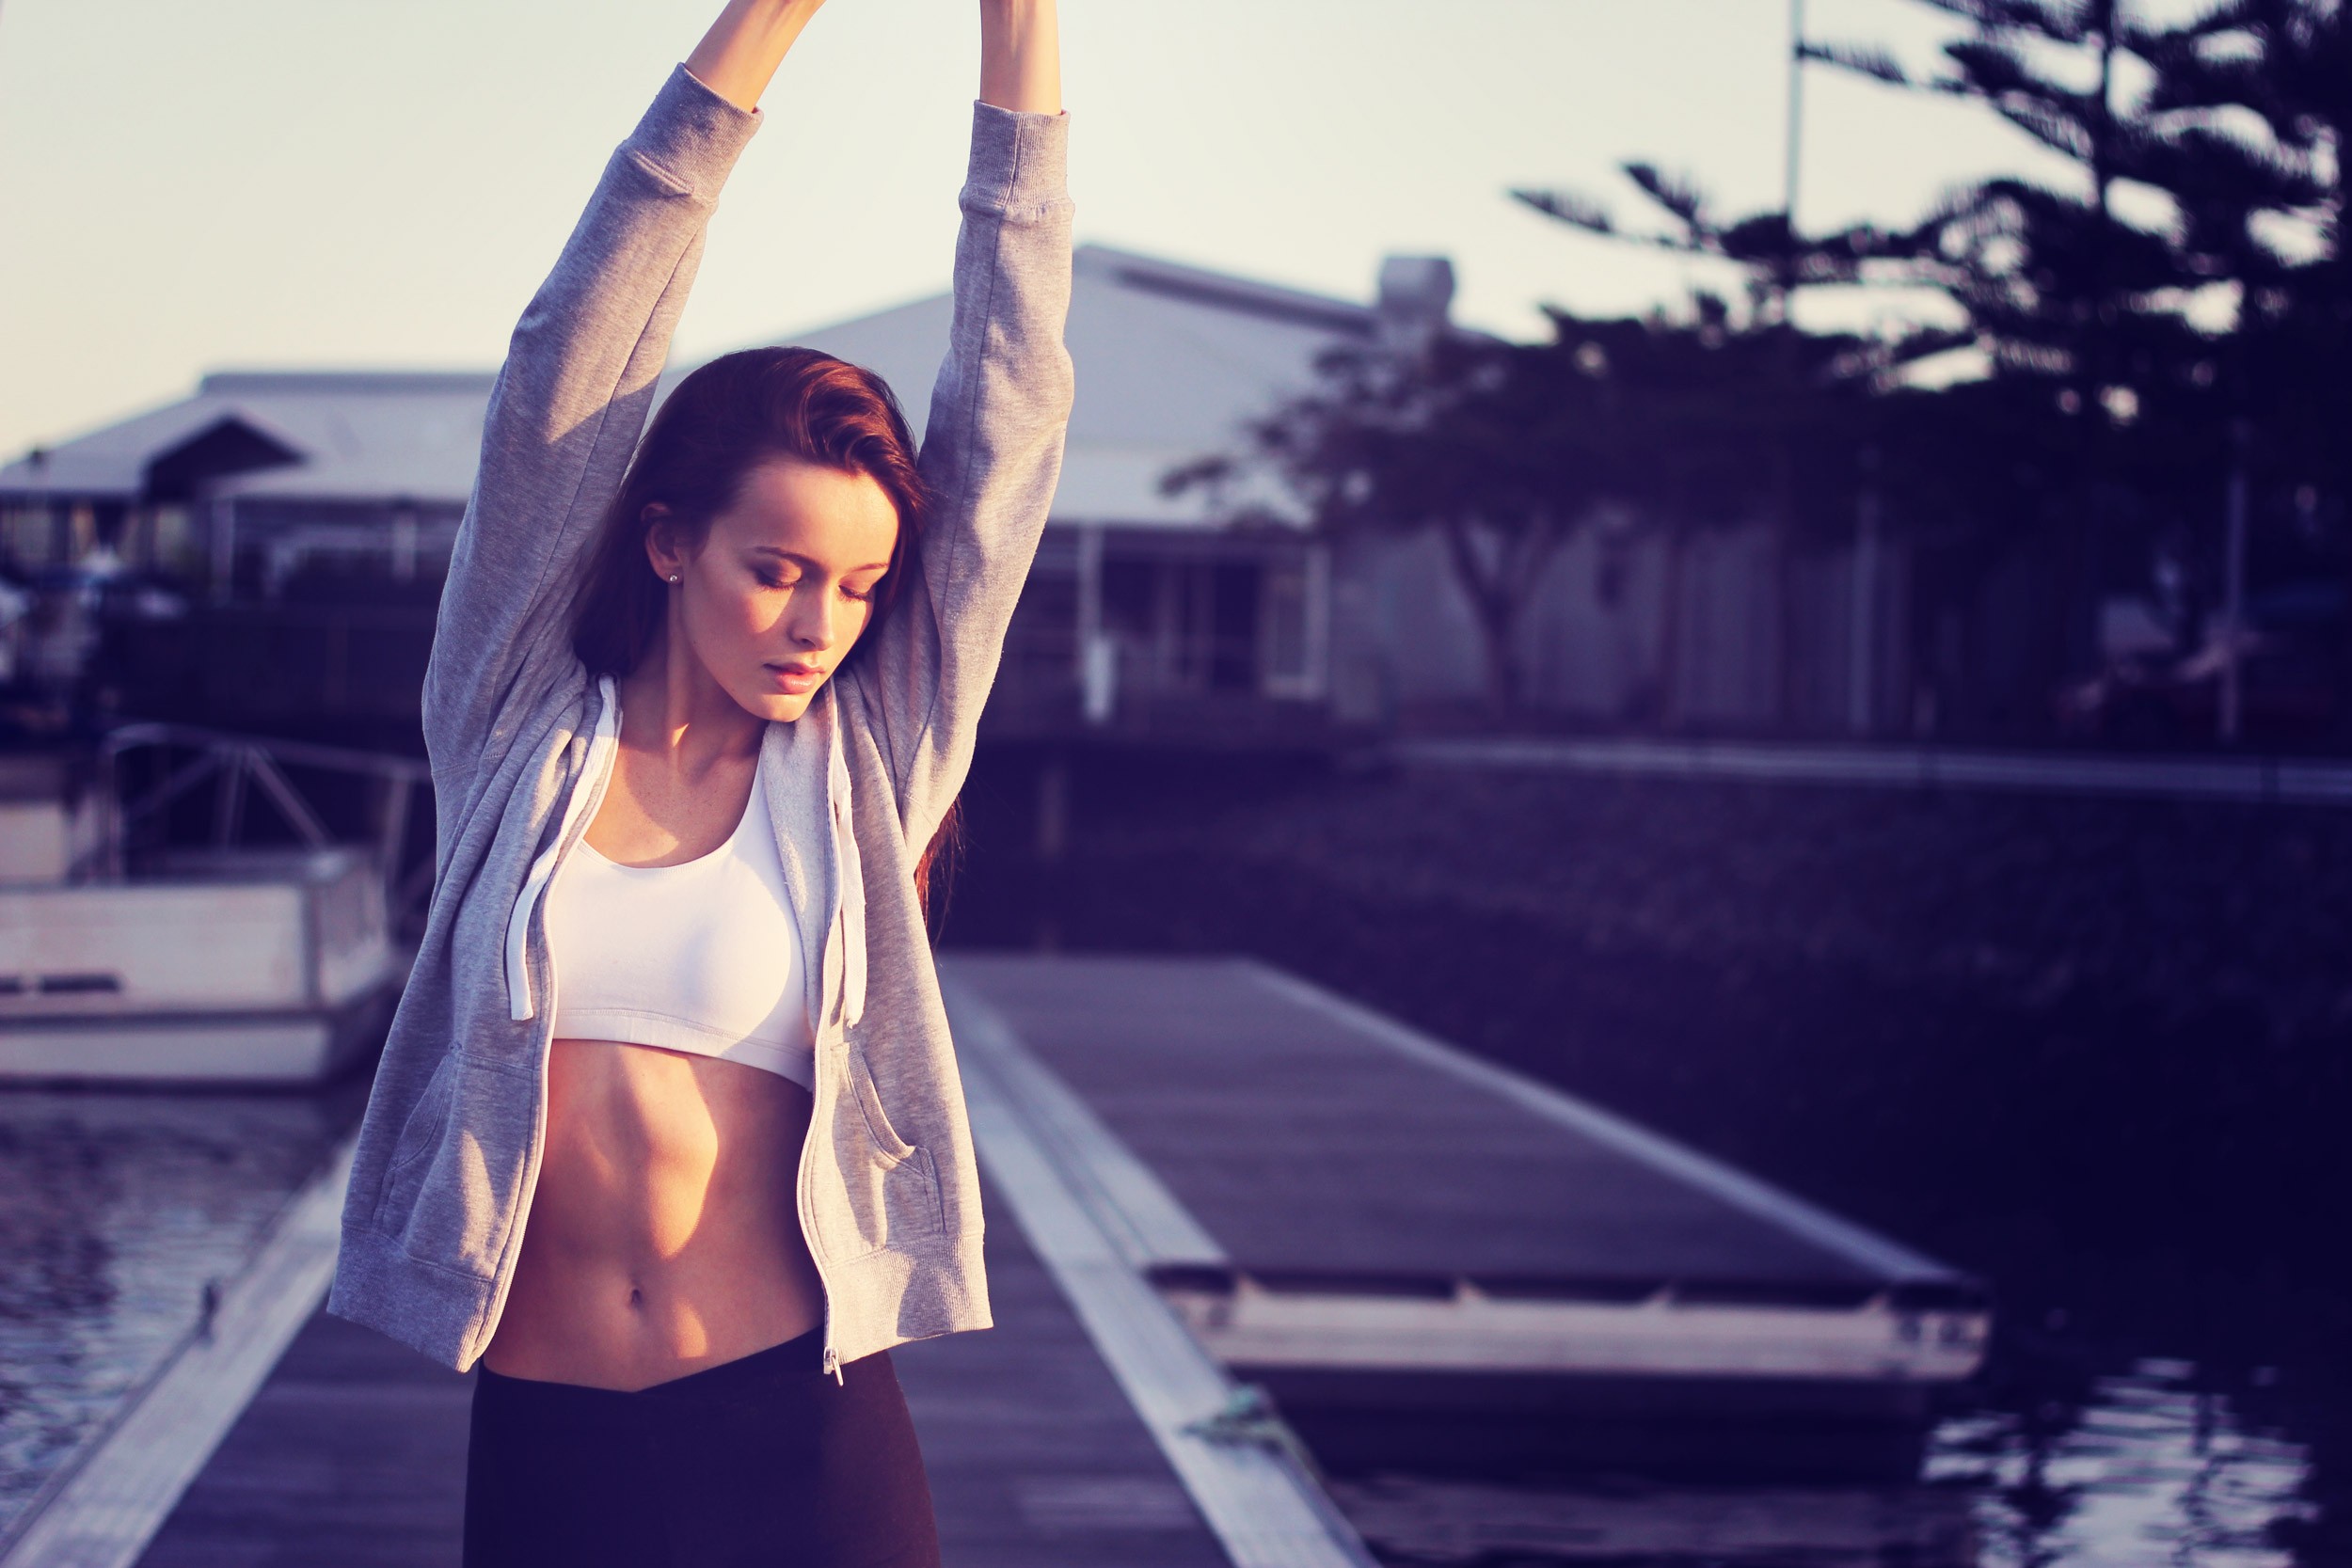
Before / After:
Photo by Christopher Campbell, free to use
1- Brightness
Let’s first increase the brightness of the image:
- Create a Brightness/Contrast adjustment layer.
- Set the Brightness value to something that looks good. Here I used a value of 40.
- Still in the same adjustment layer, I also increased the Contrast to 25.
2- Color Fill
Now let’s add a yellow tint in the highlights:
- Create a Color Fill adjustment layer.
- Select a very pale cream/yellow color. Here I went with #fffae4.
- Set the blend mode of the adjustment layer to multiply.
3- Levels
Some blue tints in the shadows and a slightly faded effect:
- Create a Levels adjustment layer.
- Increase the 1st output level to something that looks good to fade out the blacks. Here I used a value of 20.
- Now select the Blue channel.
- Set the 1st output level for the blue channel to something that looks good. 65 in this case.
4- Color Balance
Final tweak for the colors. For this you’ll want to play around to see what looks best with your particular photo:
- Create a Color Balance adjustment layer.
- In the Midtones, I increased the Red value to +20, decreased the Green value to -10 and decreased the Blue value to -10.
5- Vignette
Finally, let’s create a vignette using a color fill adjustment layer:
- Create a Color Fill adjustment layer.
- Set the color to a dark blue, here I used this color: #111438.
- Click on the layer mask associated with that adjustment layer and hit Cmd+I Ctrl+I to invert the colors and effectively conceal the whole effect.
- Using a Soft White Brush → B, paint around the edges of the photo to create the vignette effect.
- Apply a Gaussian Blur ( Filter > Blur > Gaussian Blur ) to the layer mask, so that the effect blends more naturally.
Done! Only 5 adjustments and the Amaro-inspired look is recreated using Photoshop. The good thing compared to using Instagram for this is that you have more fine grain control to make the effect work well for the picture you're using.
🌄 Image info:
- Camera: Canon EOS 60D
- Focal length: 50mm
- Shutter speed: 1/1200s
- Aperture: f/2.625
- ISO: 200