Exploring New Features in Capture One 12
Capture One by Phase One is already an amazing piece of software, and now it just got even better with the release of Capture One 12.
Besides some minor, but very welcome new features like a redesigned UI with larger fonts and performance improvements, Capture One introduces a bunch of completely new features. We get the luma range masking tool, a radial gradient mask tool, an improved linear gradient masking tool and a plugin system.
Before / After:
Luma Range Masking
Luma range masking is a new way to mask parts of an image depending on the luminosity. This means that it’s now super easy to mask only specific levels of shadows, mid-tones or highlights. This makes it really easy to adjust shadows and highlights independently and to recover lost details.
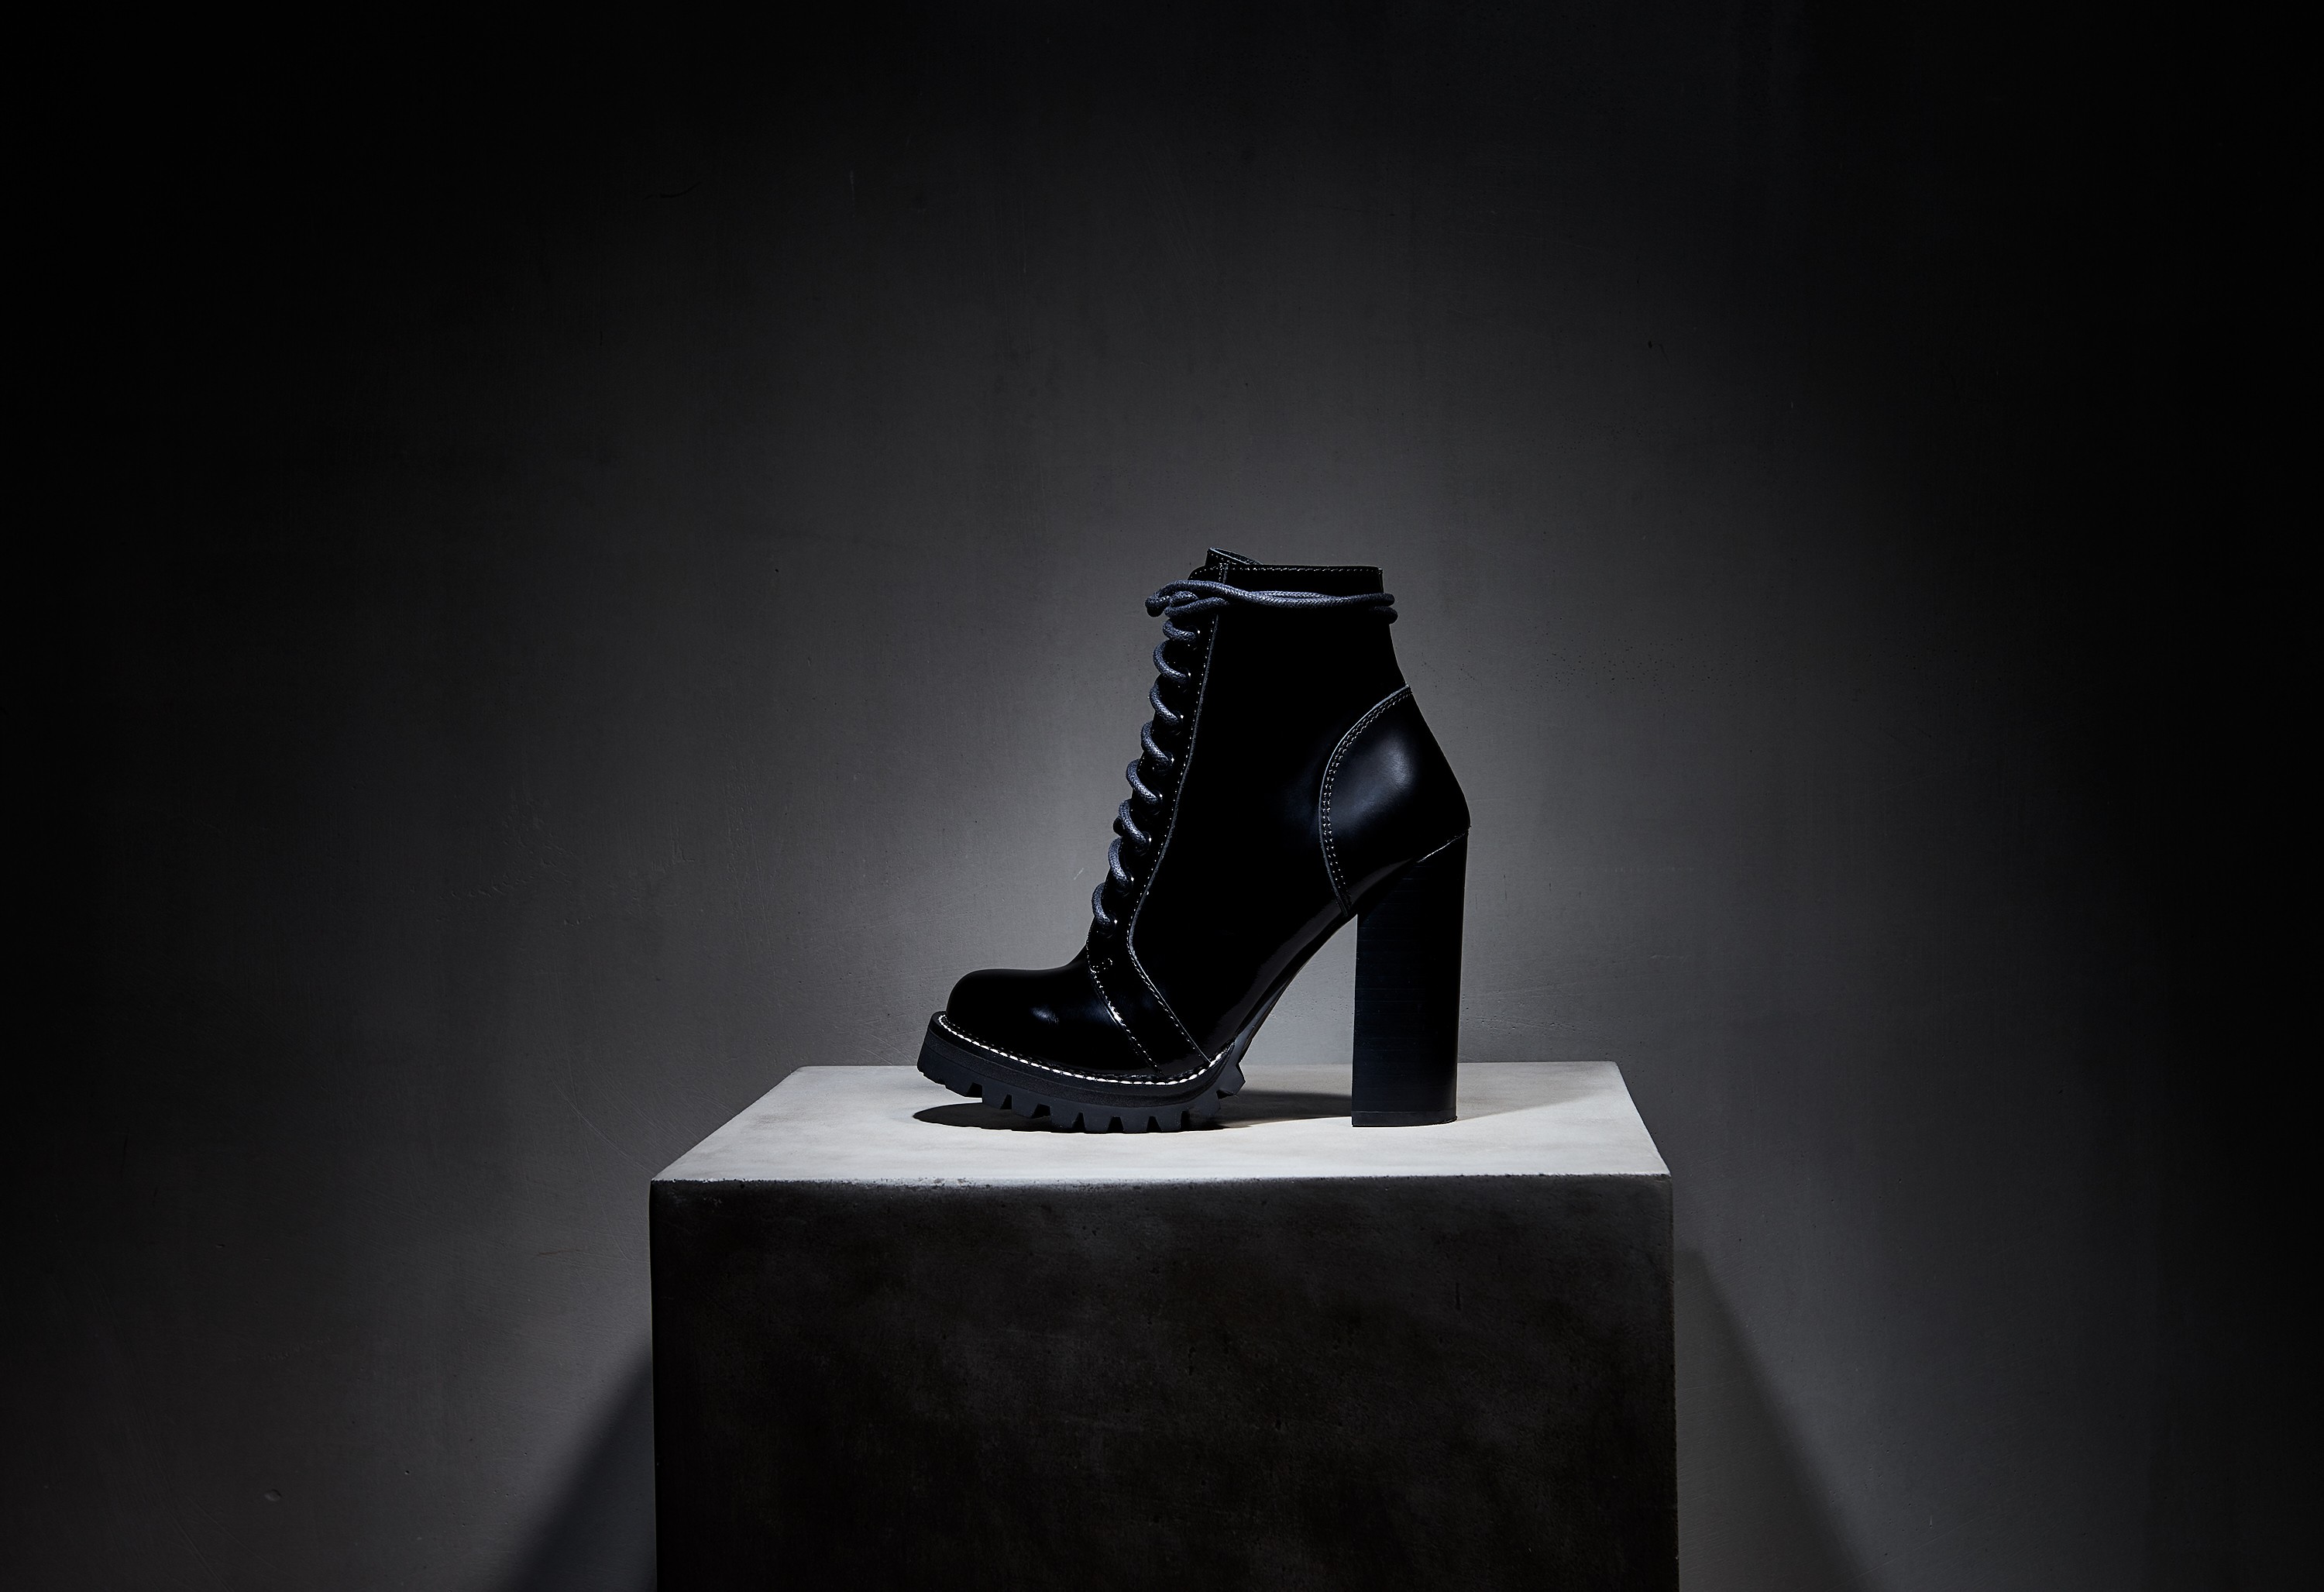
With the example picture in this post, it turns out that most the details in the blacks of the boot were completely lost, but it ended up working well for the dramatic shot.
Let’s go over a simple example where I’d want to select only the very dark tones in the boot.
- First, in the layers panel, add a new filled layer. The filled part is important here because the luma range mask selection will only work if there’s something masked to start with.
- You can hit M to view what the mask affects.

- Now click on luma range…
- You’ll get the brand new luma range selection dialog. By default the very extremes in the shadows and highlights are not selected. As you can see from the range tool, the shadows and highlights are feathered:

- Let’s change our range to select only the darkest of the darkest values.
- You can also play around with the radius and sensitivity of the tool to fine tune how the masking is applied, but here the default values worked out:

- Now only the blacks in our boot are masked, but blacks are also present in the image in the corners for example. That’s easy to fix using the erase mask tool.
- Plus, you can hit Option+M Alt+M to see exactly where the mask is active:

And there we have it, only the blacks in our boot are masked, and we can apply specific adjustment if needed:

Linear Gradient Masking
The linear gradient mask has been around already, but with version 12 of Capture One it’s now improved. You can now change the rotation angle and tweak the falloff of the mask:

Some tricks:
- Hold the shift button while rotating to constrain the rotation.
- Change both falloffs at the same time by holding shift and moving one of the falloff lines.
- Change just one of the fallows by holding option or alt and moving the desired falloff line.
Radial Gradient Masking
Another new and highly anticipated tool is the ability to apply a radial gradient mask, which can be tweaked, moved, rotated, resized.

Just like with the linear gradient masking tool, you can adjust the falloff by holding shift or alt. By default the mask will be on the outside of the radial gradient, but you can right-click before drawing your gradient and select Draw Inside Mask for the opposite:

Plugin System
It’s now possible to develop plugins that extend and add functionality to Capture One.
Wrapping Up
That wraps up our post on some of the major highlights for Capture One 12. If you’re new to Capture One, or would like to dig deeper, their Youtube channel offers some great video tutorials.
Example Image
For the image used in this post, just a few things were tweaked to arrive at the final result:
- Lowered the white balance for a cooler look
- Added some contrast under the Exposure panel
- Added quite a bit of clarity for extra details in the mid-tones
- Used the spot removal tool to remove some little fragments of white dust that caught the light on the boot.
I also finished up the image in Adobe Photoshop for some extra sharpening using the high pass filter.
Gear used
If you’re curious, here’s a breakdown of the lighting gear that I used:
- Godox AD600Pro monolight with a gridded magnum reflector as the key light
- A handheld Nikon SB-910 speedlite with a grid attatchment from Magmod as a fill light
🌄 Image info:
- Camera: Nikon D800
- Focal length: 62mm
- Shutter speed: 1/250s
- Aperture: f/11
- ISO: 100