How to Sharpen an Image in Adobe Photoshop Using the High Pass Filter
Making your images sharp is a very important step in giving images a final, polished and vibrant look. Usually sharpening is applied on top of an already sharp image to give it that extra realistic feel, so getting your focus right in camera is just as important. Sharpening can help with a slightly out of focus image, but it won't fix an image that's clearly out of focus.
There are many ways to sharpen images in Photoshop, and let's explore one of the most popular in this post, the high pass filter. High pass, as its name suggests, only lets the high frequencies of an image pass through, therefore allowing to easily accentuate/sharpen the details. Using high pass has gotten really popular to sharpen images because of the amount of control and flexibility that it gives. High pass is also instrumental for frequency separation in skin retouching, but that'll be the topic of a different post.
Before / After:
1- Everything Else First
You’ll usually want to apply sharpening to an image as the last set of steps in your retouching, after you’ve done everything else you want to do on an image. Here for example, I did a little bit of dodge and burn using curves, applied a slight vignette and applied color grading using curves.
Then I created a stamp visible layer (Shift+Cmd+Option+E Shift+Ctrl+Alt+E), which is now ready to be sharpened:

2- Sharpen for Export Size
You’ll want to customize the sharpening for each export size, because if you sharpen a really large image and then simply resize it down when you export, the resizing can make the sharpening look crunchy and overdone. Don’t worry though, we’ll make use of smart objects, so the amount of work you’ll do on each export size will be really minimal.
First, let’s right click on the stamp visible layer and duplicate it to a new file. Now in that new file you can resize the image down to your largest export size. I like to export a rather large 3000px-wide image, so let’s start with that. The shortcut for resizing is Cmd+I Ctrl+I.
Now duplicate the layer twice using Cmd+J Ctrl+J. With high pass you decide on the level of detail it picks up, so you can create multiple levels of sharpening depending on how fine or large the details are that you’re trying to sharpen. Here we’re creating two layers because we’ll have a level for large detail sharpening and one for fine detail sharpening. Now desaturate both layer copies by going to Image > Adjustment > Desaturate. That’s an important step because otherwise sharpening could increase the color saturation of your image as a side effect.
Turn both desaturated layer copies into smart object by right-clicking and selecting Convert to smart object. Finally, change the blend mode of these two layers to something like soft light, overlay or linear light. Soft Light is my favorite blending mode for this, with an effect that’s more subtle. Overlay gives a slightly more intense effect, and linear light gives the most intense.

3- Using High Pass Filter
We’re finally ready to make use of the high pass filter. Let’s work on the layer for large details first, and hide the layer we’ve setup for fine details for now so we can see a direct preview. Now go to Filter > Other > High Pass to open the high pass filter dialog.
You’ll see a small preview of the details that are passing through, and your image will also preview the actual effect. The radius setting if what you’ll play with to target the size of the detail you want to sharpen. The larger the radius, the larger the details that will be picked up and sharpened. This will also depend on the size of your image, so there’s no magic formula there. Here I went with a radius of 40px:

Next let’s unhide the layer for small detail sharpening and apply some finer detail sharpening using the same method, but with a much smaller radius. Here I went with a radius of 4px for small details.
4- Masking Distracting Areas
Oftentimes the goal of an image is to direct the eye a certain way and accentuate certain details. For this purpose, we’ll often want to leave background details out of focus and make sure that no sharpening is applied there. It’s easy to do if you place your sharpening layers in a group, then add a mask to the group as a whole and mask out the parts of the image you want to avoid sharpening.
Here, for example, we mask out the trees in the background:

Exporting
And with this, your first sharpened dimension is ready to be exported as a JPEG. My favorite method is to use the Save for Web dialog at Filed > Export > Save for Web.
5- Sharpening More Dimensions
Now let’s see how we can adjust sharpening for other image dimensions. Let’s save our file as another name to create a new dimension in a separate file. Now, we can resize the image again, in this example I resize down to 1680px wide. We can then easily double click on each high pass filter in the smart object of our sharpening layers and we’ll be able to adjust the radius to fit with our resized image.
Bonus Tip: Sharpen Only Select Details
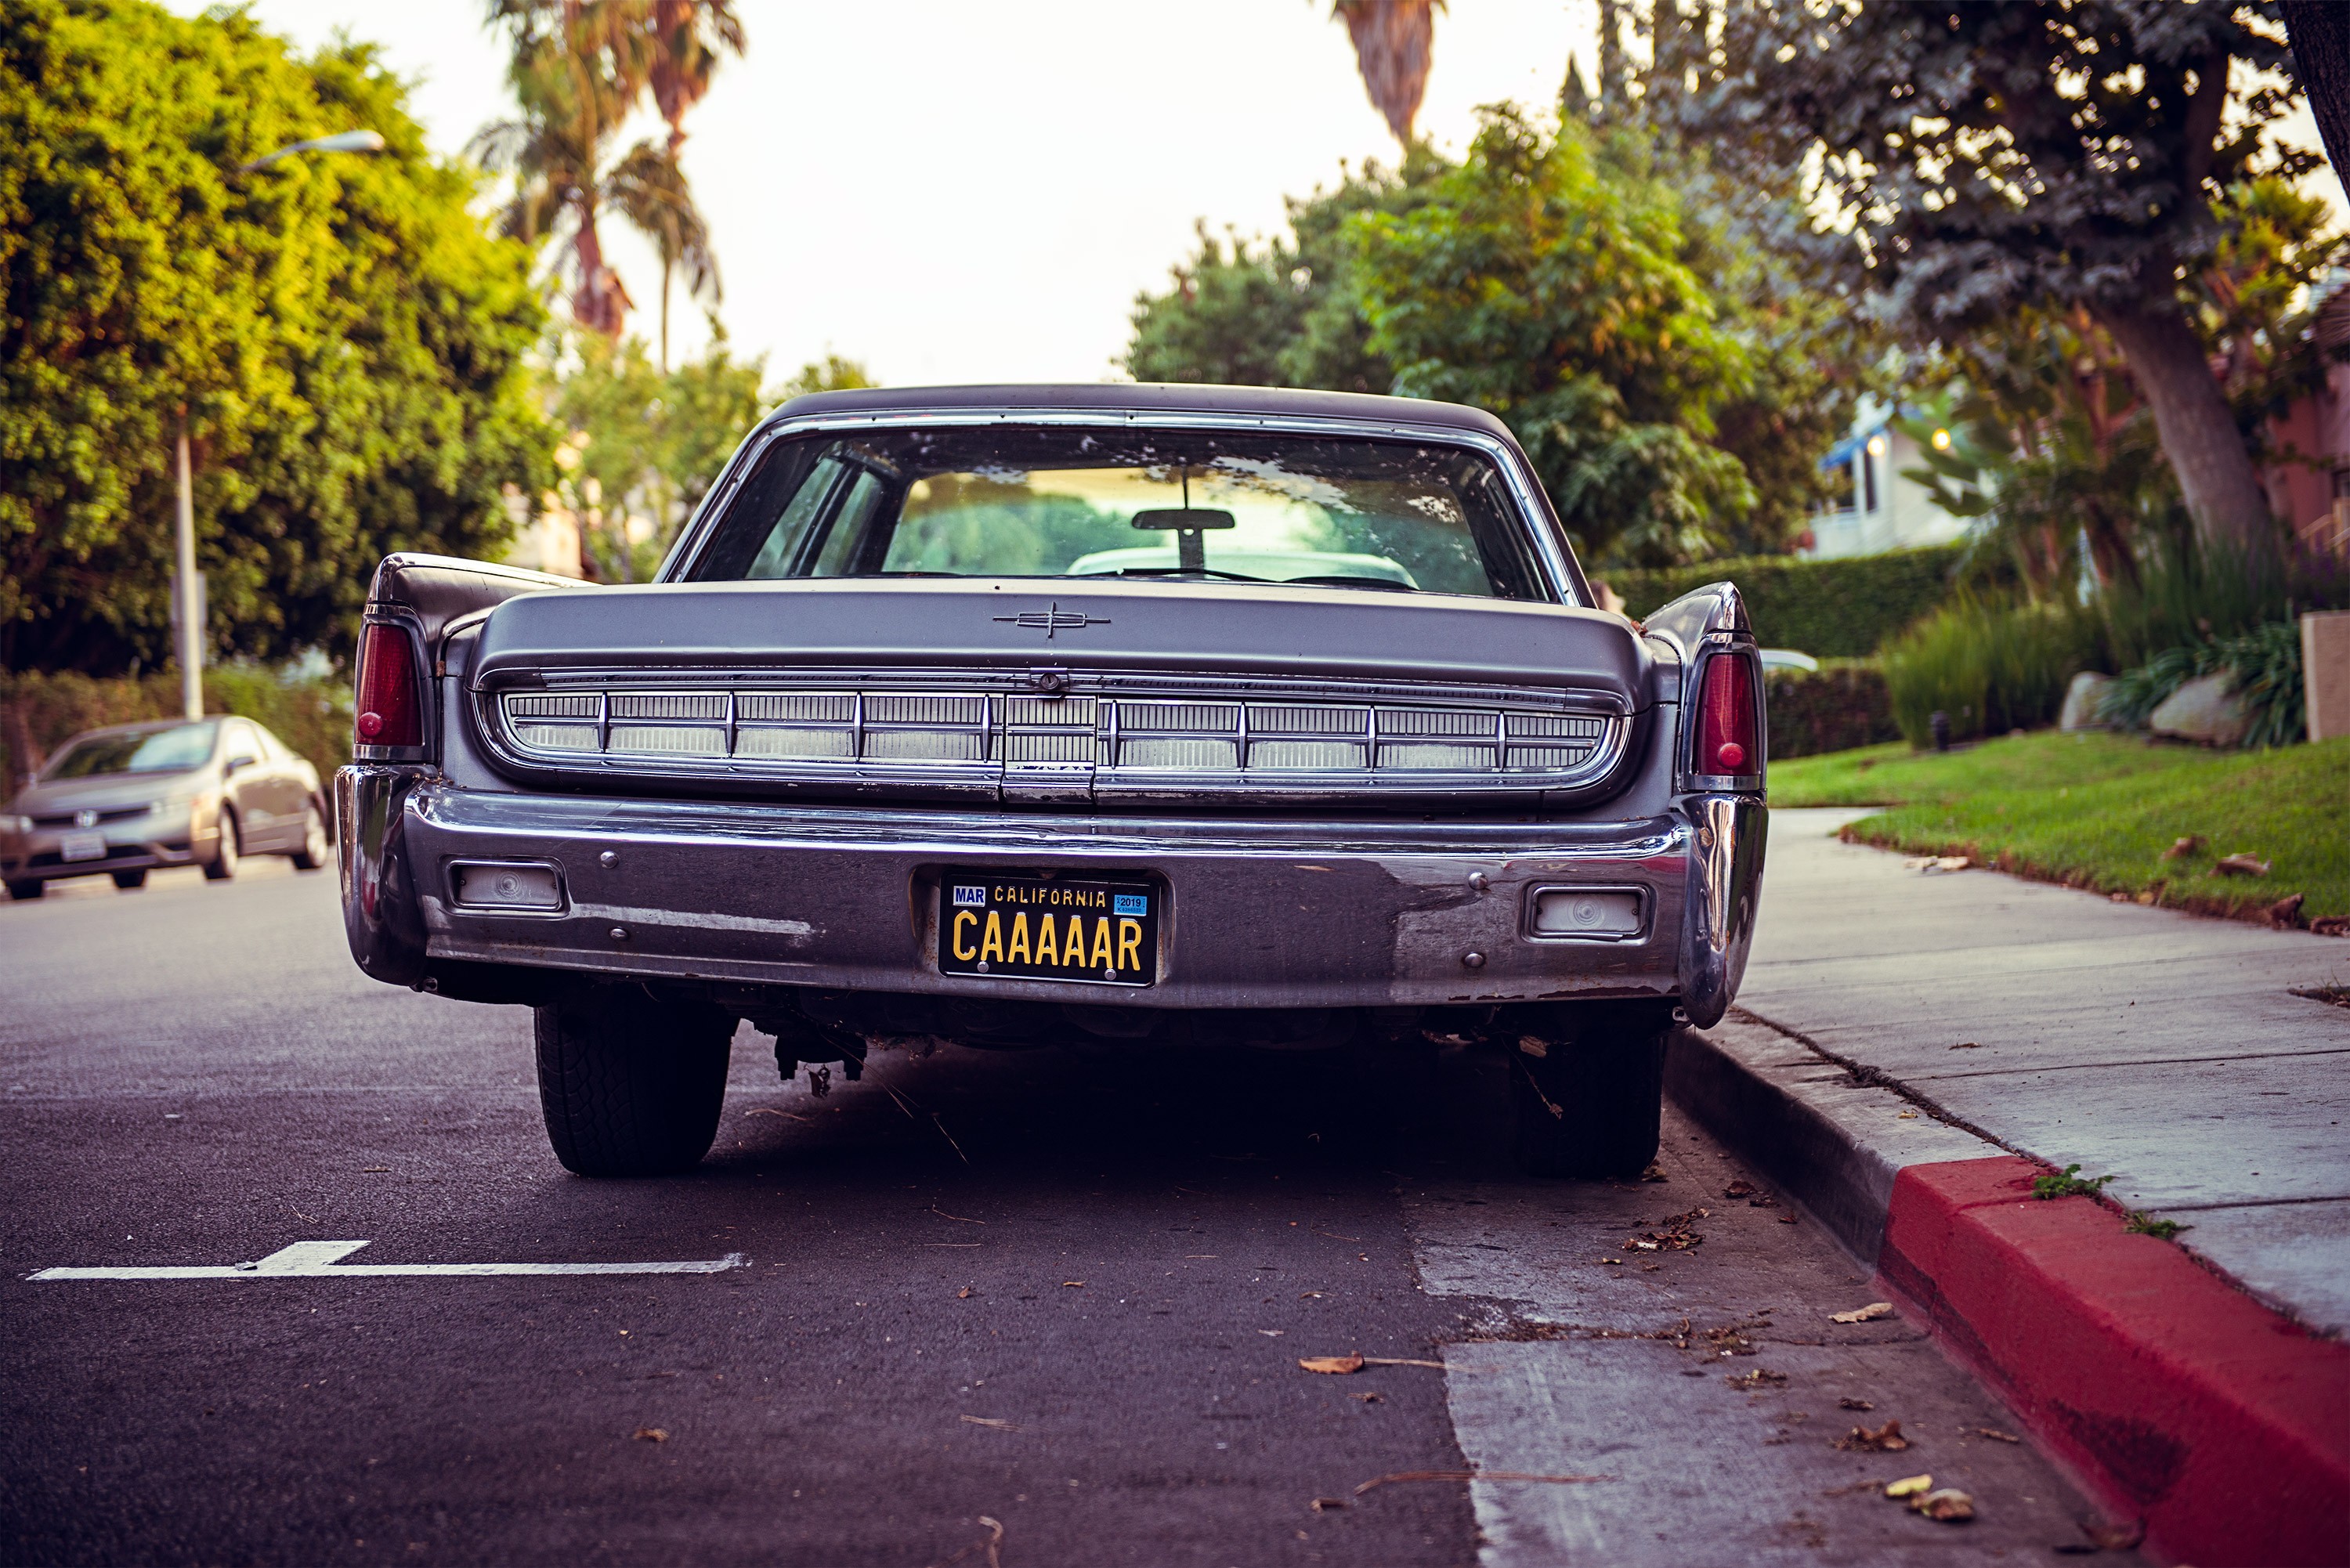
You can very easily duplicate one of your sharpening layers to double the effect, and then use a layer mask to apply some extra sharpening only for some select details. Here for example we double down on the sharpening of the grill and license plate.

Wrapping Up
As you saw, it’s pretty easy, straightforward and flexible to sharpen using the high pass filter. It gives you full control on the size of the details to sharpen, it’s non-destructive and, when combines with smart objects, it’s easy to re-adjust the sharpening for each export size. Plus, you can have fine control of the level of sharpening or where sharpening is applied using layer masks or by reducing the opacity or blending mode of the sharpening layers. Plus, you’ll notice the the order of your sharpening layers doesn’t matter, so you can play around in whichever order you prefer.
Have fun, and stay sharp! 😎
🌄 Image info:
- Camera: Nikon D800
- Focal length: 60mm
- Shutter speed: 1/80s
- Aperture: f/2.8
- ISO: 200