Exploring the Color Editor in Capture One
Color editing using Capture One is a real treat and allows for a great deal of flexibility and power with a very minimal amount of effort.
I recorded a 15-ish minute video that you can watch to get a quick glance at how to use the color editor to tweak the colors of your RAW photos:
And a few highlights/pointers from the video:
- Most of the power of the color editor tool is in the Advanced or Skin Tones tabs. Use the Basic tab only for the most basic/quick of color tweaks.
- Select a color using the color picker tool, then tweak how much similar hues should be selected on the color wheel and how much of the saturation range should be selected.
- Use the View Selected Color Range options to see exactly what is being affected.
- You can also tweak the Smoothness to decide how abrupt the color selection should be.
- Once you’re happy with a specific color selection, tweak the hue, saturation and lightness as you’d like for that color.
- Repeat the above steps of picking a color and tweaking it for all the colors you want to edit in the photo.
- If you want to affect the hue even more than the hue slider will allow, reselect the color again and tweak the hue once more. You can repeat that step until you get the exact color you’re looking for.
- Apply your color edits to layers so that you can easily tweak the strength of the edit via reducing the layer’s opacity or so that you can mask out certain areas that are hard to exclude by color only.
- The Skin Tone tab is similar to the Advanced tab, but the changes are more subtle and it also has a set of tools to allow to even out the skin tones.
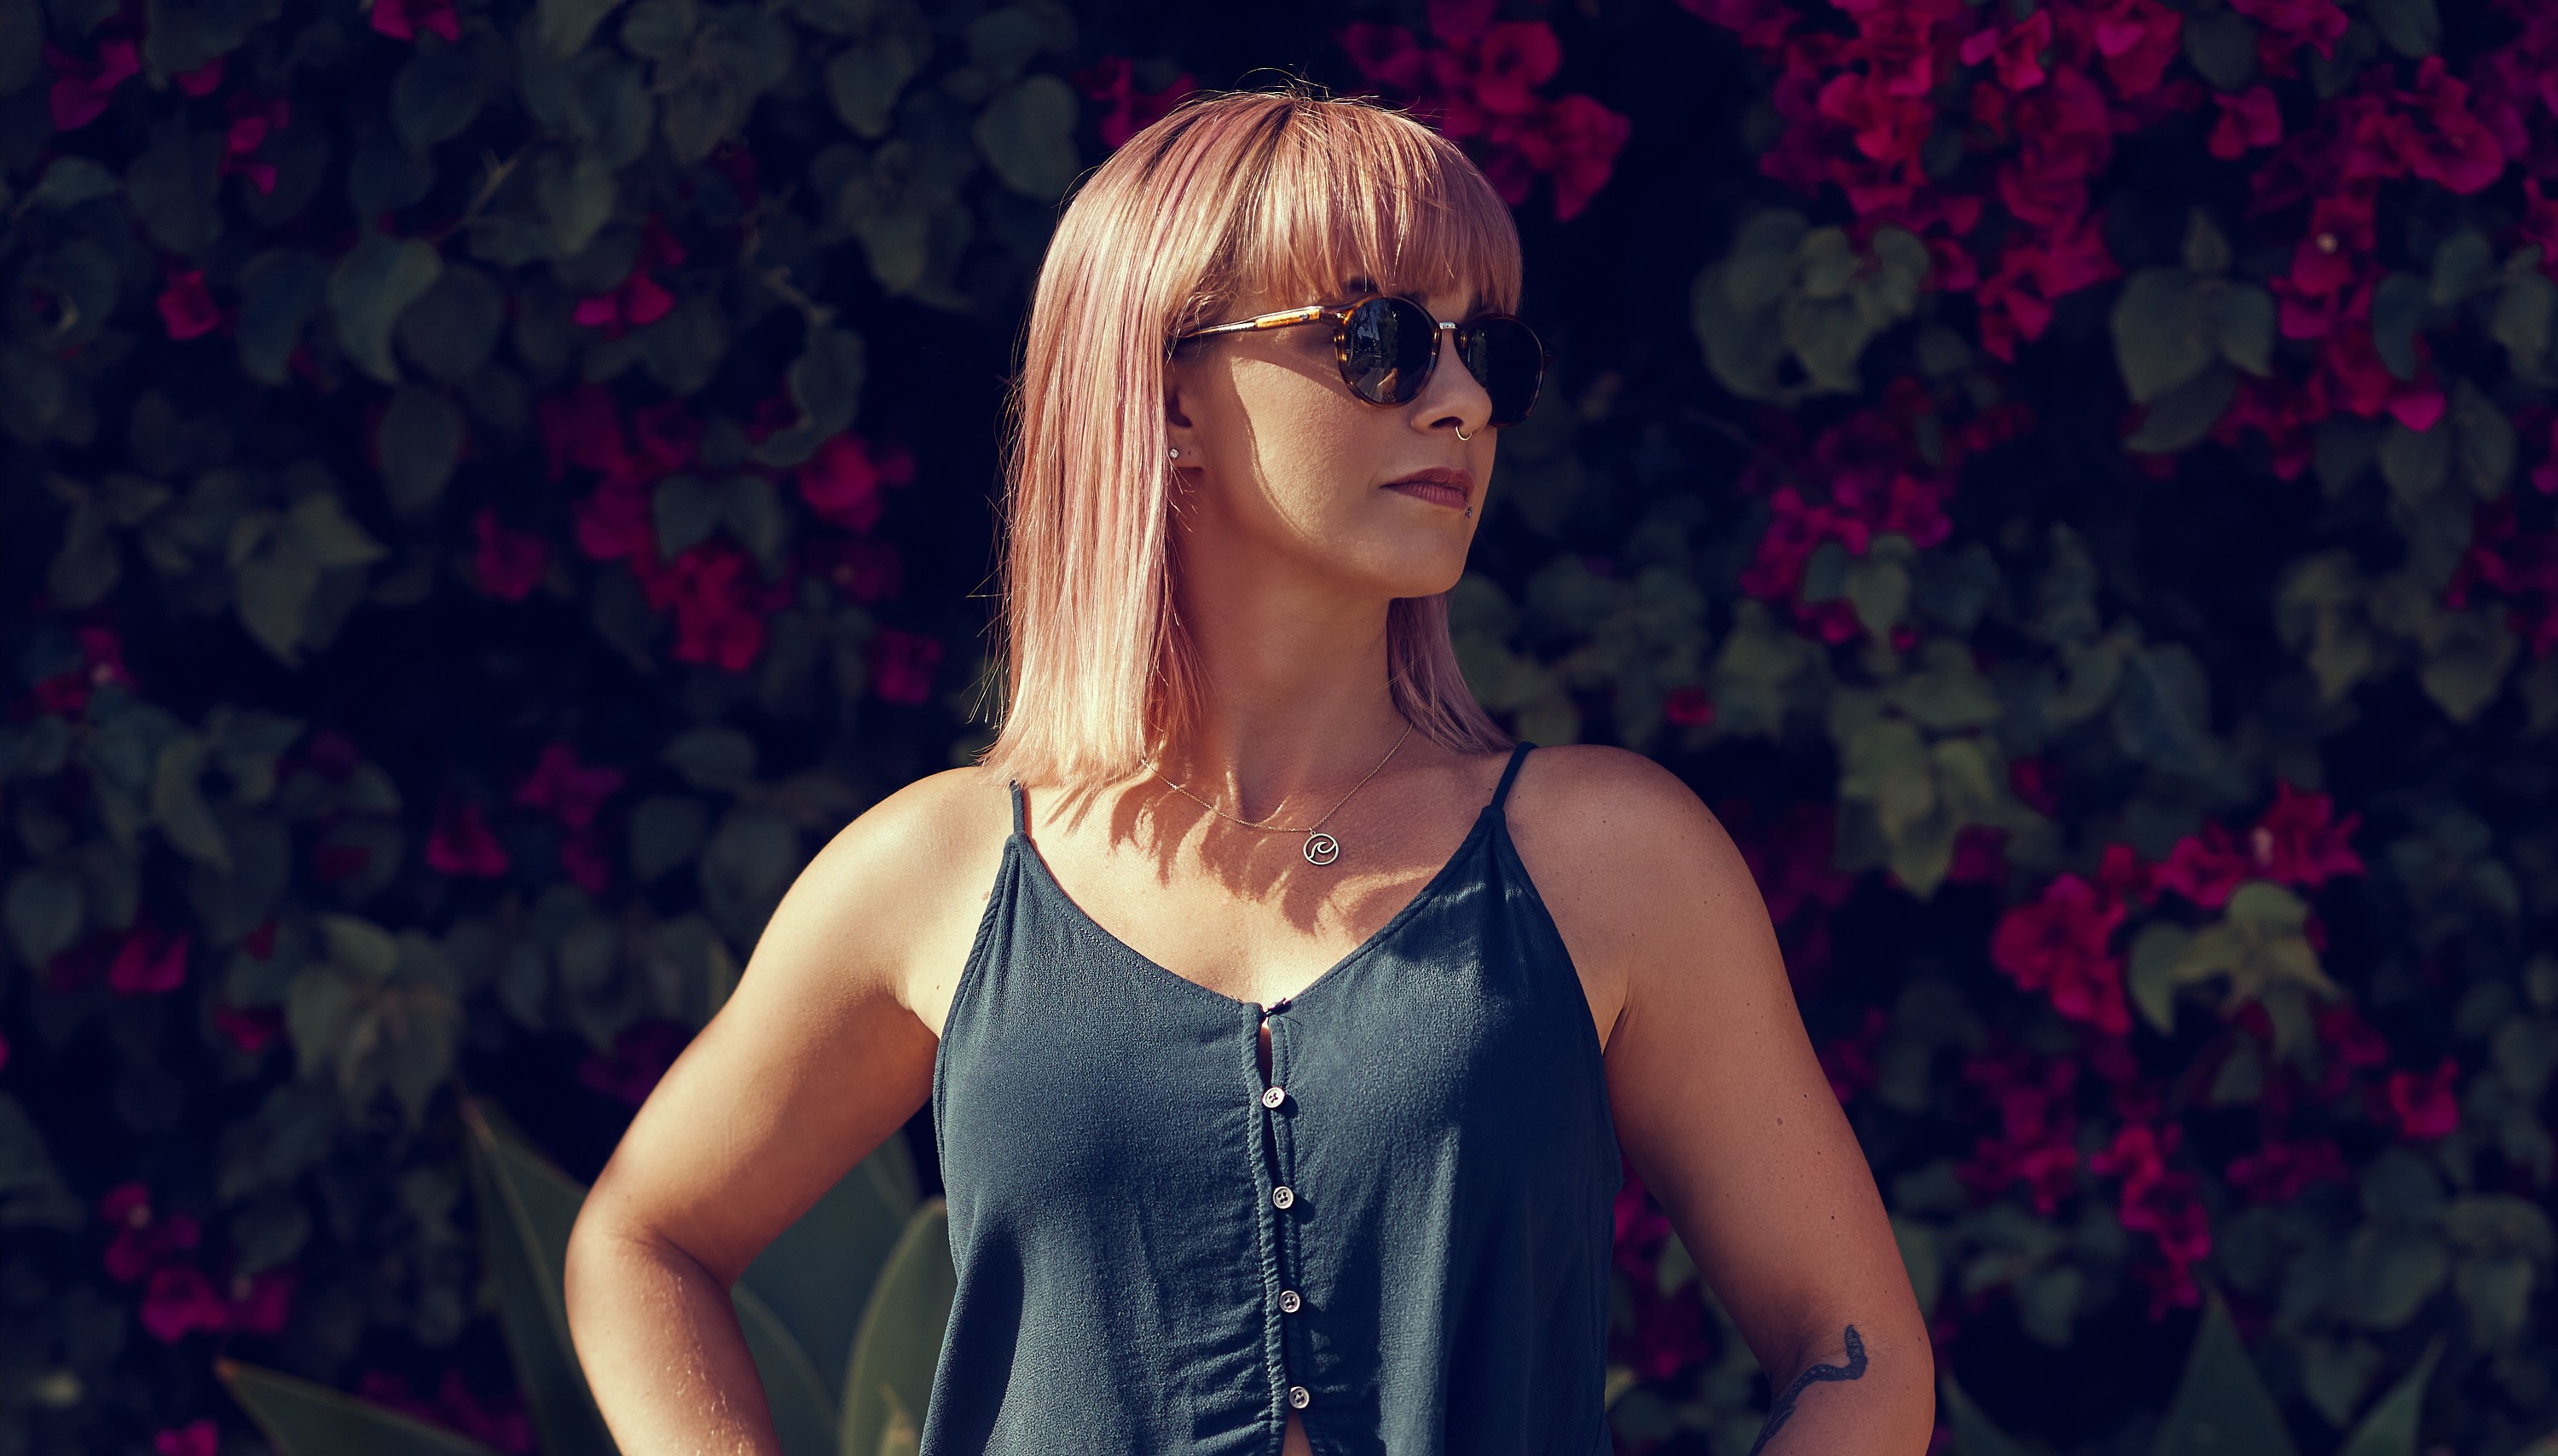
🌄 Image info:
- Camera: Sony A7R III
- Focal length: 85mm
- Shutter speed: 1/3200s
- Aperture: f/1.8
- ISO: 100