Creating a Vintage Effect with Noise and a Lens Flare in Photoshop
This shot looked great straight out of camera, so it was just a matter of playing with a few adjustment layers, adding a subtle lens flare and a little bit of extra noise.
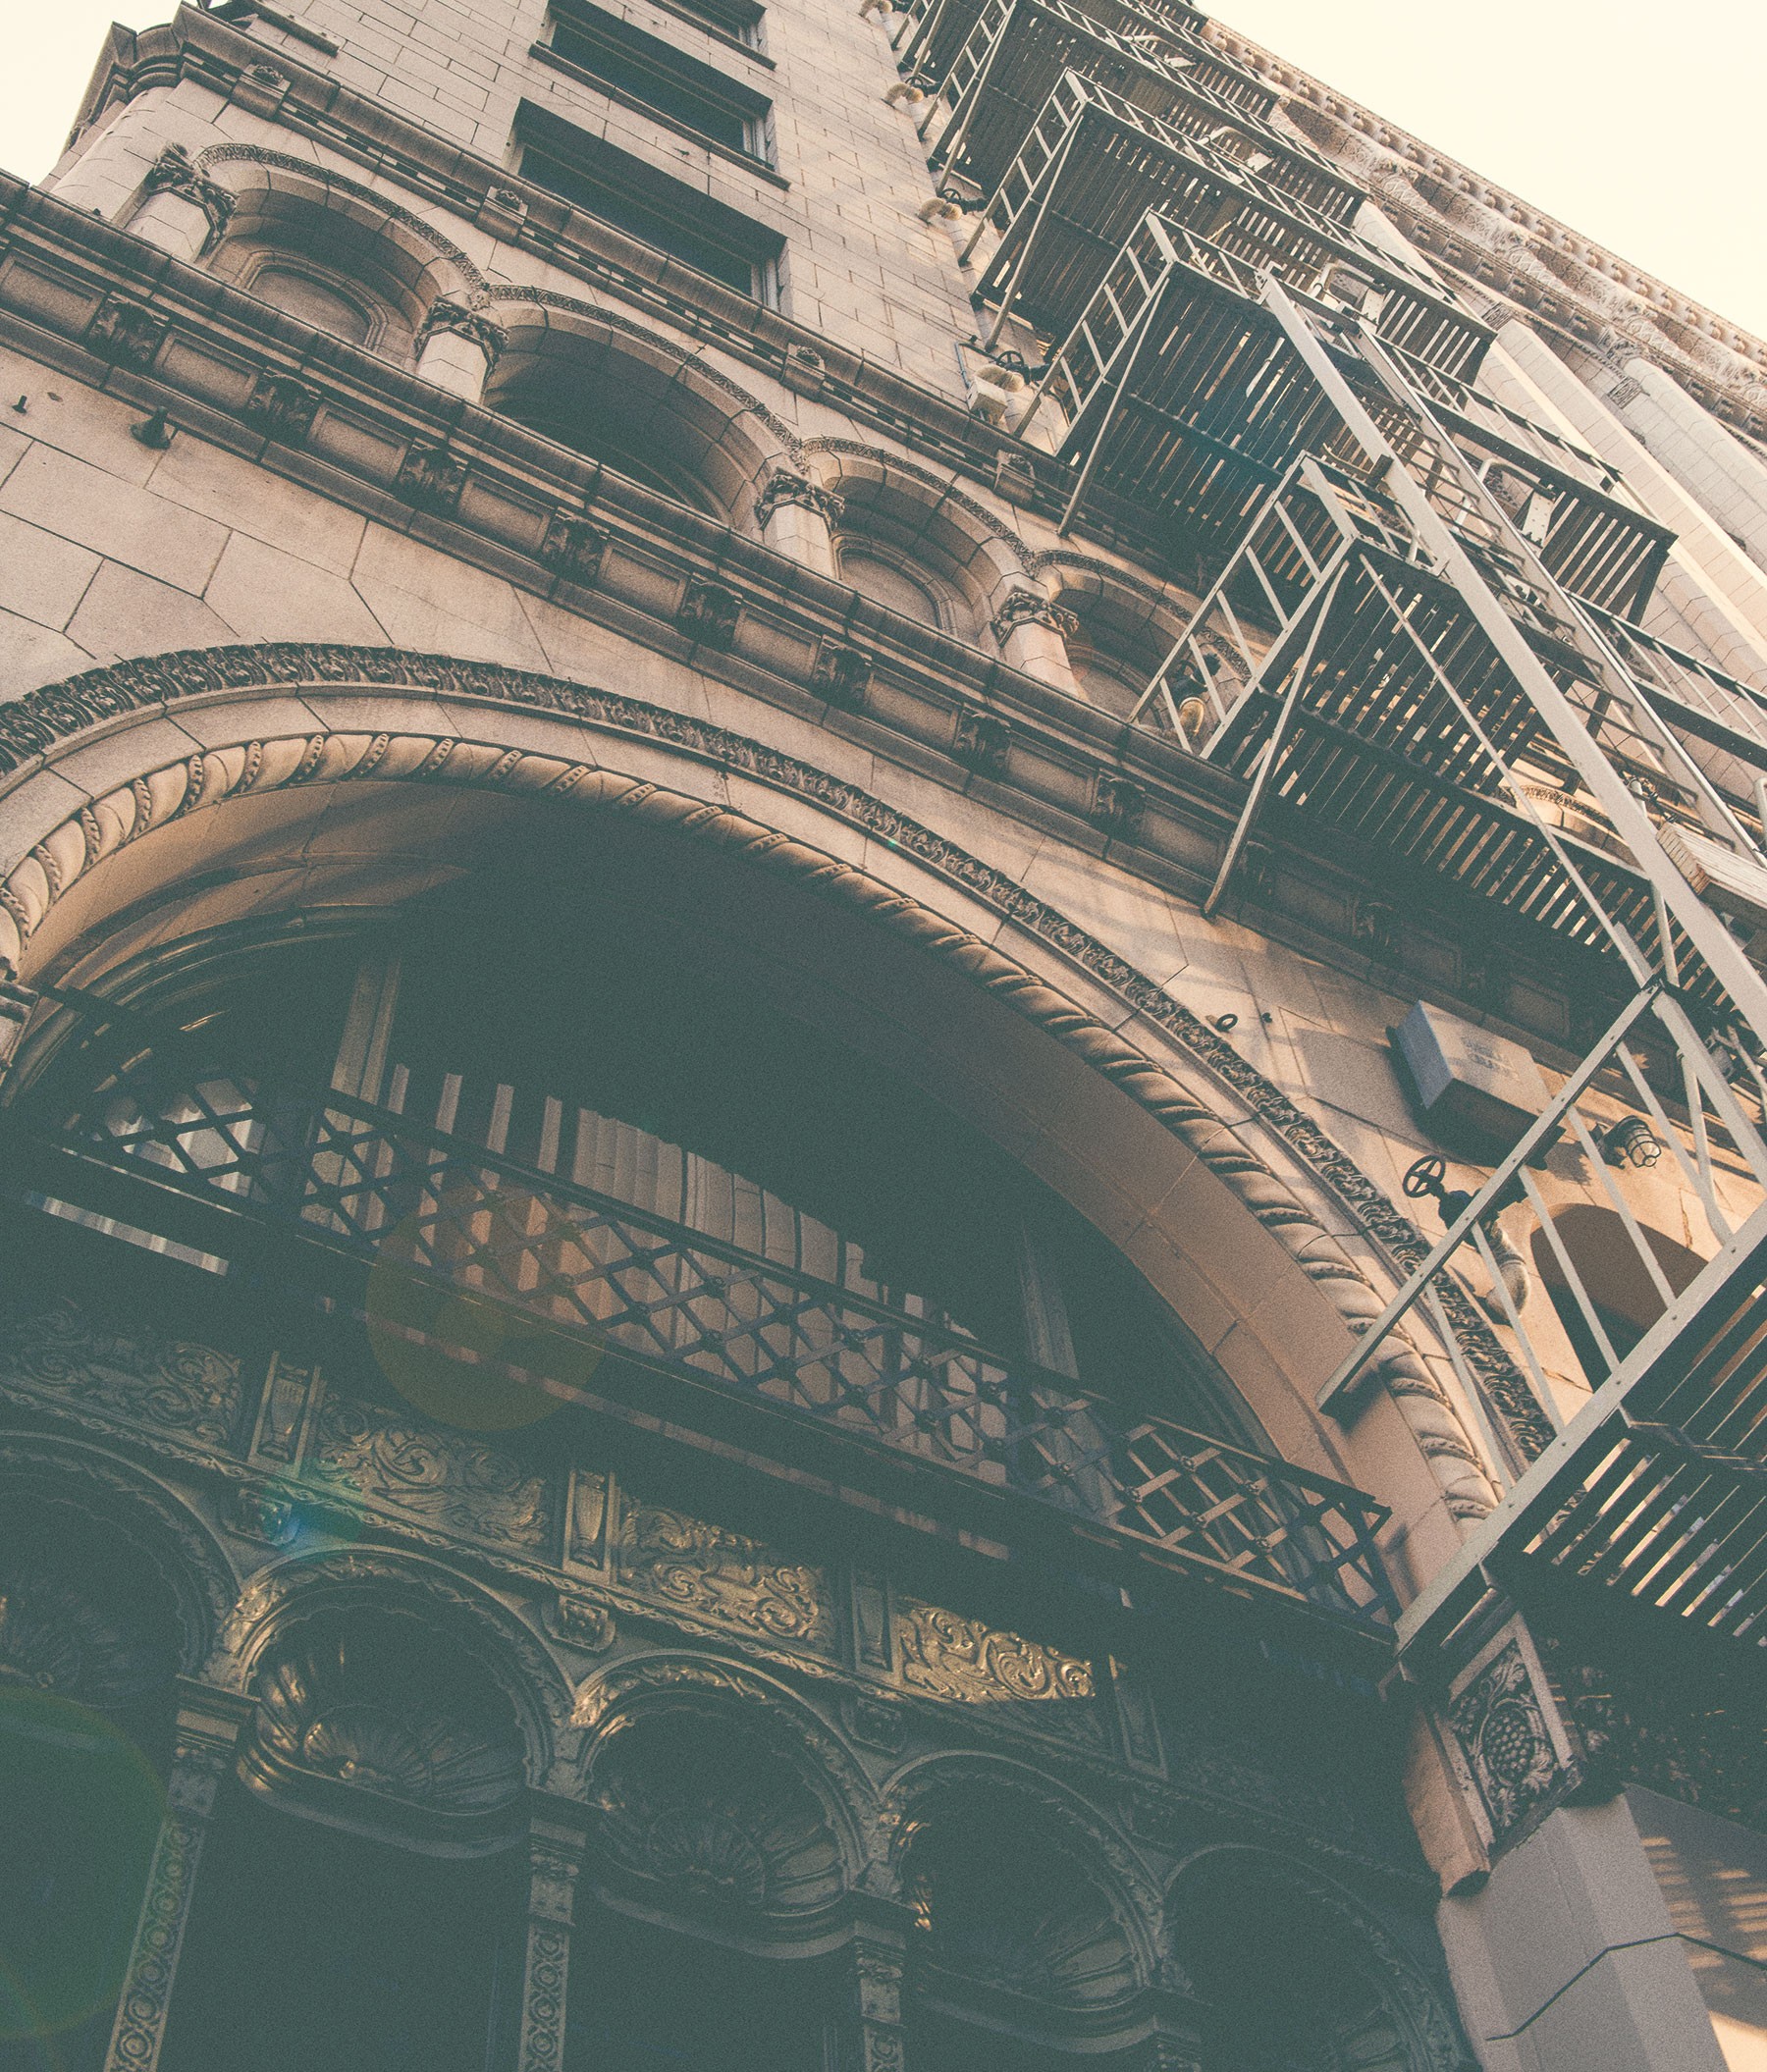
Before / After:
1- Lightroom settings
I played around with a few values in Lightroom before bringing the image in Photoshop for final edits:
- I increased the Temperature value from 5,600 to 7,400 to warm up the image. I had shot it with the White Balance set to Auto.
- Next I increased the Contrast, Highlights, Shadows, Clarity and Vibrance to values that looked good. I wanted more contrast and to have the colors pop a bit more. Here are the values that I used:

- Now the image is ready for final edits in Photoshop. Right-click on the photo thumbnail at the bottom of Lightroom and select Edit In > Edit in Adobe Photoshop.
2- Levels
Let’s play with a Levels adjustment layer to give the image a washed-out look:
- Create a Levels adjustment layer.
- Bring the dark point to the right to increase the contrast. In this case, I brought it to a value of 38.
- Also budge the Midtones (the gray point) slightly to the right. I set mine to a value of 0.87.
- Now bring the dark output to the left as well to something that looks good, 53 in this case. This lightens the darker areas and creates the washed-out look.
3- Color Fill
Next I wanted to add somewhat of a dark green tint in the shadows:
- Create a Solid Color adjustment layer.
- Select a dark green color. Here I went with #15332D.
- Set the Blending Mode of the layer to Exclusion and the Opacity to 50%.
- Now select the layer mask associated with the adjustment layer and select Image > Apply Image.
- In the dialog that appears, check the Invert option and click on Ok to apply an inverse of the image to the layer mask. This constrains the effect of the Color Fill to the shadows.
- Do the last step one more time, to apply an invert of the image a second time to the layer mask.
4- Lens Flare
When not overdone, lens flares can add a nice touch to images:
- Create a new layer Shift+Cmd+N Shift+Ctrl+N and in the new layer dialog box select Overlay as the Mode and then check the Fill with Overlay neutral color.
- Now go to Filter > Render > Lens Flare.
- In the dialog that appears, keep the default settings, but move the origin point of the lens flare to an area where you think will make the most sense. Click on Ok to add the lens flare.
- You might have to cancel out that step and retry a few times to get the lens flare to be placed just right.
- You can now add a layer mask to the lens flare layer and paint with a Black Brush → B if needed to conceal parts of the lens flare if they are too intense.
5- Some Extra Noise
Finally, let’s add some noise:
- Create a new layer Shift+Cmd+N Shift+Ctrl+N and in the new layer dialog box select Overlay as the Mode and then check the Fill with Overlay neutral color.
- Now go to Filter > Noise > Add Noise.
- In the noise dialog box, I selected an amount of 9%, a distribution of Gaussian and I checked the Monochromatic option. The amount of noise you decide to add here really depends on your preferences and the size of your image to start with, so your eye will be the best judge.
Done! This old building has now been rendered justice with just a few tweaks to accentuate the vintage nature of the building.
🌄 Image info:
- Camera: Nikon D800
- Focal length: 34mm
- Shutter speed: 1/80s
- Aperture: f/7.1
- ISO: 320