Using Textures in Photoshop

At times you'll find that your photos could benefit from added visual pizazz, and adding textures as overlays using Photoshop is a great way to accomplish this. Textures can give your photos a vintage, gritty effect or film look effect with minimal effort.
This post is meant to go right alongside the collection of 360 free texture overlays that I created, but you can of course use other textures as well to accomplish similar results.
Before / After:
It’s really easy to accomplish and there are only a few steps needed, so let’s get right to it:
1- Drag Your Texture in as a New Layer
Just drag the file with your texture on your image in Photoshop and a new layer will be created with the texture.

2- Rotate and Resize the Texture
Now use the handles to resize and rotate the texture so that it’s roughly where you want it. It doesn’t have to cover the whole image either, and you can just as well add a texture to only a part of your image.
When you’re happy with where it’s at, just hit Enter to apply the changes.

Don’t be afraid to size the texture up. In theory the texture could lose some of its quality if it’s stretched way beyond its original size, but since it’s meant only as an added detail to the image, she potential loss in quality will be imperceptible.
3- Change Blend Mode to Screen
Now, to fix the fact that the texture completely hides the photo, change it’s layer blend mode to Screen. With the Screen blend mode, pixels that are darker than the underlying pixels well become transparent.

Alternatively, you can also try out some of the other lighten blend modes like Color Dodge or Linear Dodge.
And that’s pretty much all there is to it! Now you can just reduce the layer opacity for your texture layer to reduce the effect of the texture:

Or, if you want more fine-grained control, check out the optional step 4 below.
4- Apply a Curves Adjustment to the Texture Layer
For more control on the intensity of the texture, and instead of just being able to affect the overall opacity of the texture layer, you can apply a Curves Adjustment to the texture layer only.
The trick is to make the Curves Adjustment layer into a Clipping Mask. You can do that by right-clicking on the curves layer and choosing Create Clipping Mask. Now the layer is tied to the layer underneath will only affect that one layer.
Here I’ve used that technique to apply a Curves Adjustment where I darkened the shadow area of the texture to reduce the overall effect without losing on the brightest parts of the texture:

5- Tweaking Your Texture
Here are a couple more option to tweak the applied texture to get the exact result you want:
- Apply a gaussian blur filter. This will make the texture less defined and can even be used to create a bokeh effect with certain textures.
- Erase parts of the texture. Don’t be afraid to use the eraser tool and erase bits and pieces of the texture where it doesn’t belong. You can also do this to have the texture only apply on the background and not on the subject in the photograph.
- You can invert the texture’s colors and use a blend mode like Multiply instead. This can work well on high-key photos with light-colored backgrounds.
More Examples
Here are a few more examples with textures added some my shots.
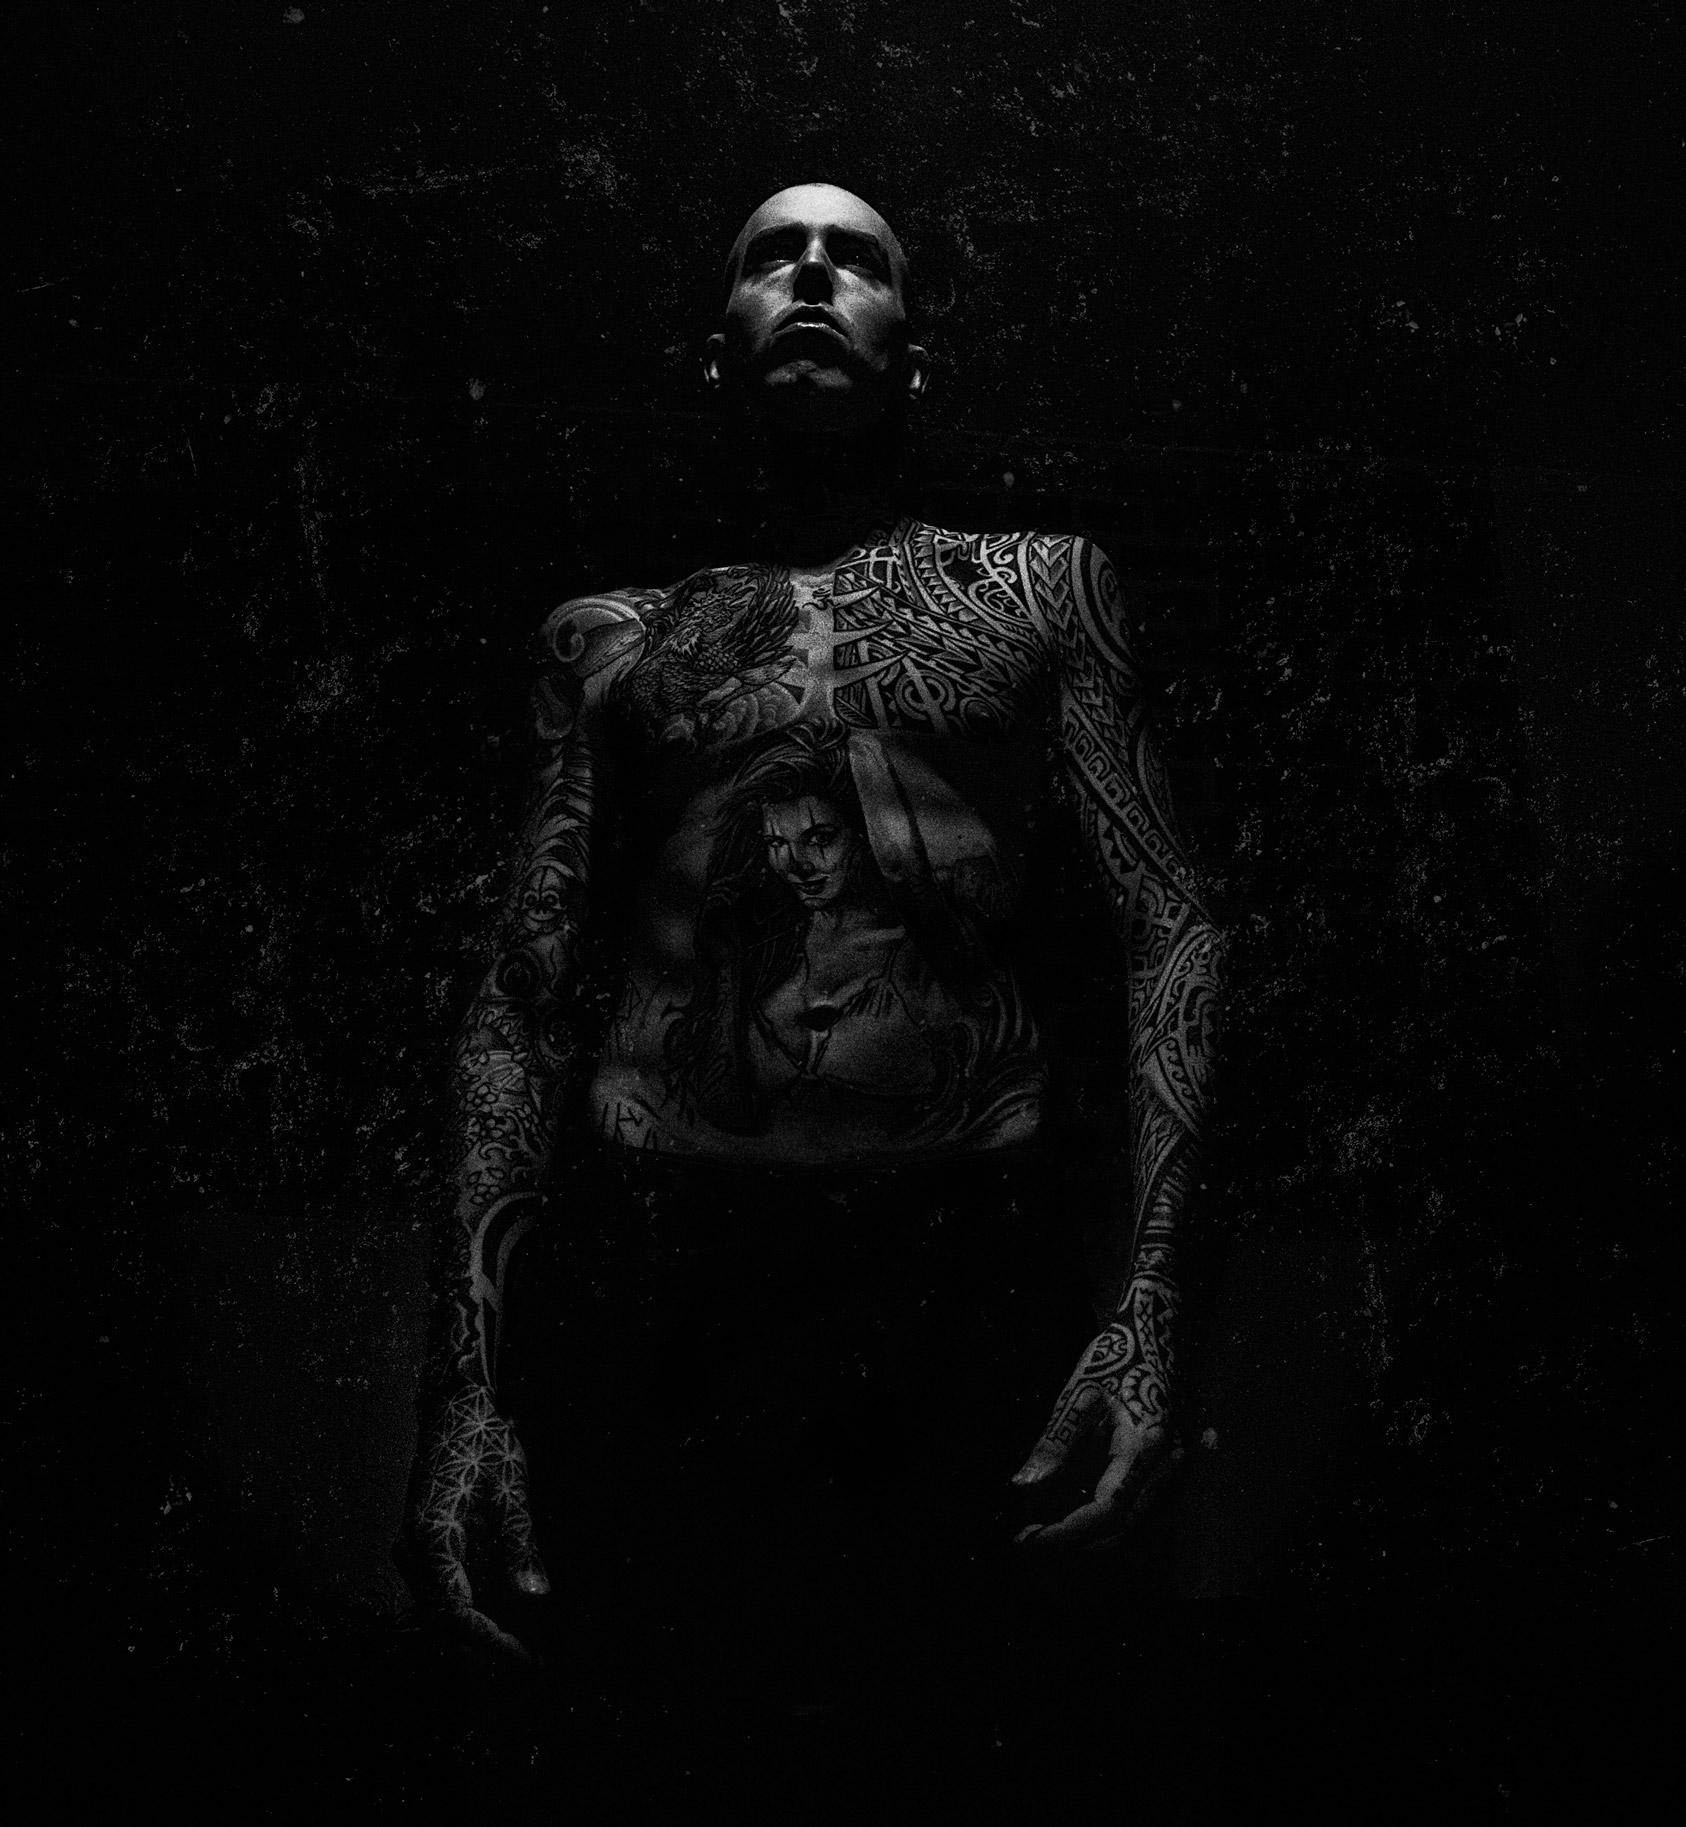
In this 2nd example I used a blend mode of Color Dodge:

Now you can go and play around with textures in your photos! Don’t be afraid to try multiple variations to get to the result you want. Don’t hesitate to also try adding multiple textures in the same photo, to layer-in the effects.
🌄 Image info:
- Camera: Nikon D300s
- Focal length: 26mm
- Shutter speed: 1/25s
- Aperture: f/8
- ISO: 400