How to Create a Sepia Tone Effect in Adobe Photoshop
Sepia is an effect that has been around for a long time as a way to add a little bit of warmth to black and white photographs. It consists of a taupe-color tint added on top of a black and white photo to give it that distinctive sepia look. In the film era, this was accomplished with film tinting. In film, sepia is often achieved by processing the photograph with silver sulfide ferrocyanide. Nowadays we can reproduce the effect pretty easily using Photoshop.
As with almost everything in Photoshop, there are many ways to create a sepia tone. If you add a Hue/Saturation adjustment layer and look in the presets, you'll see that there's one for sepia. Also, the Photo Filter adjustment layer has a filter for sepia. For this tutorial, I decided not to use these presets or filters, and instead make use of a trusty Solid Color adjustment layer along with a Curves adjustment layer and basic Hue/Saturation adjustment layer for maximum creative control.
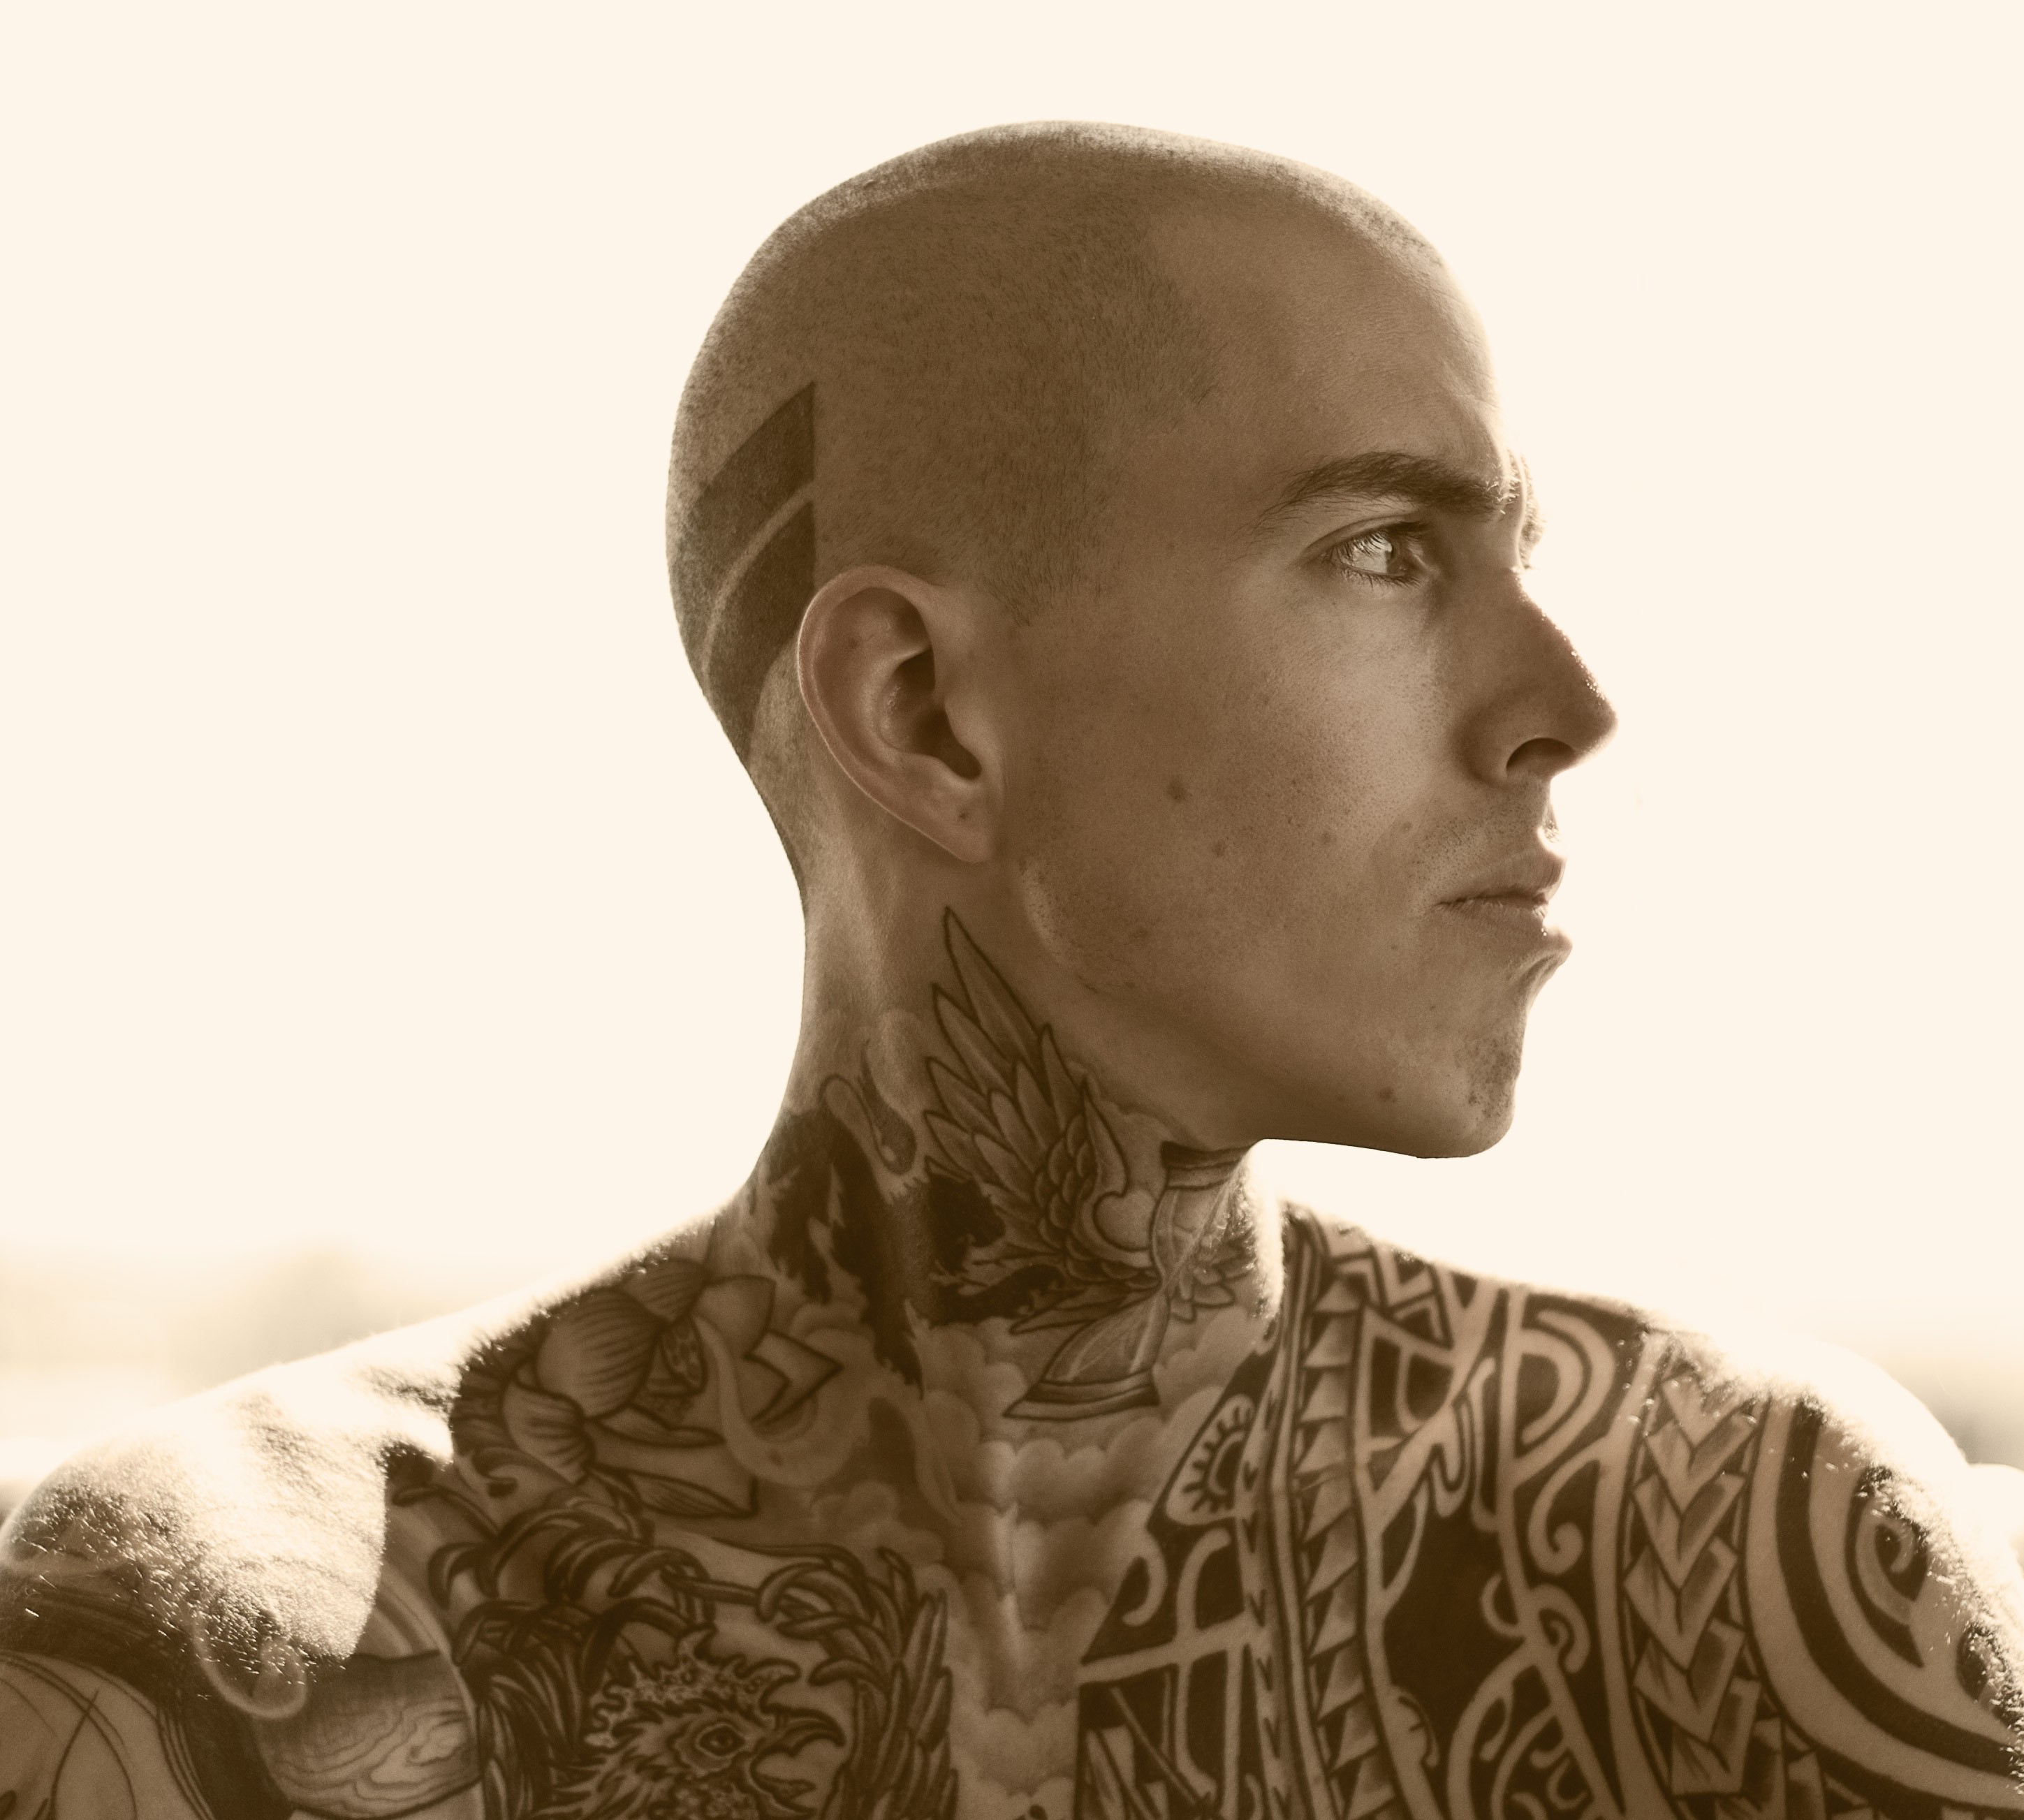
Before / After:
The first thing I did to the image before fully getting started was to duplicate my background layer Cmd+J Ctrl+J, and then use the Clone Stamp Tool to remove that white bar on the right of the image.
1- Hue/Saturation
Normally a sepia tone effect is achieved using a fully black and white image. Here I cheated a little and left a little bit of the color saturation in the image, because I though it worked well to leave a little bit in.
So I added a Hue/Saturation adjustment layer and lowered the saturation all the way down to -65:

2- Curves
Next I added a curves adjustment layer with a slight S-curve to increase contrast by a little bit, while also tapering off blacks and whites a little. The reason for this tapering off is that the sepia tone color will only show through tones that are closer to gray on the saturation scale, so pure white or pure black wouldn’t let the sepia tone through.
As you can see from the screenshot below, the black point at the bottom left of the curve and the white point at the top right are both slightly tapered. The rest of the curve has a slight S-form for contrast, with slightly darker shadows and slightly brighter highlights:

3- Solid Color Adjustment
Now for the final and most important step, giving our image this taupe tint. For this I decided to use a Solid Color adjustment layer:
- Add a solid color adjustment layer.
- Choose a taupe color that works well for what you’re trying to achieve. Here I picked R: 208, G: 184, B: 141.
- Change the blend mode of the adjustment layer to Color. This will keep only the color from that layer, while the luminance is provided by the layers underneath it.
- Now just tweak the opacity level of that layer for the desired effect. Here 60% was just about right.

And that’s it! ✨ The only other thing I did to the image before exporting is add a little bit of sharpening using high pass.
🌄 Image info:
- Camera: Nikon D300s
- Focal length: 50mm
- Shutter speed: 1/400s
- Aperture: f/2
- ISO: 100