Adding a Blue Tint in Photoshop Using LAB Color Mode
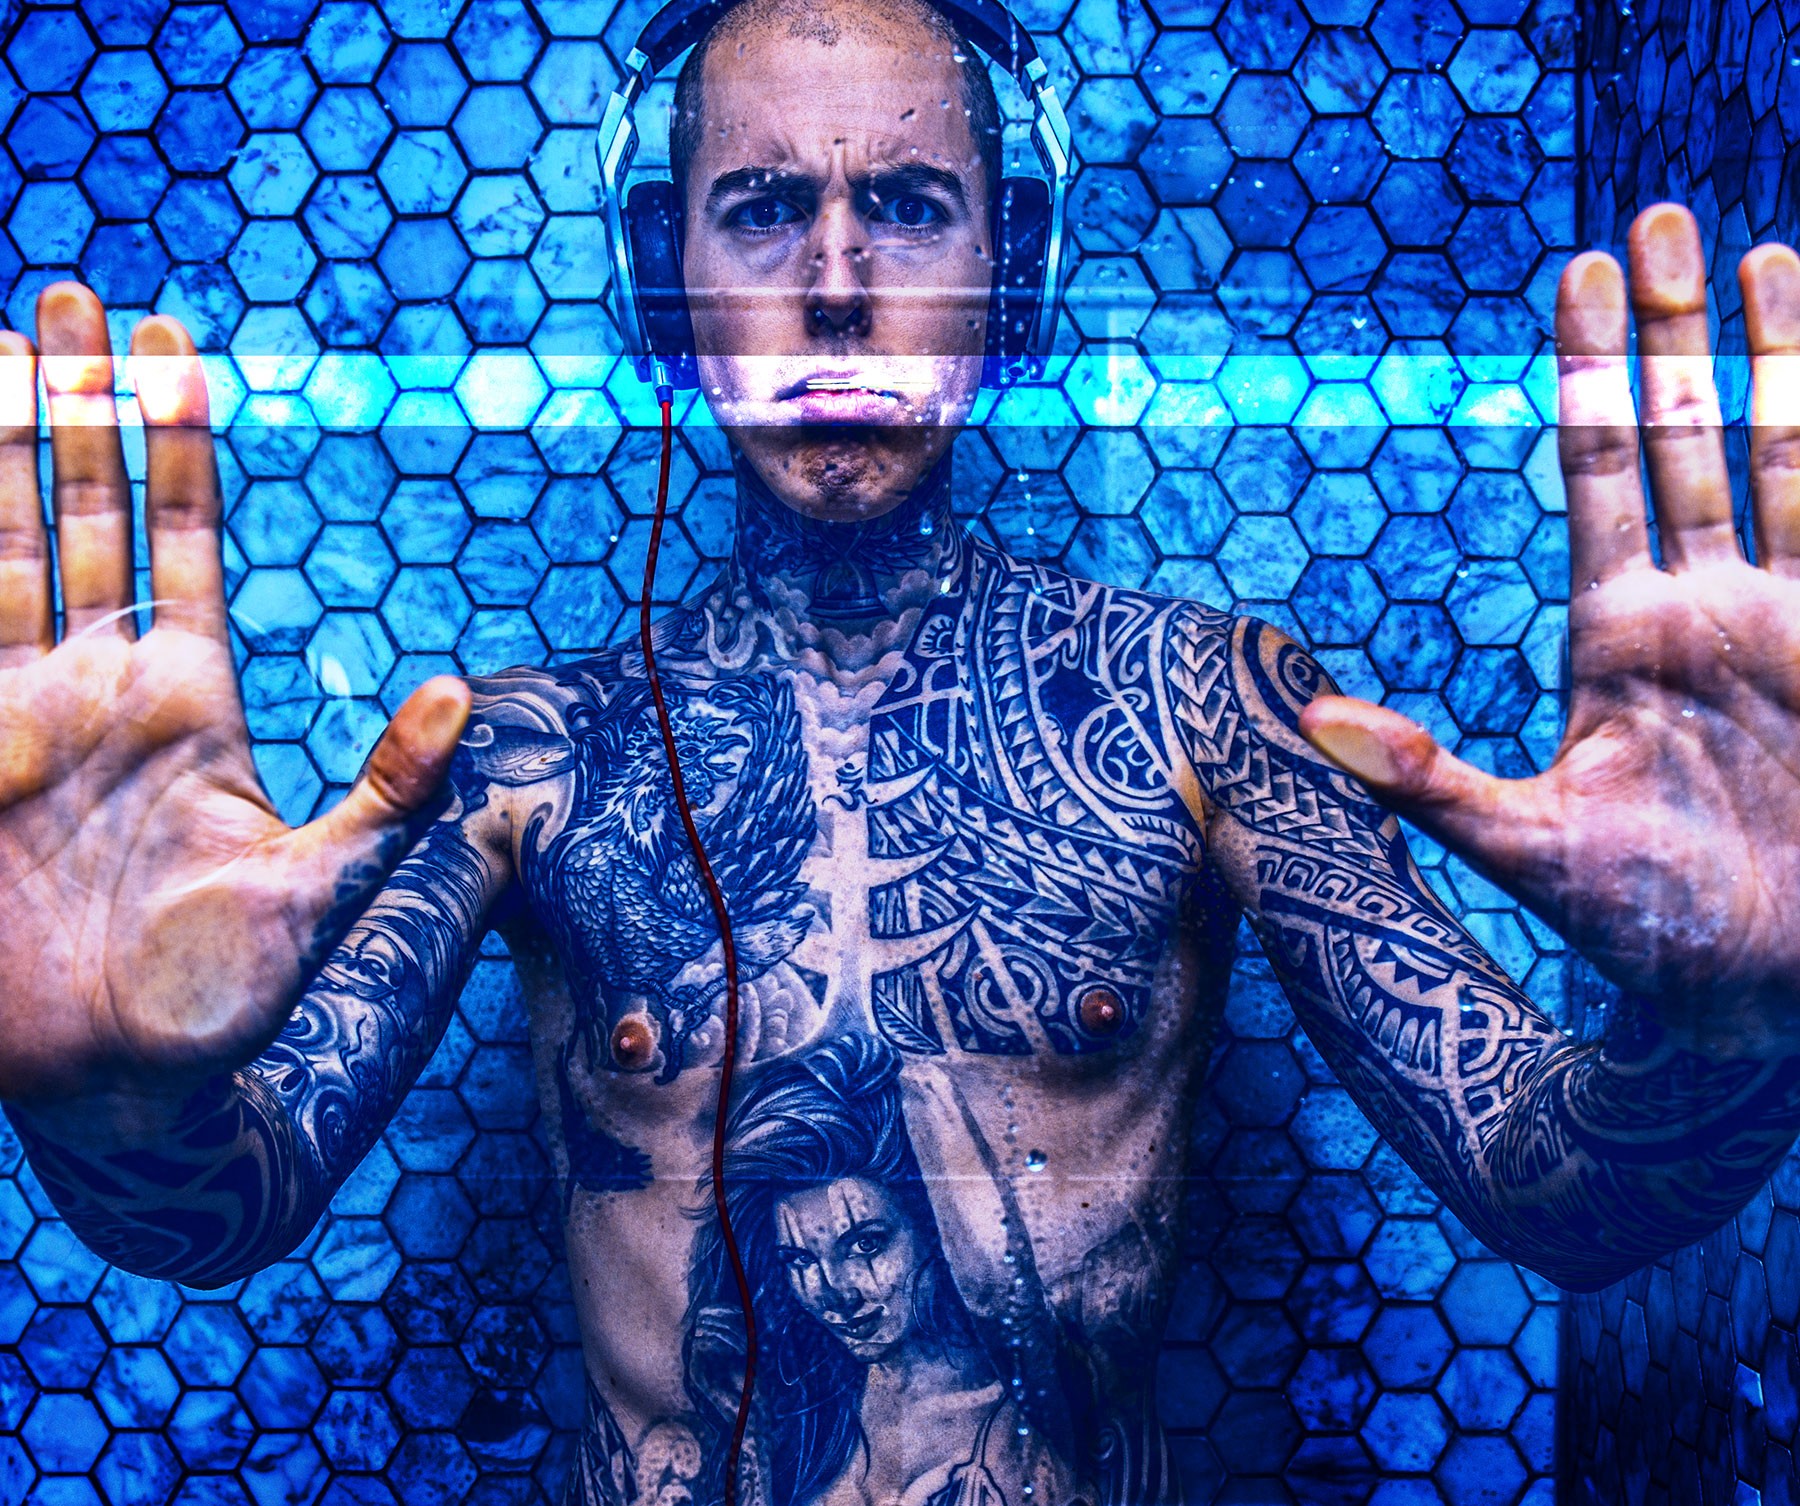
I took this picture of myself in a shower and even though the result looked flat and dull, I thought that there was something interesting to come out of it. The pattern of the tile was especially interesting to me. I didn't use any flashes at all, just the bathroom light with a slower shutter speed to catch enough of it. There's quite a few steps to get to the final result, but nothing complicated at all.
Before / After:
1- Clarity with the Camera raw filter
Straight out of camera the picture was pretty plat, so it had a serious need for more contrast. I decided to first add a lot of clarity. Here I start from Photoshop, but you can do this step before importing your picture in Adobe Lightroom or Camera Raw:
- With the background layer selected, go to Filter > Camera Raw Filter
- Increase the clarity by quite a bit until it looks good. Here I increased it to the maximum value of +100.
2- LAB color mode
LAB stands for Lightness, A & B and it’s a color mode that can be used instead of RGB or CMYK. It allows separation of the lightness information from the color information and can be used for some great effects and coloring. Here we’ll go into LAB mode for blue coloring, and then go back to RGB to proceed with the rest of the retouching:
- Here I like to copy my layer to a new file: Right click on the layer, select Duplicate Layer, and choose New. That step is not necessary, but it allows me to work in the LAB color mode without the possibility of messing anything up with my original image.
- Now go into the new image, and select Image > Mode > Lab Color.
- Next create a Curves adjustment layer.
- Staying in the Lightness channel, I created a slight S-Curve to increase the contrast even more.
- Now create another Curves adjustment layer and we’ll play with the B channel this time.
- Below you can see what kind of curve I created to arrive at the blue tint, while bringing back some of the orange/yellow from the skin:

- Finally, create a Stamp Visible Layer Shift+Cmd+Option+E Shift+Ctrl+Alt+E and duplicate that new layer back into your original file.
- I saved my LAB colored image to have it as a backup just in case.
3- HDR toning
Here we’ll really punch the contrast to a new level by applying a slight HDR toning effect:
- Go back to your original file and create a duplicate of the new blue-tinted layer into a new file again.
- I went into a new file to do this again instead of going back to our original RGB right away because the HDR toning flattens the image and I still didn’t want to lose my starting point.
- Switch that new file back to Image > Mode > RGB Color.
- Select Image > Adjustment > HDR Toning.
- In the HDR toning window, I played with the Saturation and Detail. I brought the saturation to +35% and the Detail to +140%.
- Now duplicate that HDR-toned layer back into your original file: Right click on the layer, select Duplicate Layer, and choose your original layer.
4- White futuristic bar
Instead of racking my brains around removing the reflection that created a white spot in front of my lips, I decide to use it and create a futuristic white bar:
- On a new layer, create a rectangular selection with the Marquee Tool → M to create the bar shape.
- Fill that layer with white: D to go back to the default black and white colors and then Cmd+Delete Ctrl+Delete to fill with the white background color.
- Change the Blending Mode or the layer to Overlay.
5- Final touches
Here we’ll darken the background a bit and apply a final Curves adjustment layer to arrive at the final image:
- Back into the original layer, I realized that the HDR effect I applied was perhaps a bit too much, especially after comparing back and forth with the layer underneath (the one after applying the blue tint), so I reduced the opacity of that HDR-toned layer to 60%.
- Now create a Solid Color adjustment layer and set the color to black.
- Change the Blend Mode of that layer to Soft Light.
- Select the layer mask on that adjustment layer and paint with a Soft Black Brush → B all over the subject, to make sure the effect of the adjustment layer is only on the background.
- I wanted even more of the effect, so I copied the layer Cmd+J Ctrl+J, but for the copy I reduced the opacity to 50% so that it’s not too strong.
- Finally, I created a Curves adjustment layer and created a very slight S-Curve to give a touch more contrast to the final picture. I reduced the opacity of that Curves adjustment also to 50% because I wanted just a slight effect here.
Et voilà! We played with the LAB color mode and with HDR toning to give this picture something really special.
🌄 Image info:
- Camera: Nikon D800
- Focal length: 24mm
- Shutter speed: 1/60s
- Aperture: f/6.3
- ISO: 100