Adding a Color Tint in Photoshop Using a Color Fill Adjustment
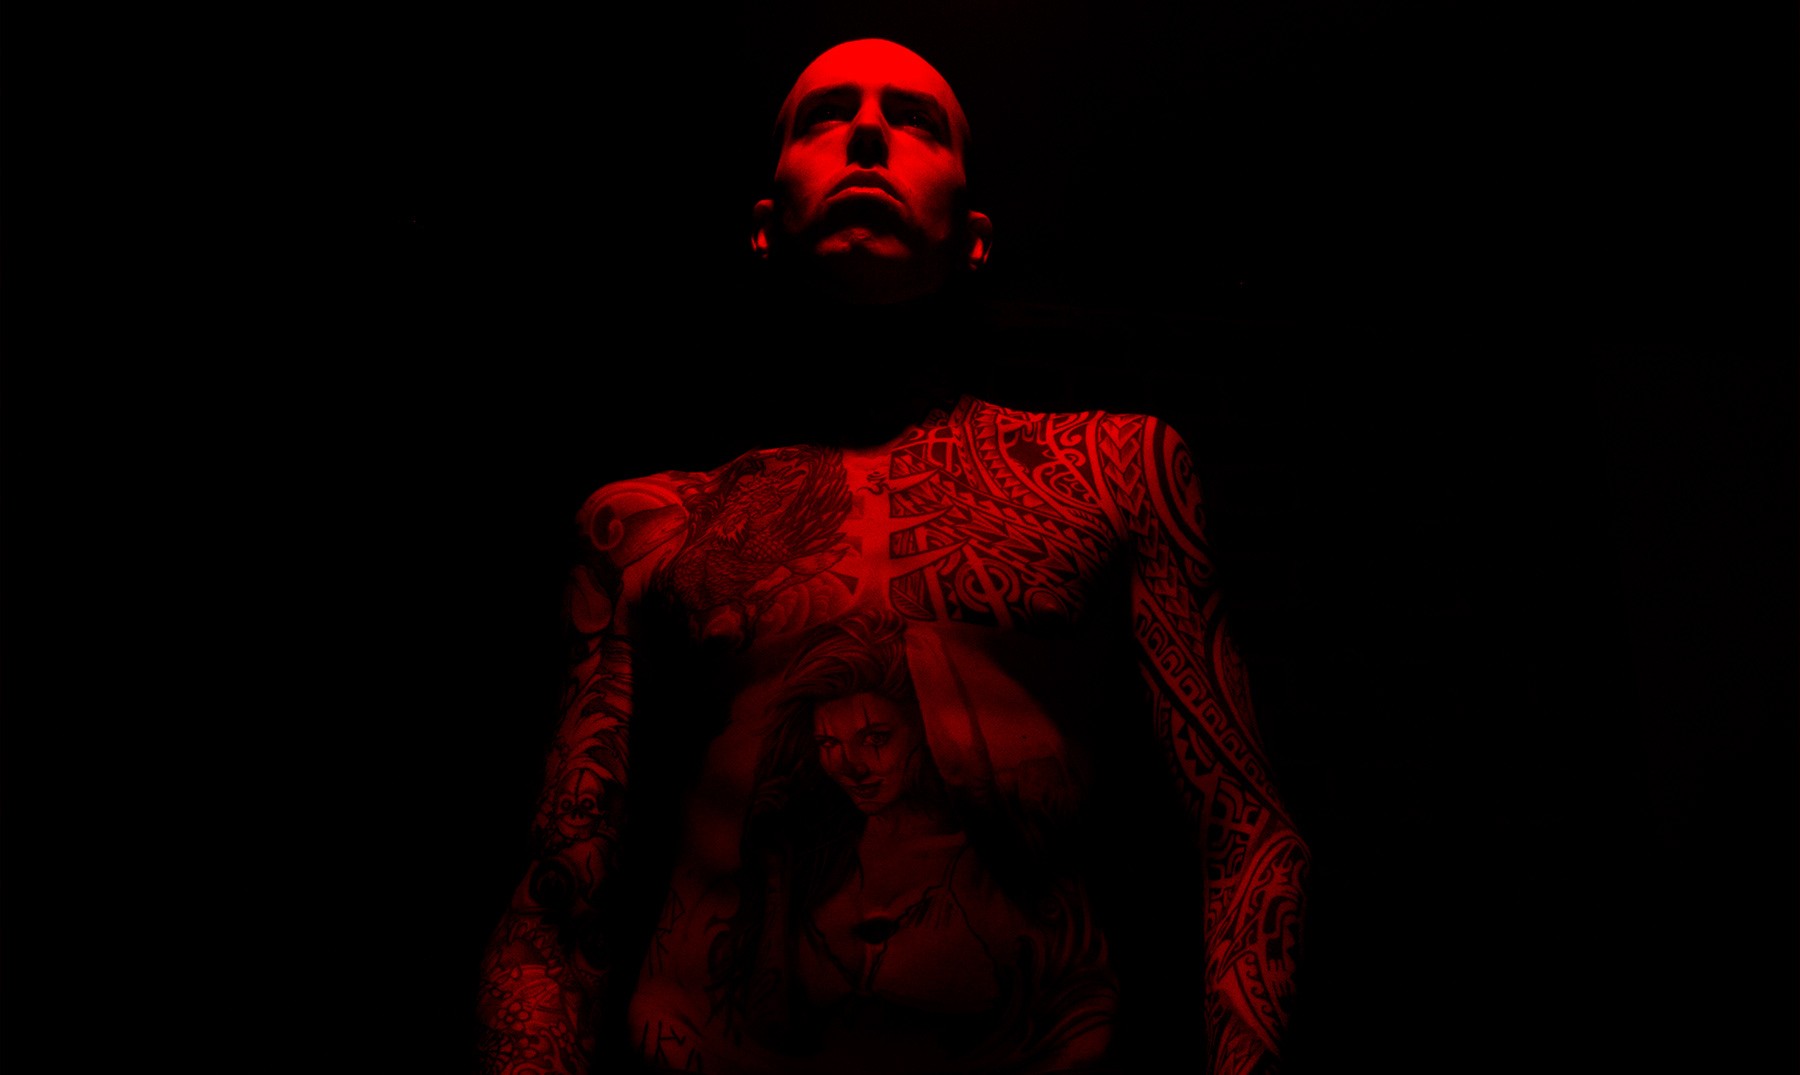
To create this self-portrait, I simply used the light from an overhead fixture from the room I was in. I didn't want to have to crank my ISO too high, so I used a pretty slow shutter speed, which ended up working perfectly fine. Straight out of camera the picture was already moody and dark like I wanted, but I decided to give it this interesting red tint.
Before / After:
1- Color fill adjustment
The effect is achieved very simply with a color fill adjustment:
- Create a Color Fill adjustment layer.
- Set the color to pure red: #FF0000.
- Now change the blending mode of the adjustment layer to Darken.
The only other adjustments I did to this picture are lighting up the forearms and darkening down the stomach a bit with curves:
2- Dodging the forearms
- Select the background layer, so that the curves adjustment layer you’ll create will be under the color fill adjustment in the layer order.
- Create a Curves adjustment layer.
- Bring the middle of the curve slightly upwards, to lighten up the whole image.
- Click to select the mask associated with that Curves adjustment layer, hit Cmd+I Ctrl+I to invert the colors and effectively make the mask hide the whole effect.
- Using a Soft White Brush → B, paint around the forearms to brighten them up and bring back the details.
3- Burning the stomach
- Now for the stomach, create another Curves adjustment layer.
- Bring the middle of the curve slightly downwards, to darken up the whole image.
- Now click to select the mask associated with that adjustment layer, hit Cmd+I Ctrl+I to invert the colors and effectively make the mask hide the whole effect.
- Using a Soft White Brush → B, paint around the stomach to darken it up.
- Here I also applied a Gaussian Blur filter to the mask, just to make the effect fade out more subtly. I applied a Gaussian blur with a radius of 190px, but this will vary depending on the size of your image.
Et voilà! A dark image with a stylish red tint with just a simple red color fill adjustment.
🌄 Image info:
- Camera: Nikon D300s
- Focal length: 16mm
- Shutter speed: 1/25s
- Aperture: f/4.5
- ISO: 500