How to Change a Color in Photoshop Using Color Range
A quick tutorial for you today on how to change a color from an image in Photoshop using a Color Range selection. Color Range is a selection tool that allows you to select parts of an image based on its color. This makes it easy to select one a specific color and then change its hue, saturation and/or brightness. The best part is that you won't have to mess around with making manual selections with tools like the quick selection tool or the magic wand tool.
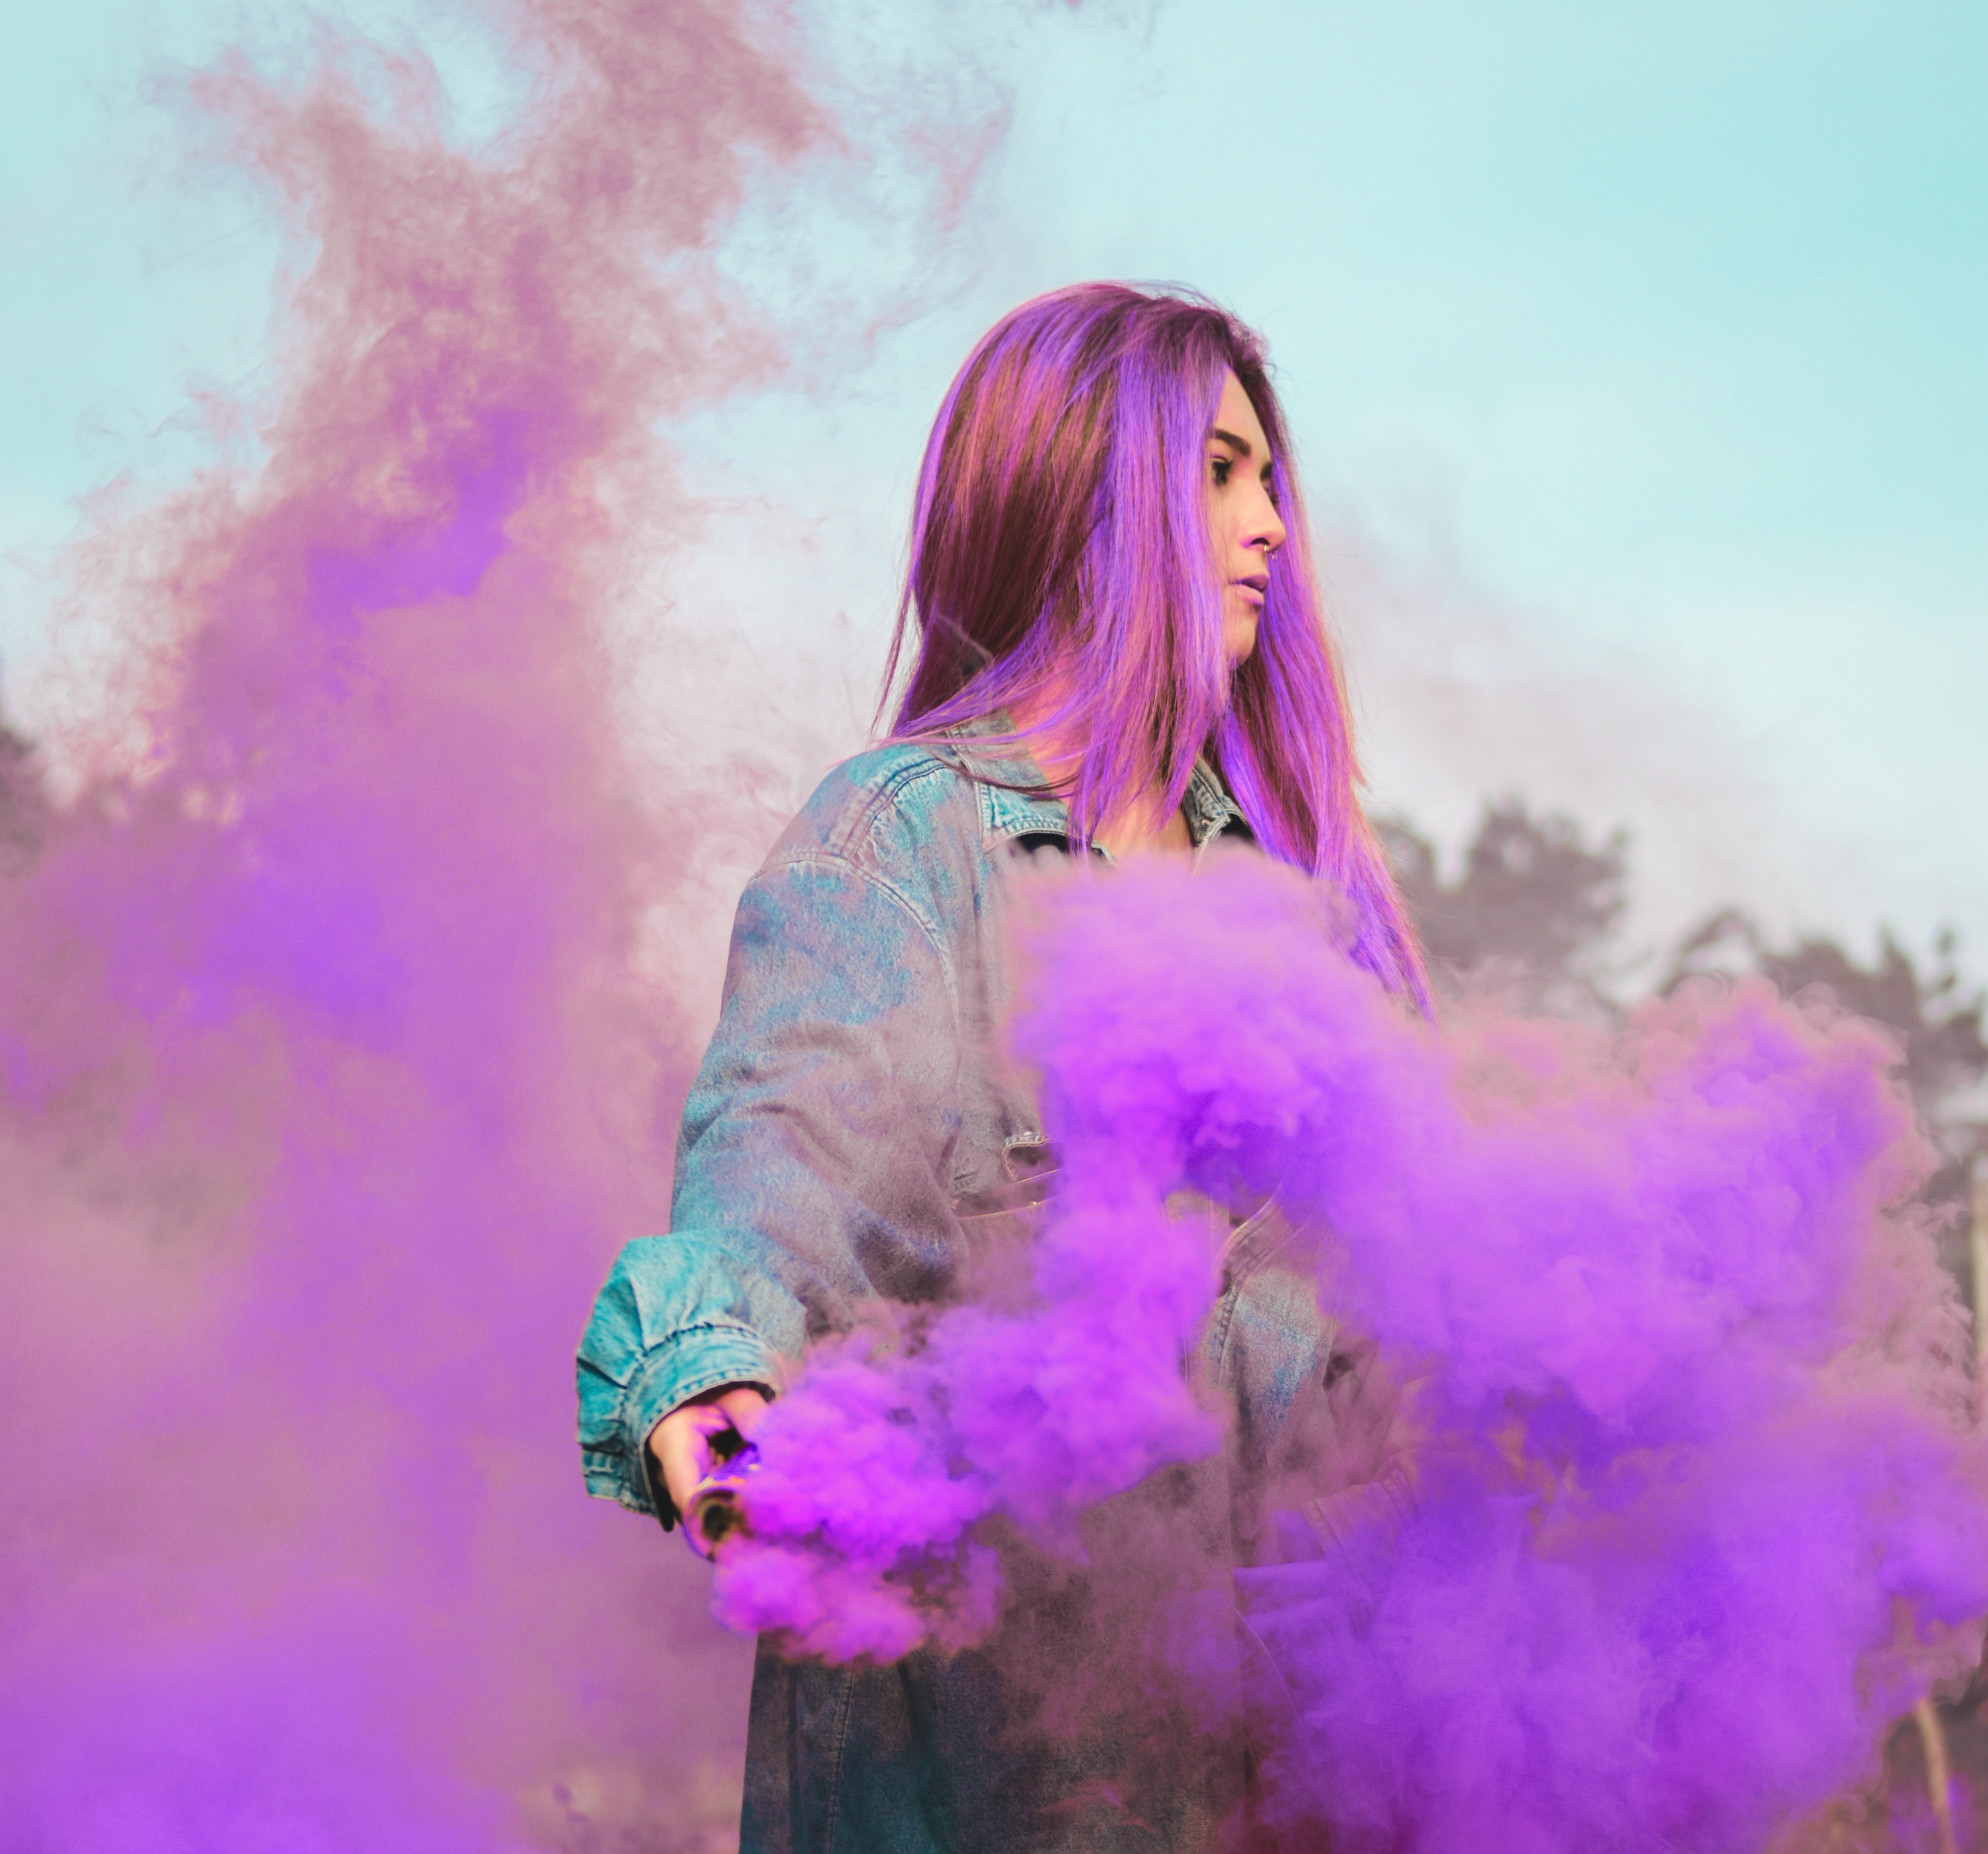
Before / After:
Photo by Victor Dueñas Teixeira, free to use
1- Color Range Selection
To make a color range selection, simply go to Select > Color Range. The Color Range dialog will appear:

With the selection radio button active, click around the little preview area or in your image behind the dialog to select the color you want to select. You can then play around with the amount of Fuziness to tweak the range amount of similar colors that should become selected.
Now just click on OK and your selection will become active.

Here are a few extra color range selection tricks/tips for you:
Trick 1: Select Options
The default color range selection works with sampling colors that you choose yourself in the preview area, but there are also a few other very useful selection modes. Just open up the Select dropdown, and you’ll see you can select by a specific primary color, by highlights/midtones/shadows or even by skin tones.
Trick 2: limit the area for the color range selection
If you want to select a color from an image, but only from a certain area of the image, just make a rough selection first using something like the Lasso Tool before opening the Color Range dialog. This will limit the selection to only the preselected area.
Trick 3: selection preview
Use the Selection Preview dropdown to also see a larger preview of the selected areas in your actual image. This can help to see in more details what will get selected.

2- Hue/Saturation Adjustment Layer
With your selection active, just add a Hue/Saturation adjustment layer. Hue/Saturation is what we’ll use to change the color. When you add an adjustment layer while a selection is active it’ll automatically apply a mask that only shows through where there’s a selection.
Now just play around with the hue slider to select the color you want to change to. The hue controls the base color, but then you can also play around with the saturation and brightness to get the exact color you’re after:

🎨 And that’s all there is to it! Now, this method is usually really flexible, but may not work in all situations. In future posts we’ll go over other methods that can be used to change the color of something in Photoshop.
🌄 Image info:
- Camera: Nikon D7200
- Focal length: 35mm
- Shutter speed: 1/1500s
- Aperture: f/2
- ISO: 100