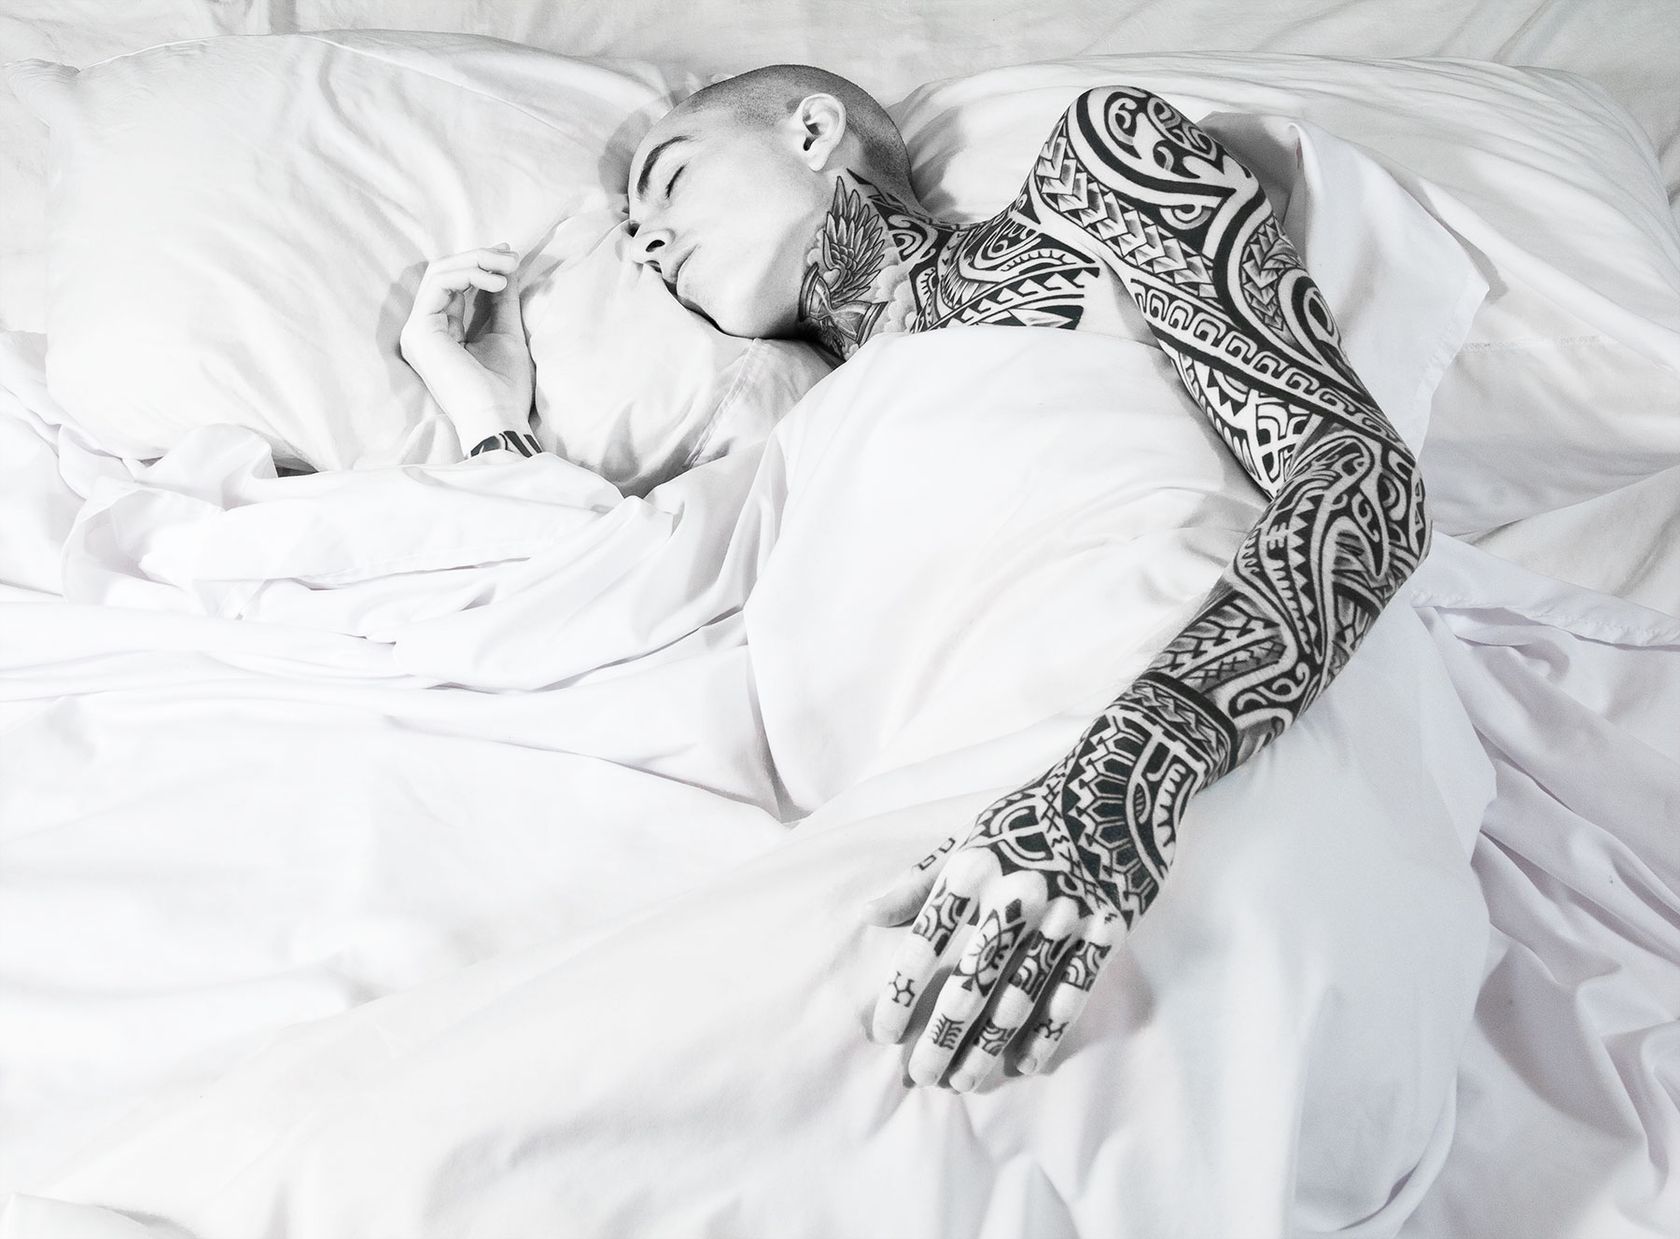
Turn Skin White in Lightroom Using HSL Saturation and Luminance
This picture in a white bed was a perfect candidate to play around and make my skin completely white. It's really easy to do in Lightroom with a clever trick using Saturation and Luminance. Afterwards in Adobe Photoshop, I only applied a few last tweaks involving a color balance adjustment to bring a subtle blue tint to the image.
Before / After:
1- White skin in Lightroom
Skin is composed of mostly orange tones, with some red and yellow tones, so the trick is to remove all saturation in those tones, but to push the luminance up for these same tones so that it doesn’t look dull and faded:
- Down in the Saturation adjustment of the HSL panel, decrease the red, orange and yellow tones all the way down to -100.
- Now in the Luminance adjustment of the same HSL panel, increase the red, orange and yellow tones all the way up to +100.
- Here’s a visual recap of the settings:
2- Other Lightroom tweaks
After the main white skin effect was applied, I adjusted a few other values to arrive exactly at what I wanted. I just went by eye really and played around to arrive at something that I liked:
- Exposure to +0.33.
- Contrast to +80.
- Shadows to +40.
- Whites to +40.
3- Cleaning up with the spot healing brush tool
- Use the Spot Healing Brush Tool → J to remove major skin blemishes. I wanted skin that would look like porcelain, so that’s why I wanted to remove pretty much all blemishes.
This is what the image now looks like, with the white skin only, and before adding the final color balance adjustment:
4- Color balance adjustment
This is for the slight blue tint that I added to the whole image. I basically just added a color balance adjustment and played around to arrive at something that I liked:
- Create a Color Balance adjustment layer.
- In the Shadows, I increased the Green value to +20 and the Blue value to +30.
- In the Midtones, I decreased the Green value to -20 and increased the Blue value to +20.
- In the Hightlights, I increased the Blue value to +20.
Done! With just a few basic adjustments in Lightroom we're able to create a pure white skin effect that looks great. This could be applied in a variety of surreal or fashion photography scenarios. It's good to know in advance while shooting that it's the desired end effect, because then the focus is on a proper exposure of the skin.
🌄 Image info:
- Camera: Nikon D300s
- Focal length: 32mm
- Shutter speed: 1/10s
- Aperture: f/13
- ISO: 320
