Creating Your Own Styles in Capture One Pro
Capture One styles are the equivalent of Lightroom presets. They allow you to keep collections of easily applicable adjustments to your images.
Often you may find yourself using styles that come with Capture One by default, or using styles that you found from external sources. In fact you can get great professional quality style packs directly from Phase One, the makers of Capture One.
But you know what can be even better than these pre-made styles? Creating your own styles from previous edits. This way you can create your very own looks and re-use these looks in future shoots.
Creating styles in Capture One is really easy, and here I’ll break it down for you:
Video Version
If video is more your thing, I also made a quick recording of the steps to follow:
And if you prefer the written instructions, just keep on reading…
1- Make Your Adjustments
Start with simply making your image adjustments. The only thing to keep in mind is that you should keep all the adjustments that you want included in your style to be make on the background layer. You can make adjustments that you don’t want in your style on separate layers, but you can also keep everything on the background layer because, as you’ll see next, you’ll be able to select what adjustments to exclude when comes the time to create the style.
For this particular image the main adjustments I made were for vibrance, contrast, shadow recovery, color balance, film grain and structure.
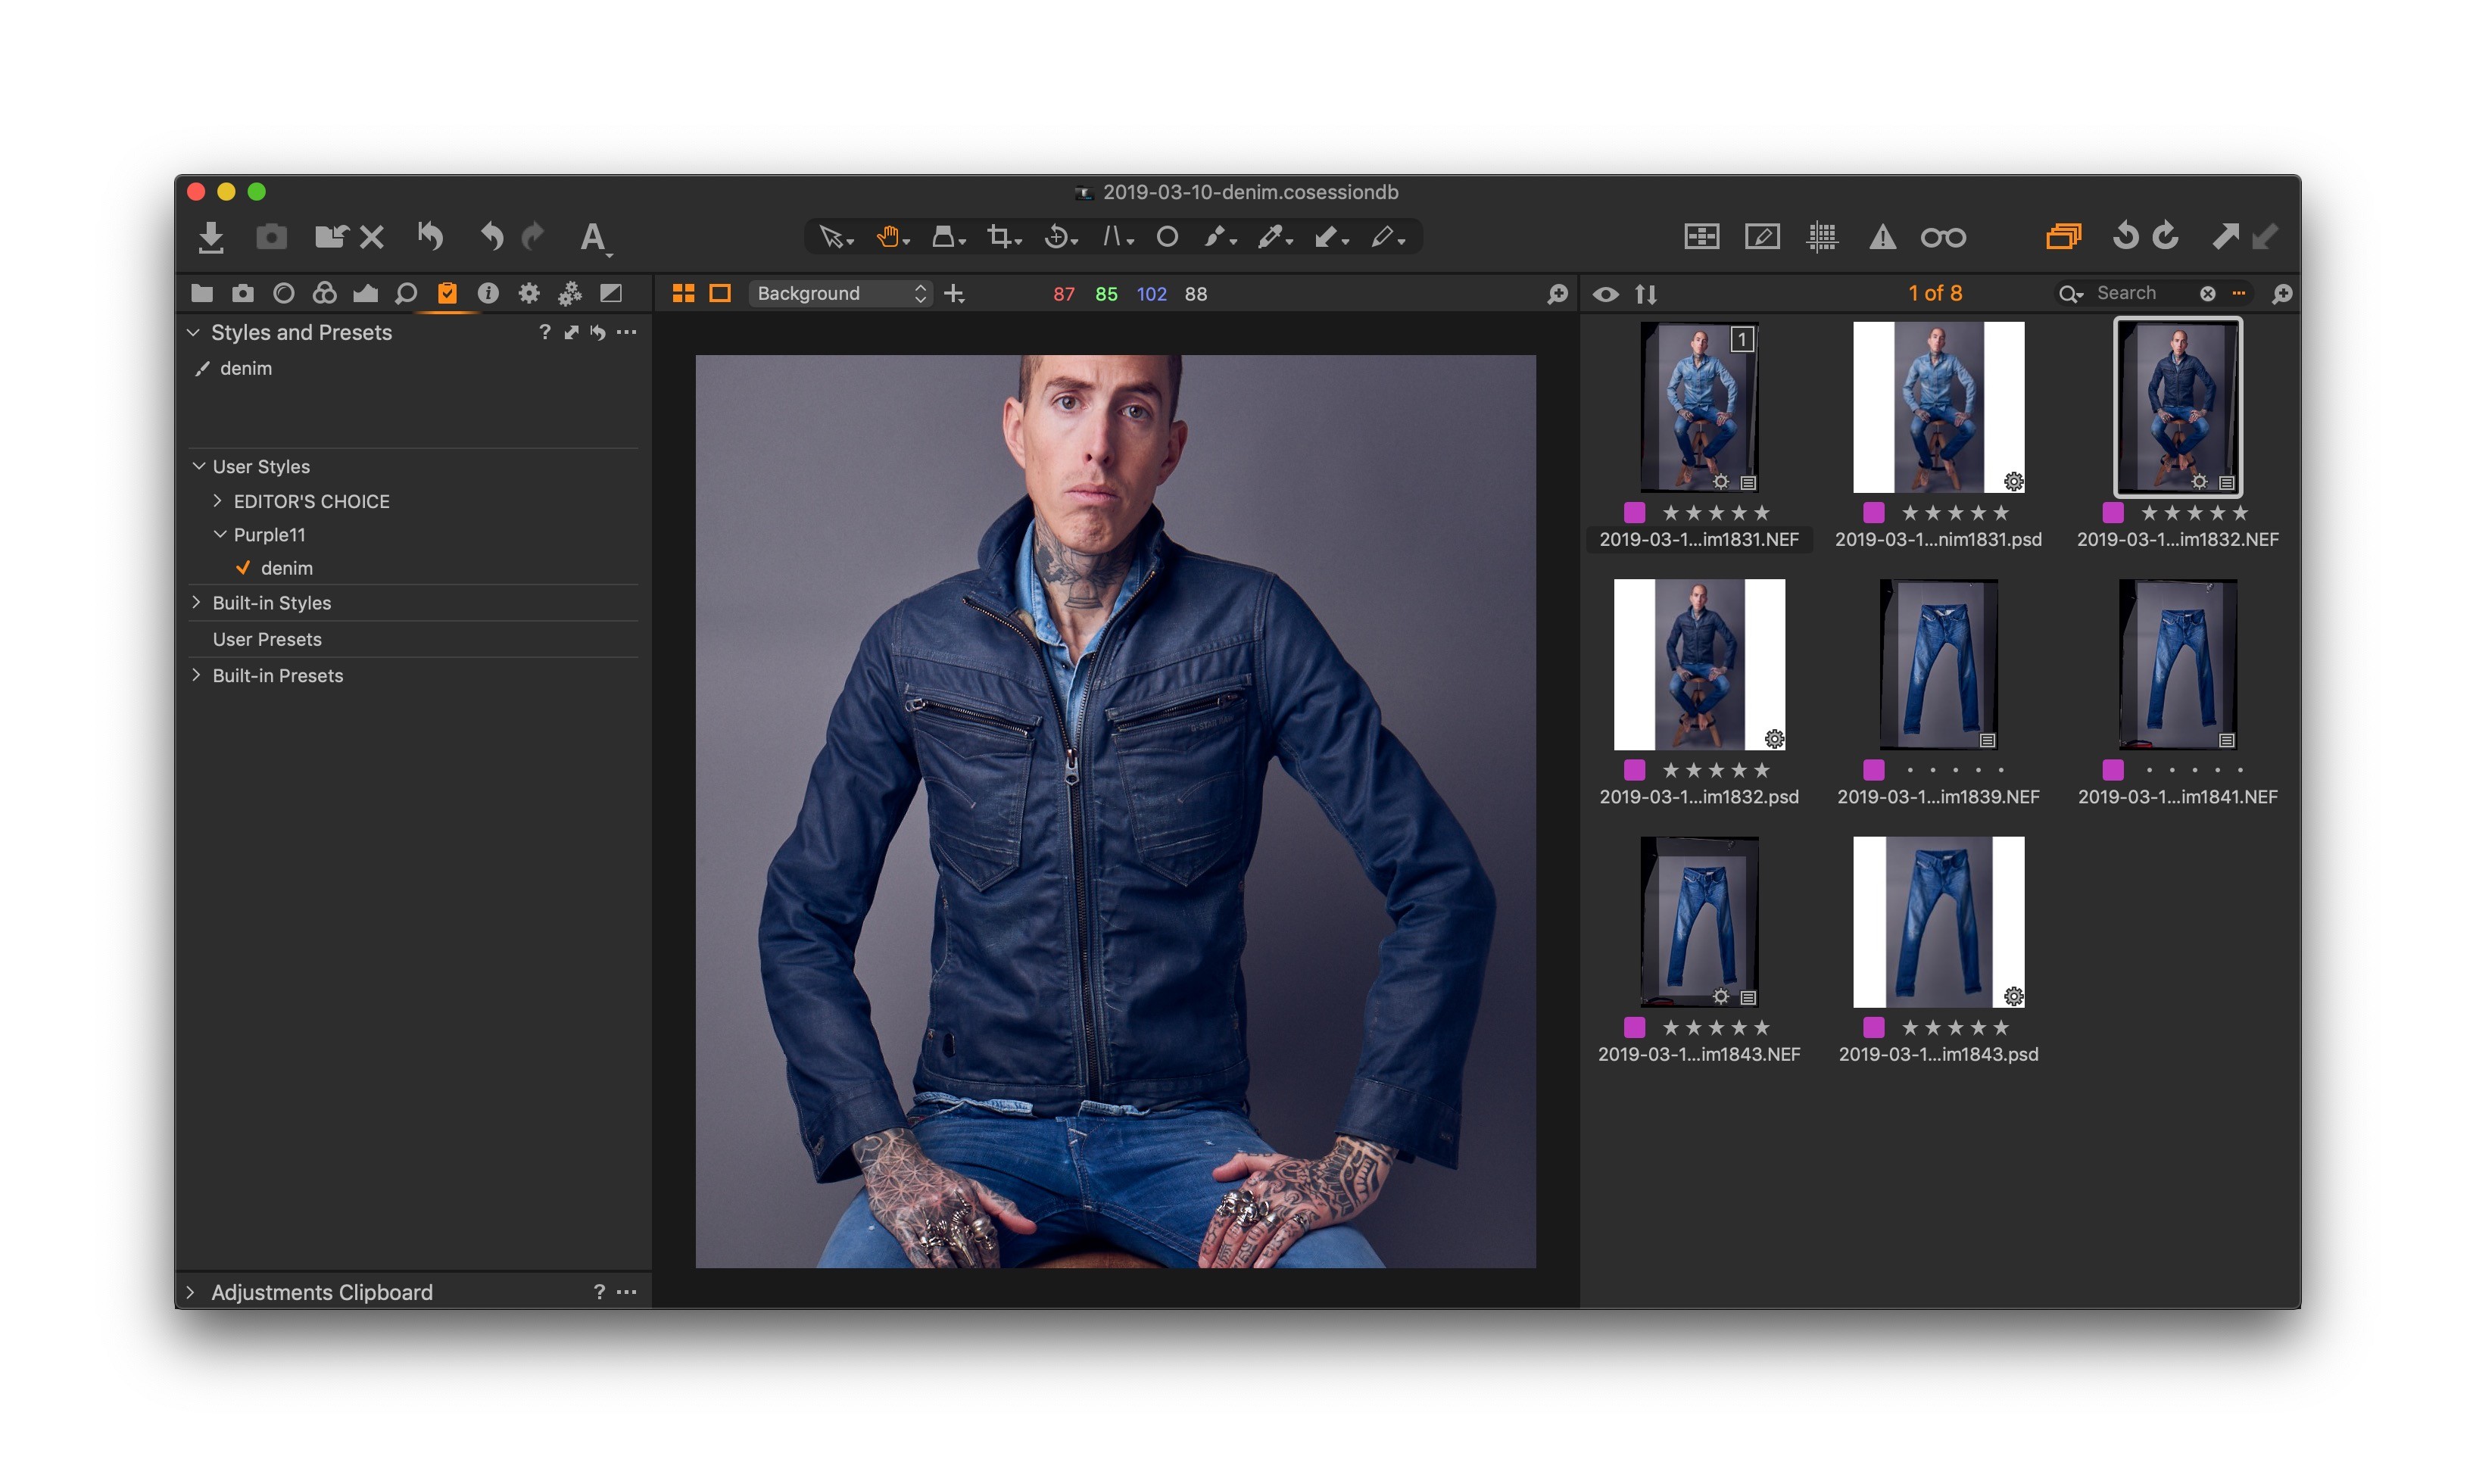
2- Adjustment Panel
Once you’re happy with the adjustments, go to the Adjustments panel (the one with a clipboard icon). Click the three-dots icon at the top right of the Styles and Presets panel and choose Save User Style:

3- Select the Included Adjustments
A dialog will appear to allow you to uncheck any of the image’s adjustments that you don’t want to include in the saved style. This is the occasion to uncheck adjustments that are specific to that image and that wouldn’t work great as a generic style. Things like exposure, white balance, shadow/highlight recovery and crop, for example, are often adjustments that are image-specific so it’s often best not to include them in your user styles.

4- Save the Style
Next you’ll be prompted to save the style. You’ll see the finder window will point to the right folder for Capture One styles. You can create subfolders, and your styles will then be neatly organized inside of Capture One. Here I decided to create a Purple11 subfolder inside the styles folder.

5- Start Using Your New Style
And that’s it! You’ll automatically see the new user style in the User Styles section of the Styles and Presets panel. You can use it as you would for any other style.
