How to Add a Natural-Looking Lens Flare in Photoshop
Lens flares are an interesting beast. At times we'll go to great lengths to try and avoid them by using things like lens hoods or by placing our hand strategically to avoid direct light from getting into the lens. Other times though we'll actually seek them out to give our images this washed-out, burst of light look.
What to do if you'd like the look of a lens flare in one of your shots, but couldn't quite get an actual one. Fear not, it's easy to do, thanks so the Render Lens Flare feature in Adobe Photoshop.
Before / After:
By default lens flares generated in Photoshop are destructive. That means that they change the pixels on your background layer, making it hard to later change your mind about the lens flare, its opacity, its position… Here I’ll use a trick to make it non-destructive by having the flare on its own layer.
Let’s see how it’s done step by step:
1- Preparing
Duplicate the background layer (Cmd+J Ctrl+J), and you can change the name of that duplicated layer to flare.
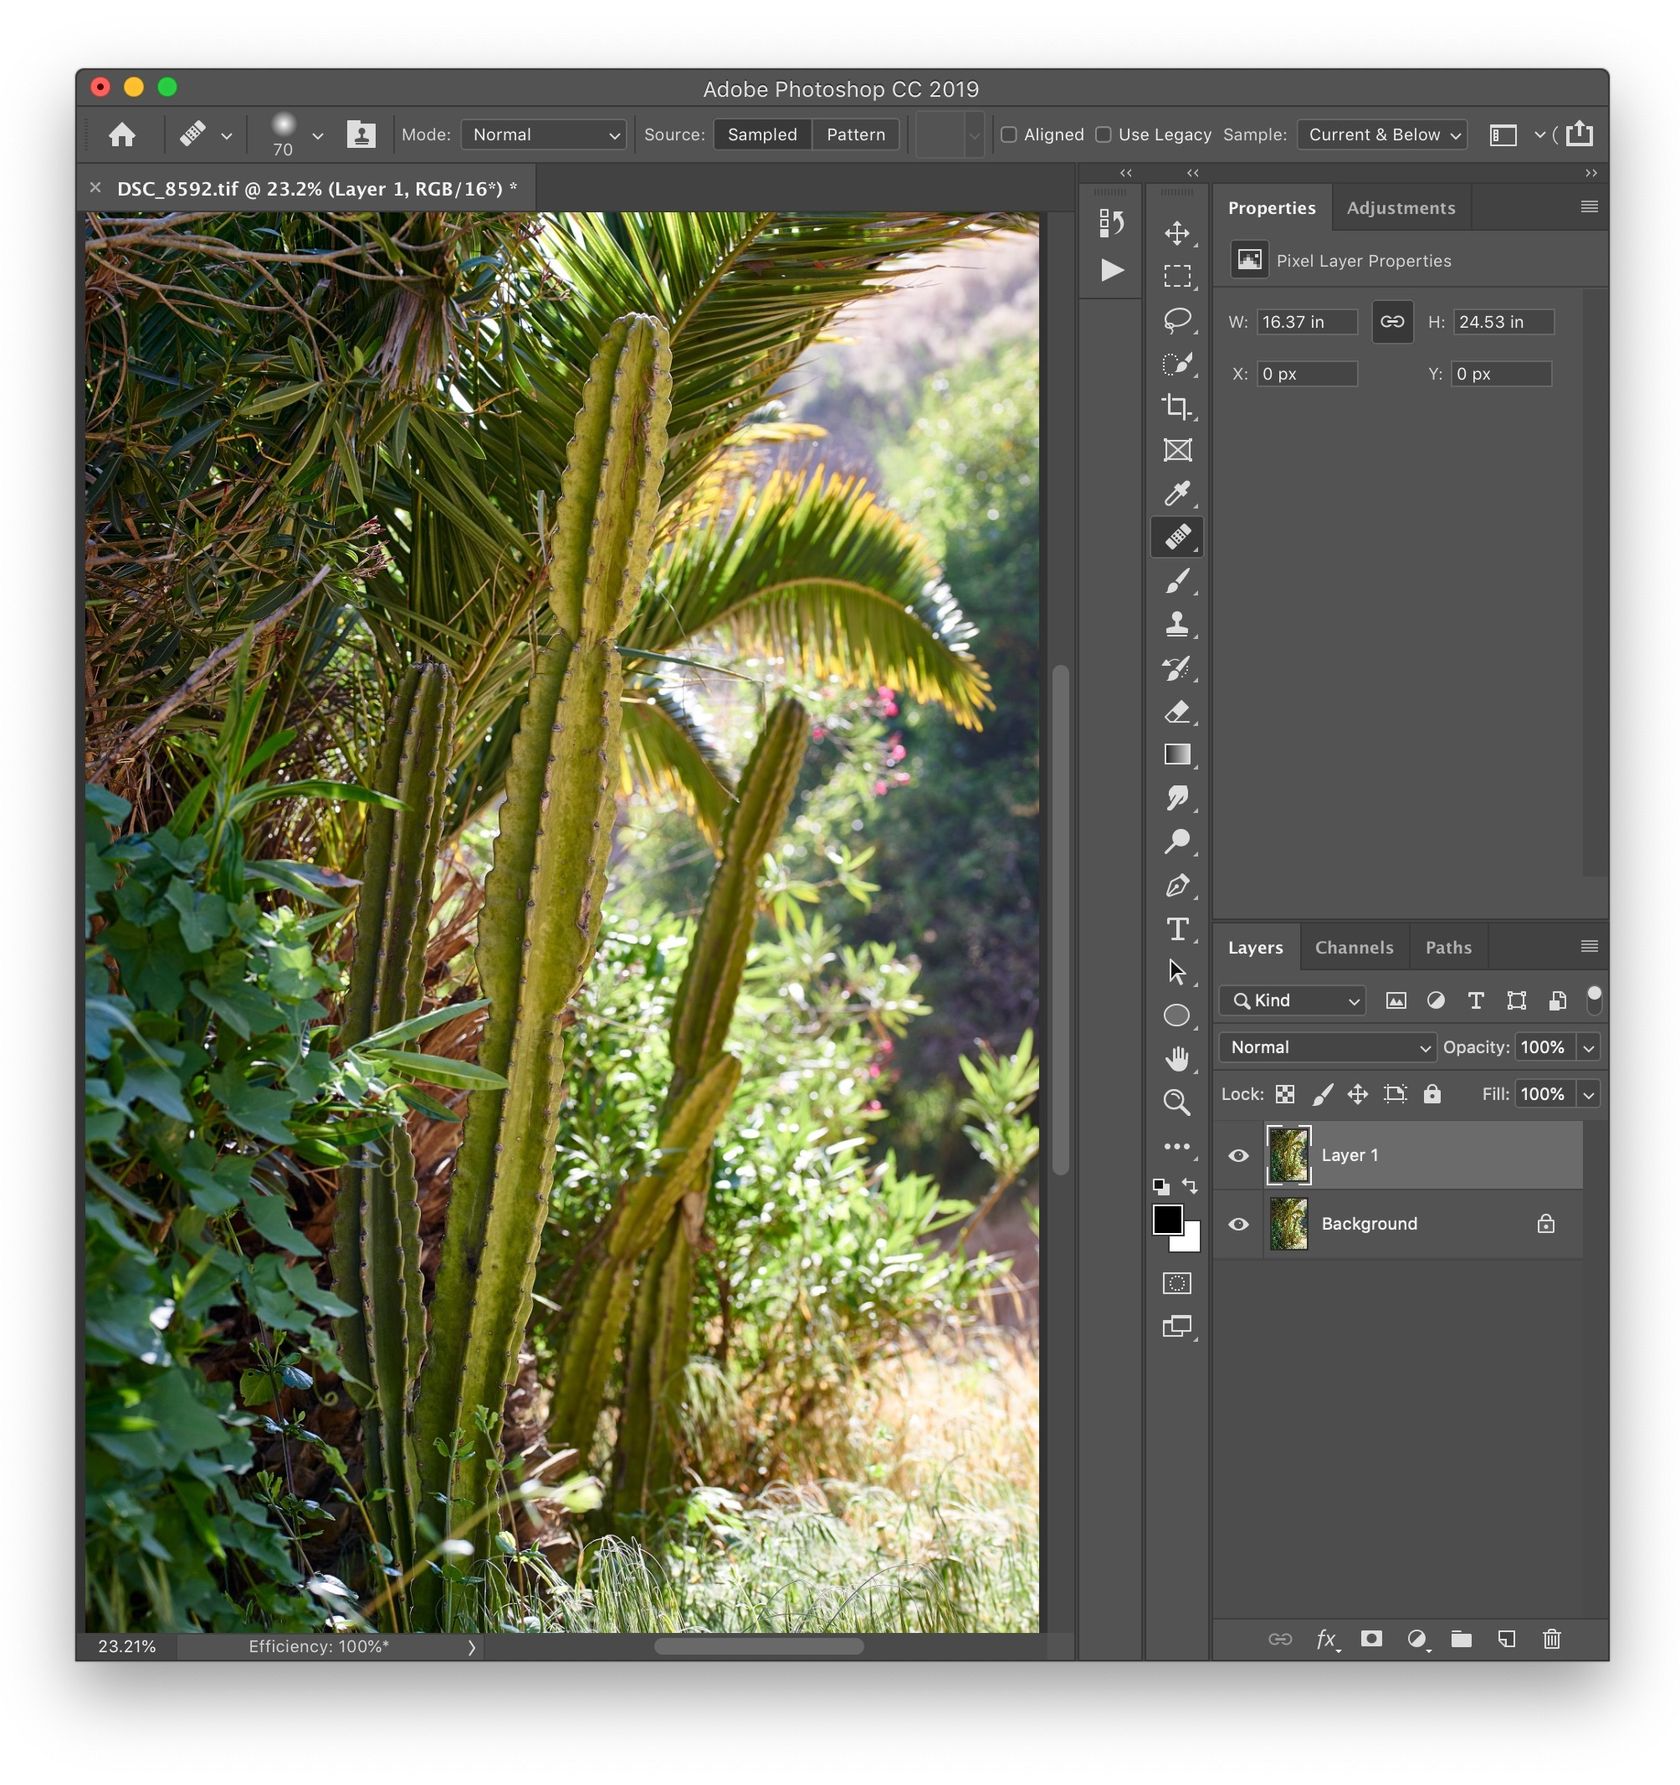
Now go to Filter > Render > Lens Flare.
You can drag the handle in the preview window to place the lens flare where you’d like it to be, and you can choose a brightness and lens type for the flare. These flares have been created to mimic real lens flares, so the lens types reflect the usual flares that you’d get from such lens.
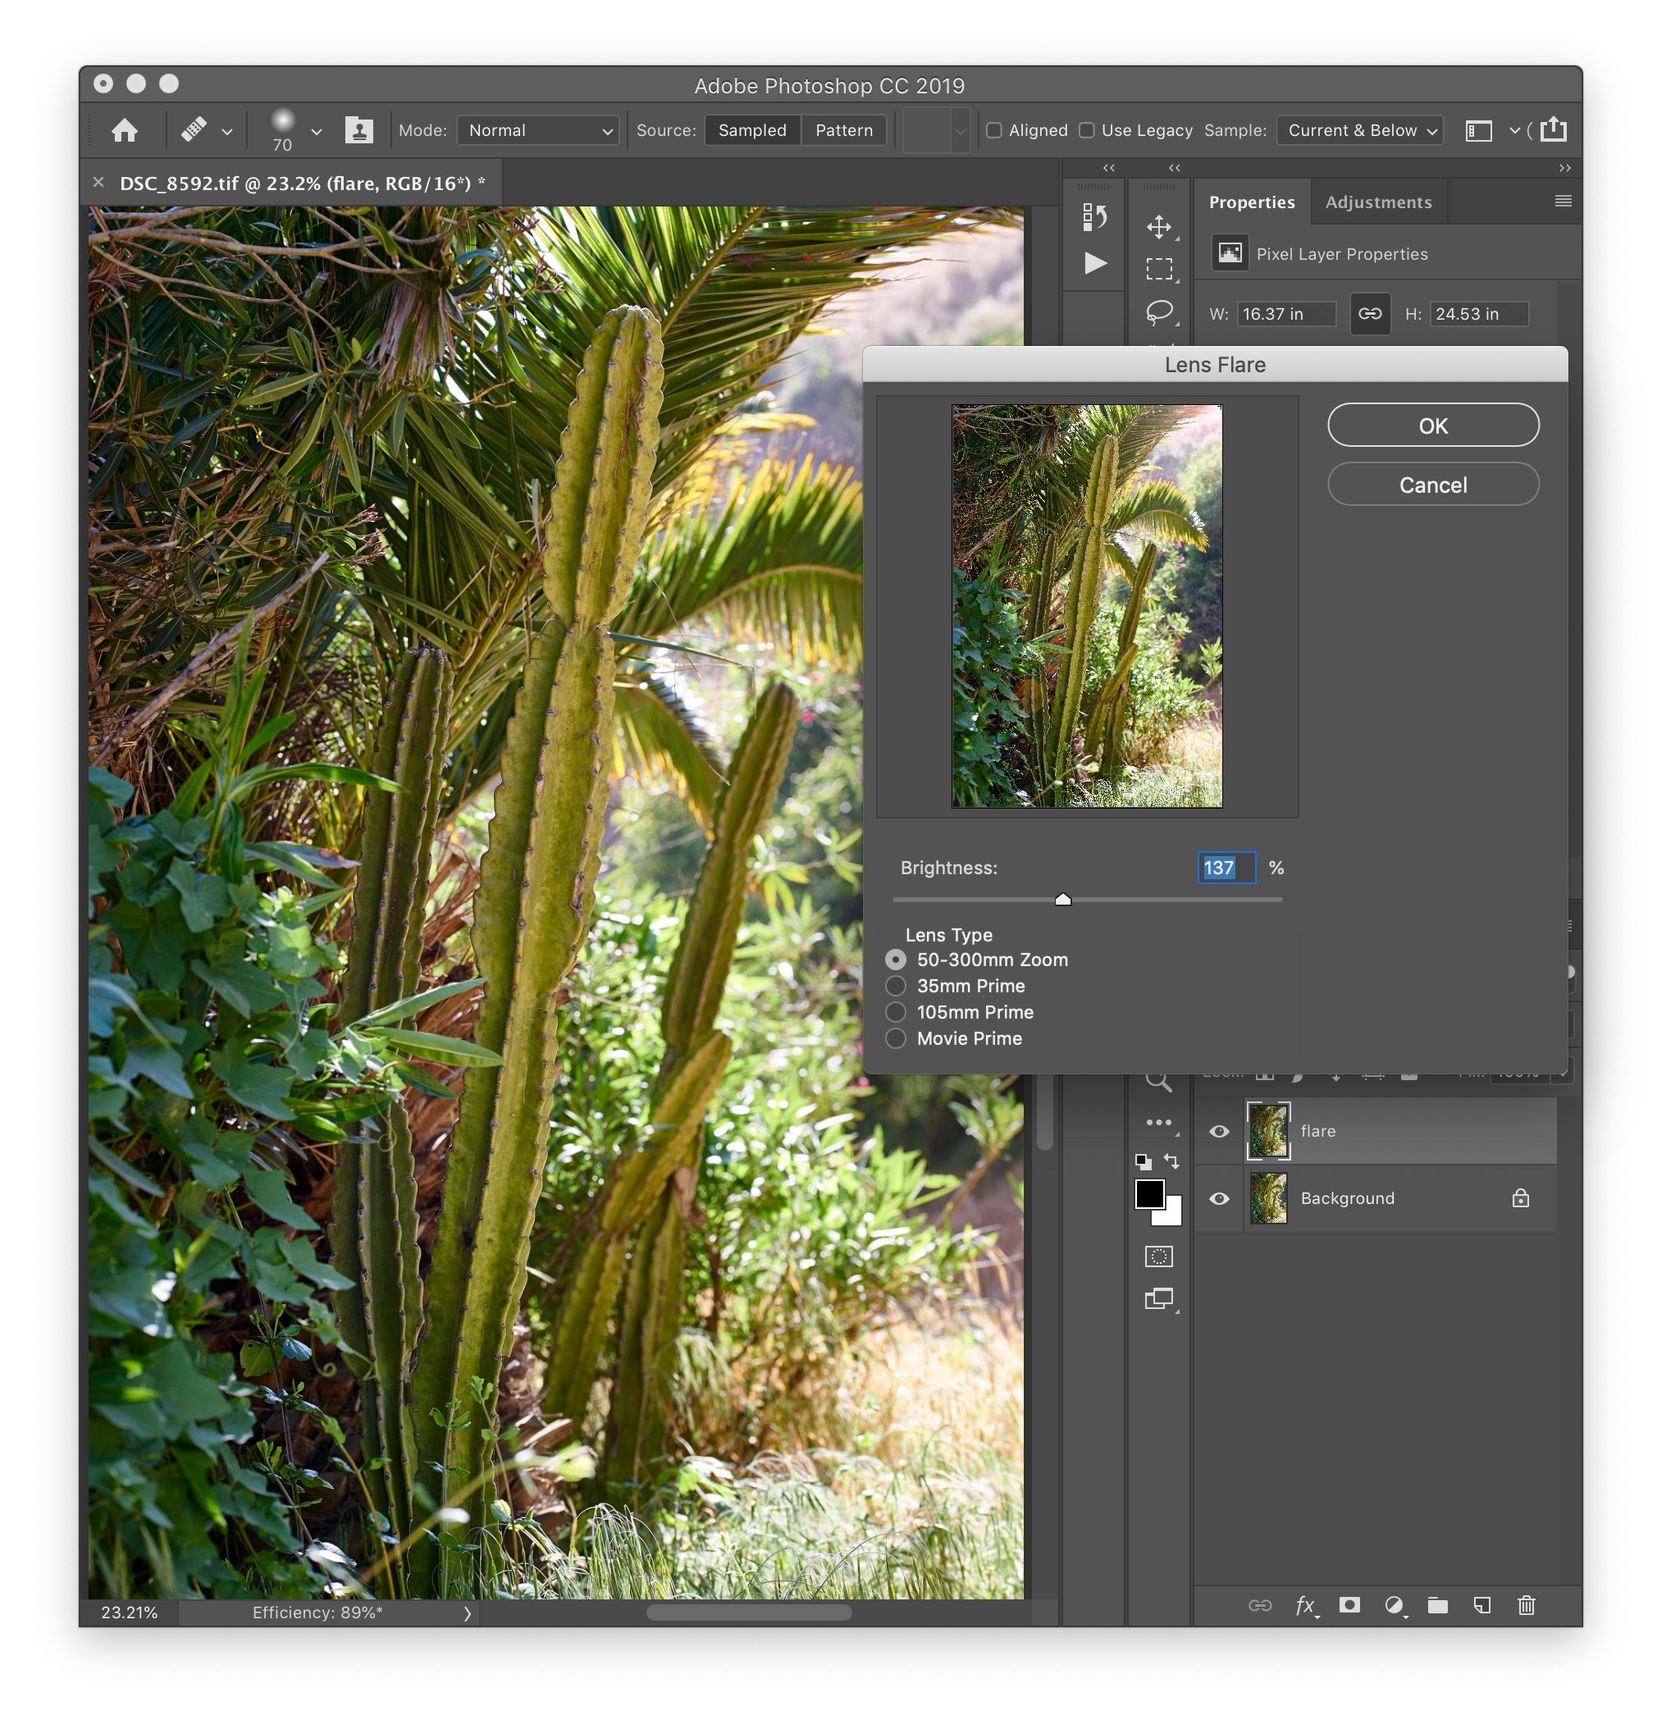
Apply the lens flare, and now fill the layer with black. You can do that by making sure black is selected as the background color, and hitting Cmd + Backspace (Ctrl + Backspace on Windows).
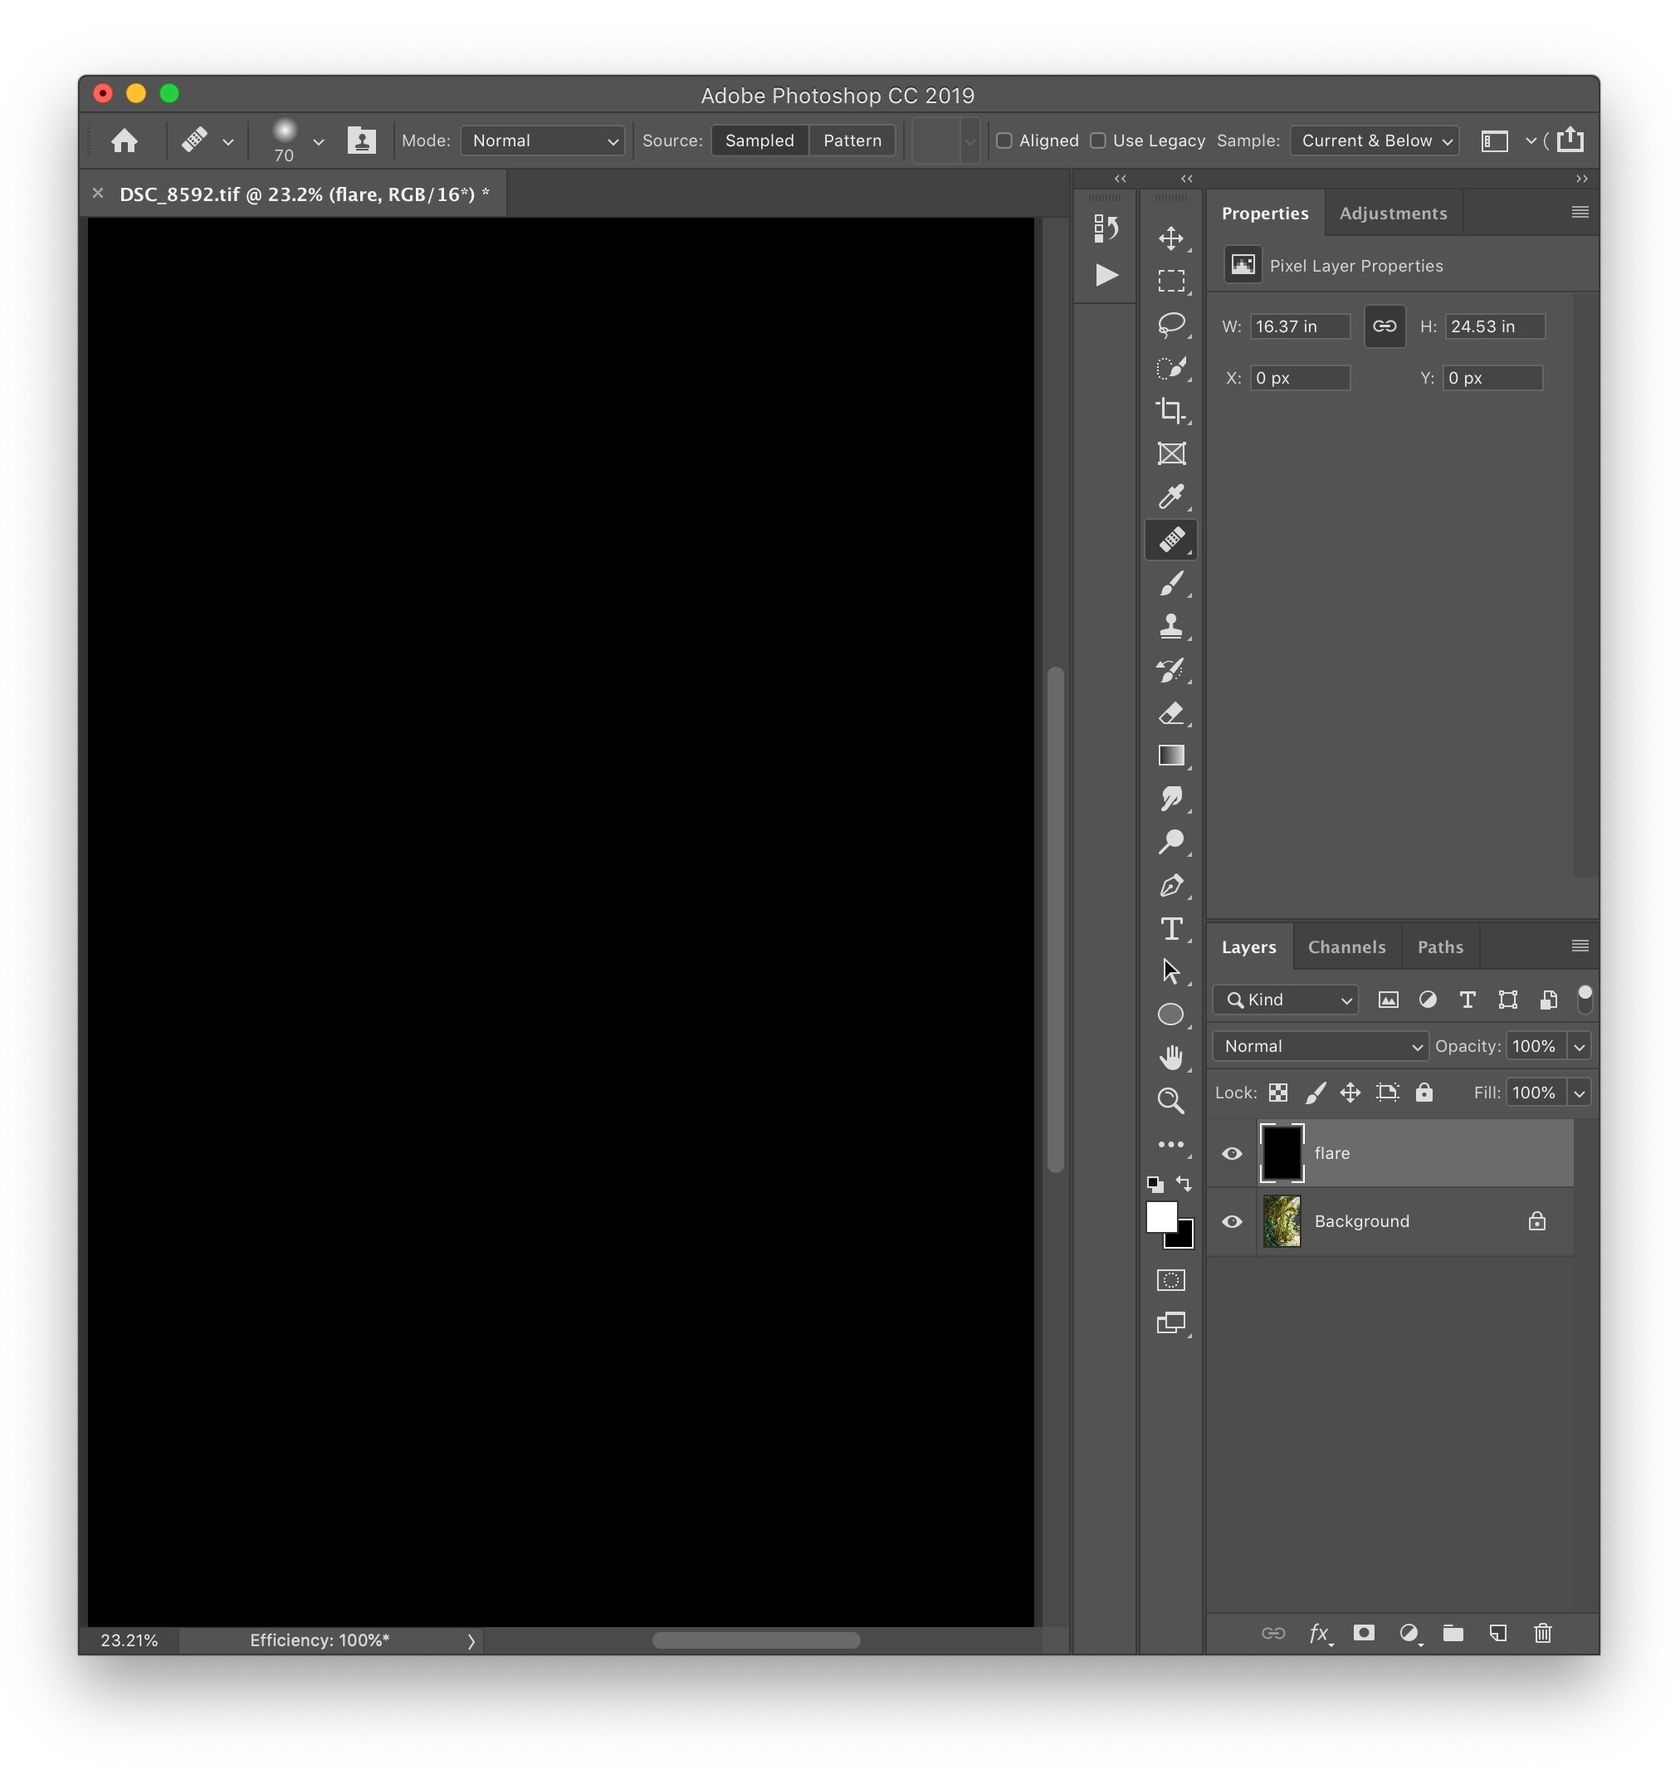
No more lens flare! 😢 It’s now just a black layer. We’ll fix that next!
2- Applying the Lens Flare
Now just go to the Filter menu and select the very 1st option (Lens Flare). This will apply the previously created lens flare with the exact same previous settings, but on our now black layer.
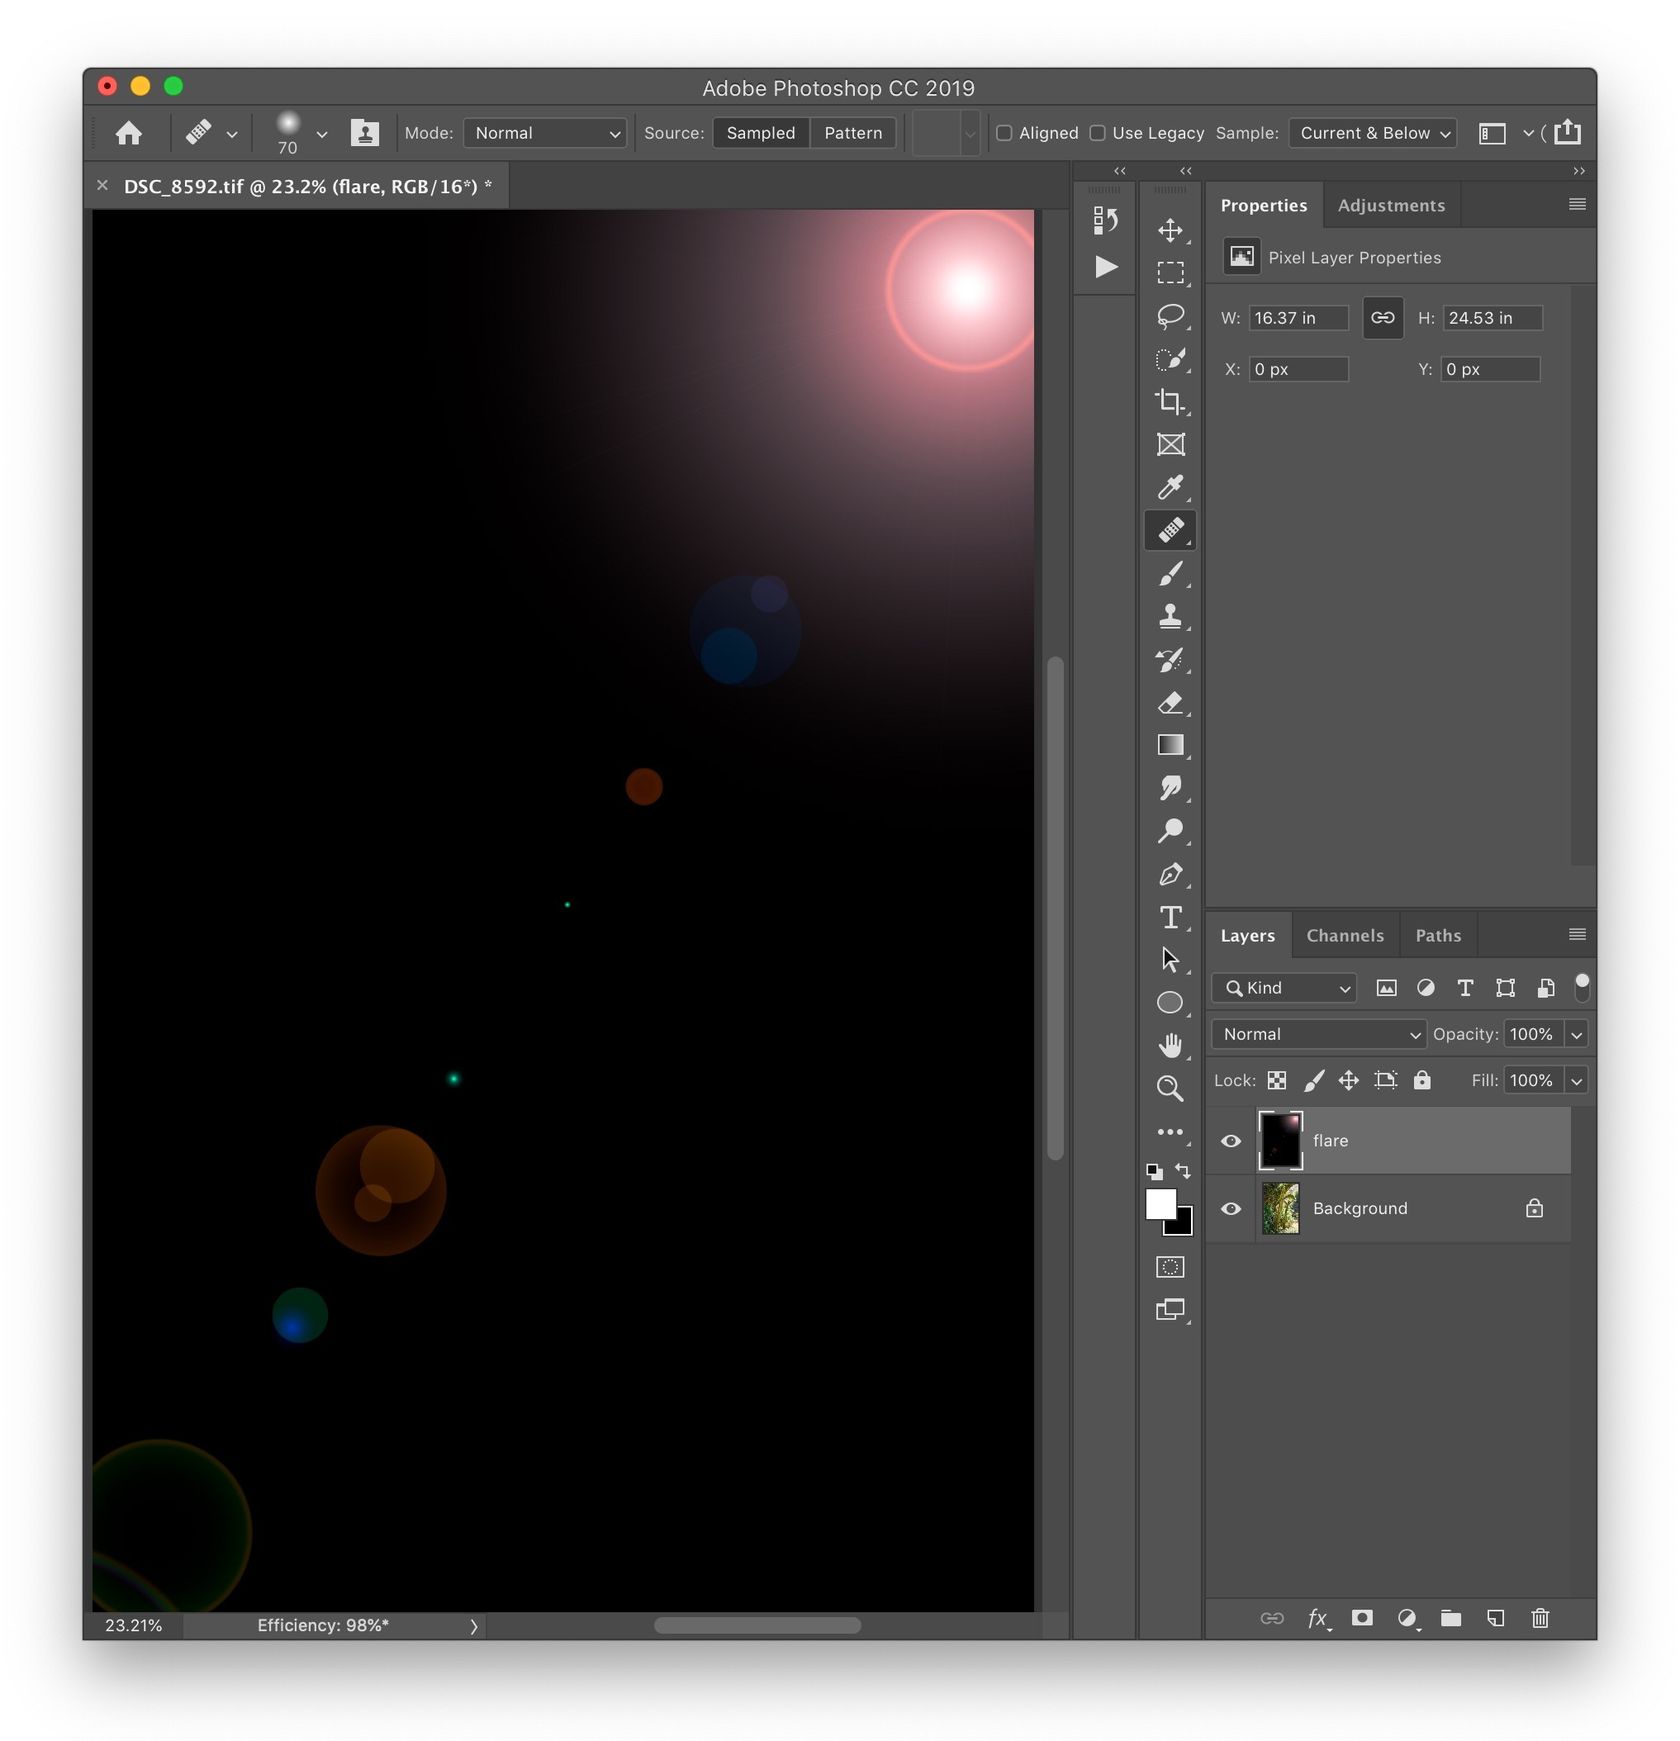
Change the flare layer’s blend mode to Screen. That will make everything black disappear and only the colors of the flare will show through. You now have a natural-looking lens flare that was entirely computer-generated!
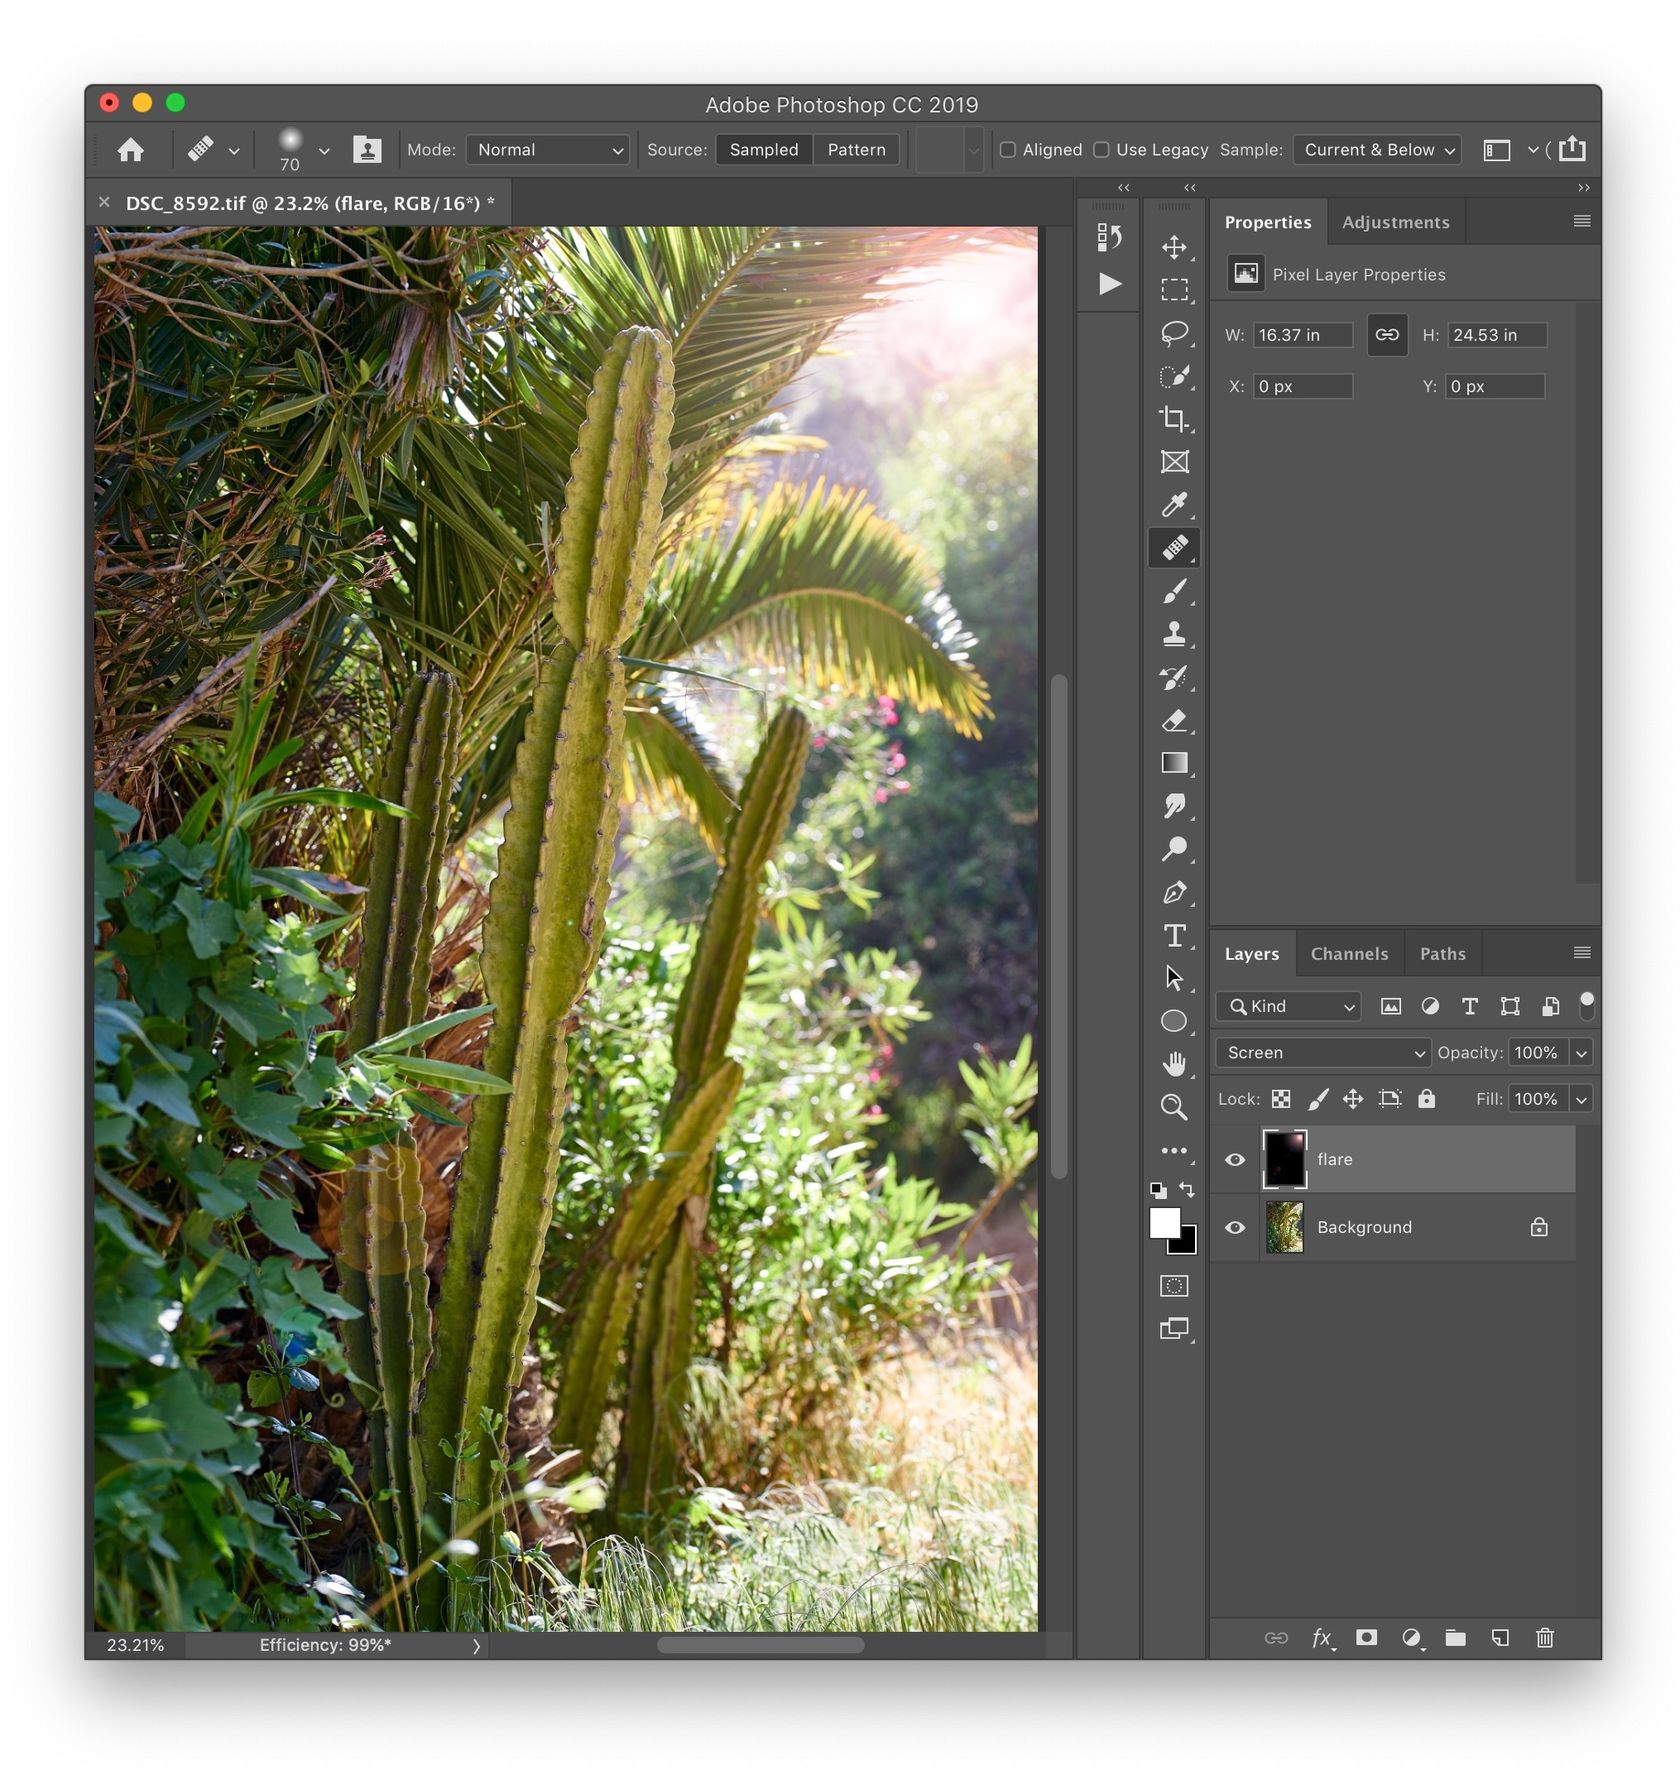
3- Tweaking the Appearance of the Lens Flare
We could stop at step 2, but we can also tweak things a little bit to make it look just right.
For example, for this particular image, I reduced the layer opacity for my flare to 70% and I applied a gaussian blur so that the flare has less defined edges and looks more integrated with the image.
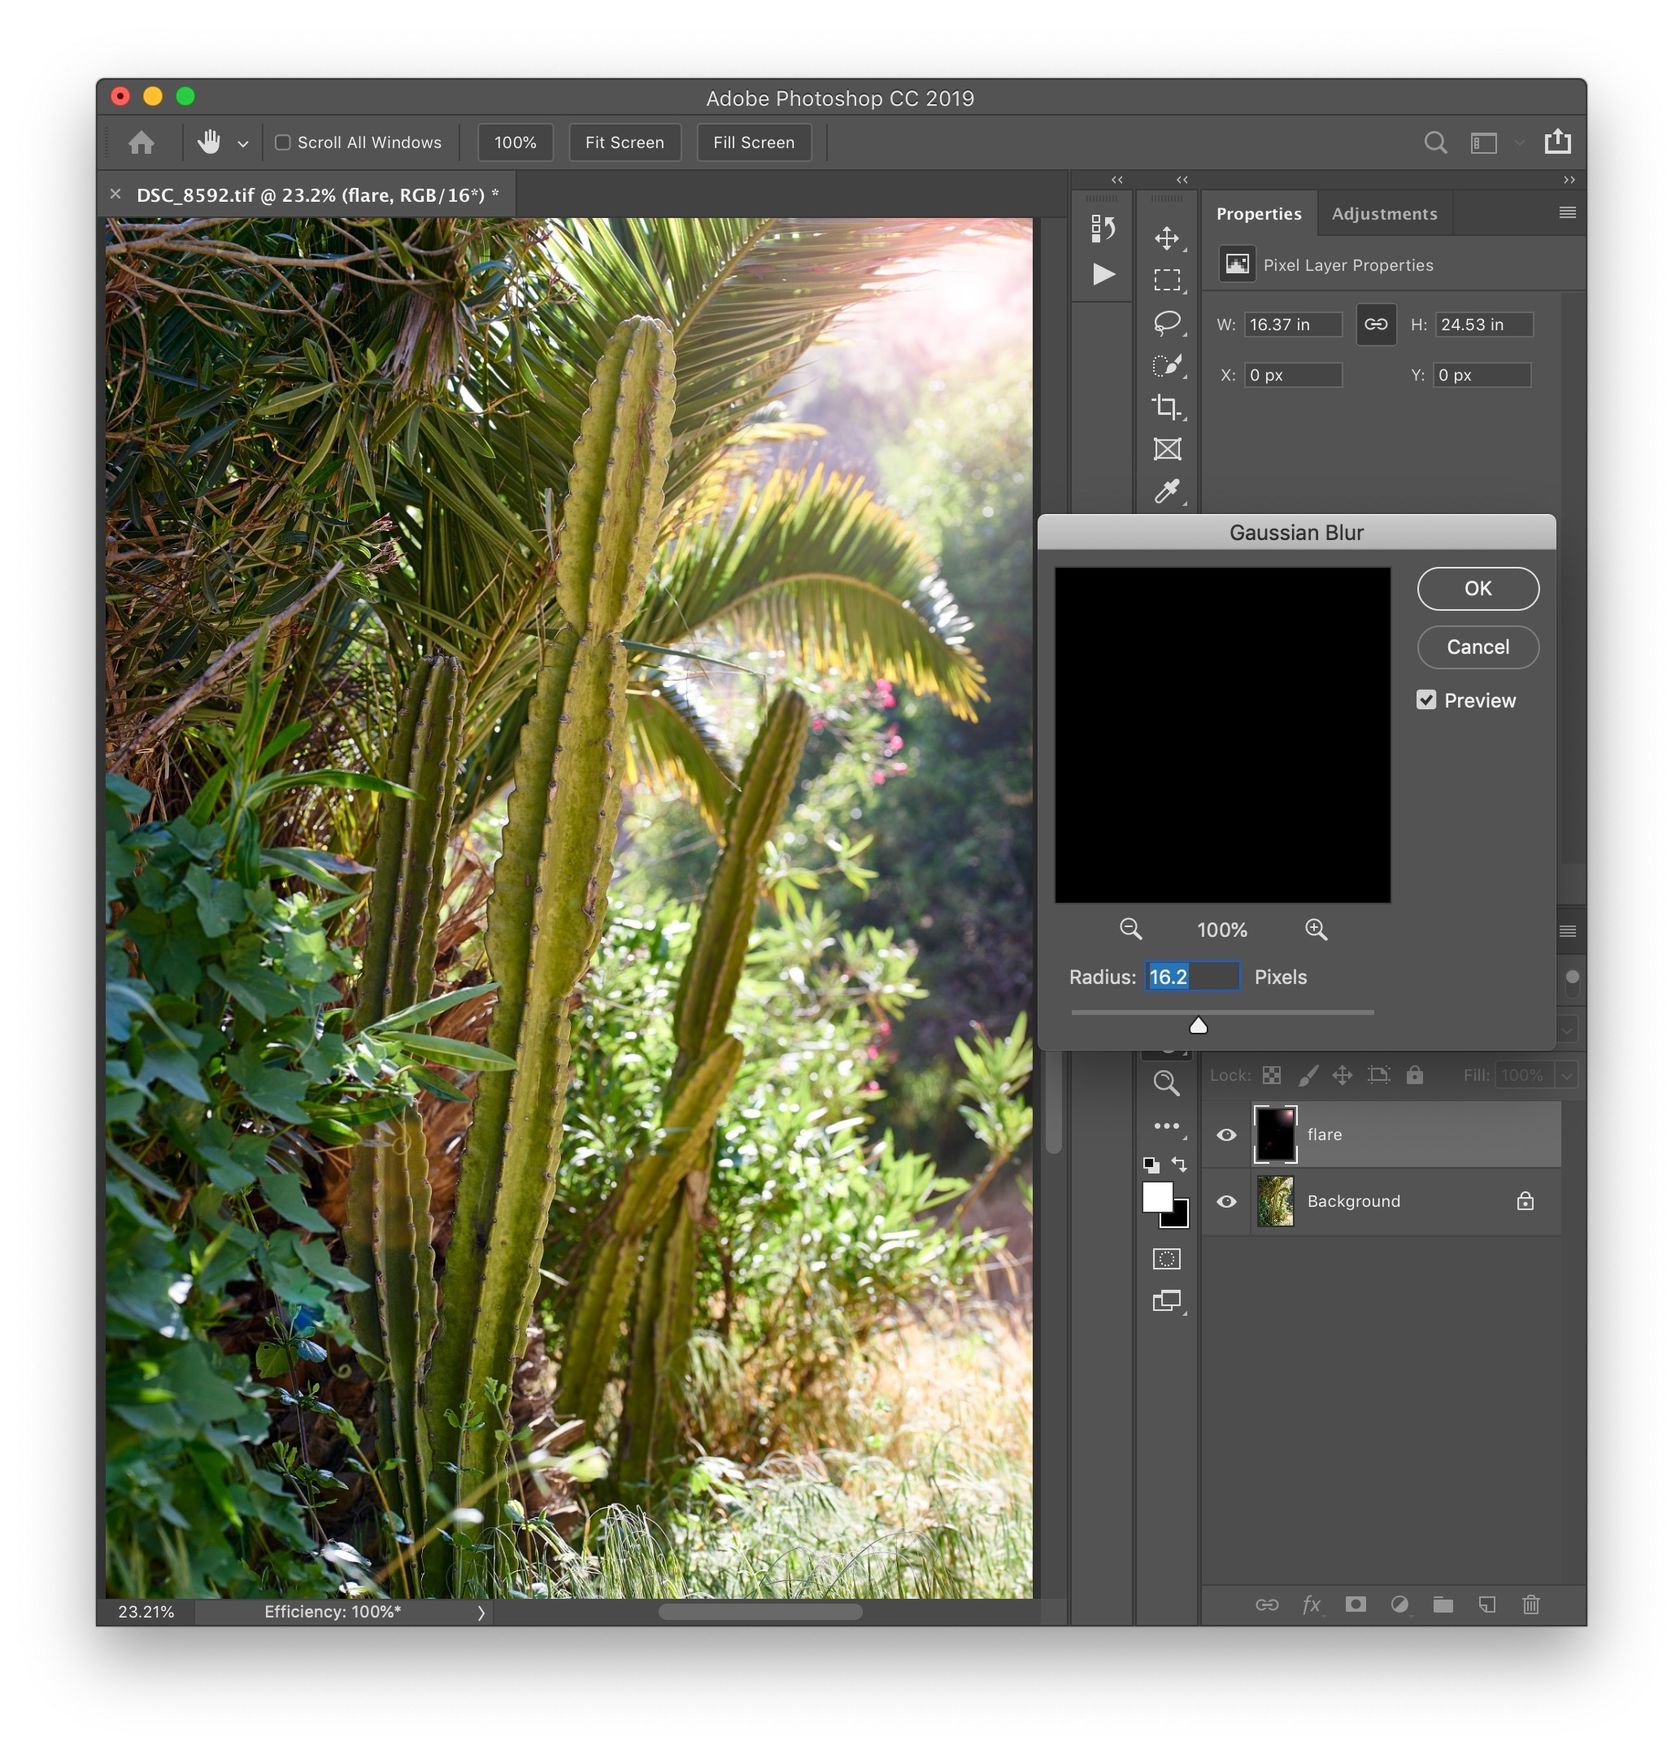
At this point you can also tweak the exact position and size of the flare if you’d like.
You could even shift its color by adding a Hue/Saturation adjustment layer that’s clipped to the flare layer and adjusting the hue so get the exact color that looks best for your image.
That’s it folks, it’s a pretty simple thing to do in Photoshop! Let’s finish this post up with 2 things to keep in mind when it comes to lens flares:
- Place the lens flare so that it follows the direction/source of light. This way it’ll look more natural.
- Don’t hesitate to reduce the opacity quite a bit. It can be easy to overdo it with lens flares, so a little goes a long way!
🌄 Image info:
- Camera: Nikon D800
- Focal length: 105mm
- Shutter speed: 1/160s
- Aperture: f/8
- ISO: 200