6 Tips for Using Flags in Photography
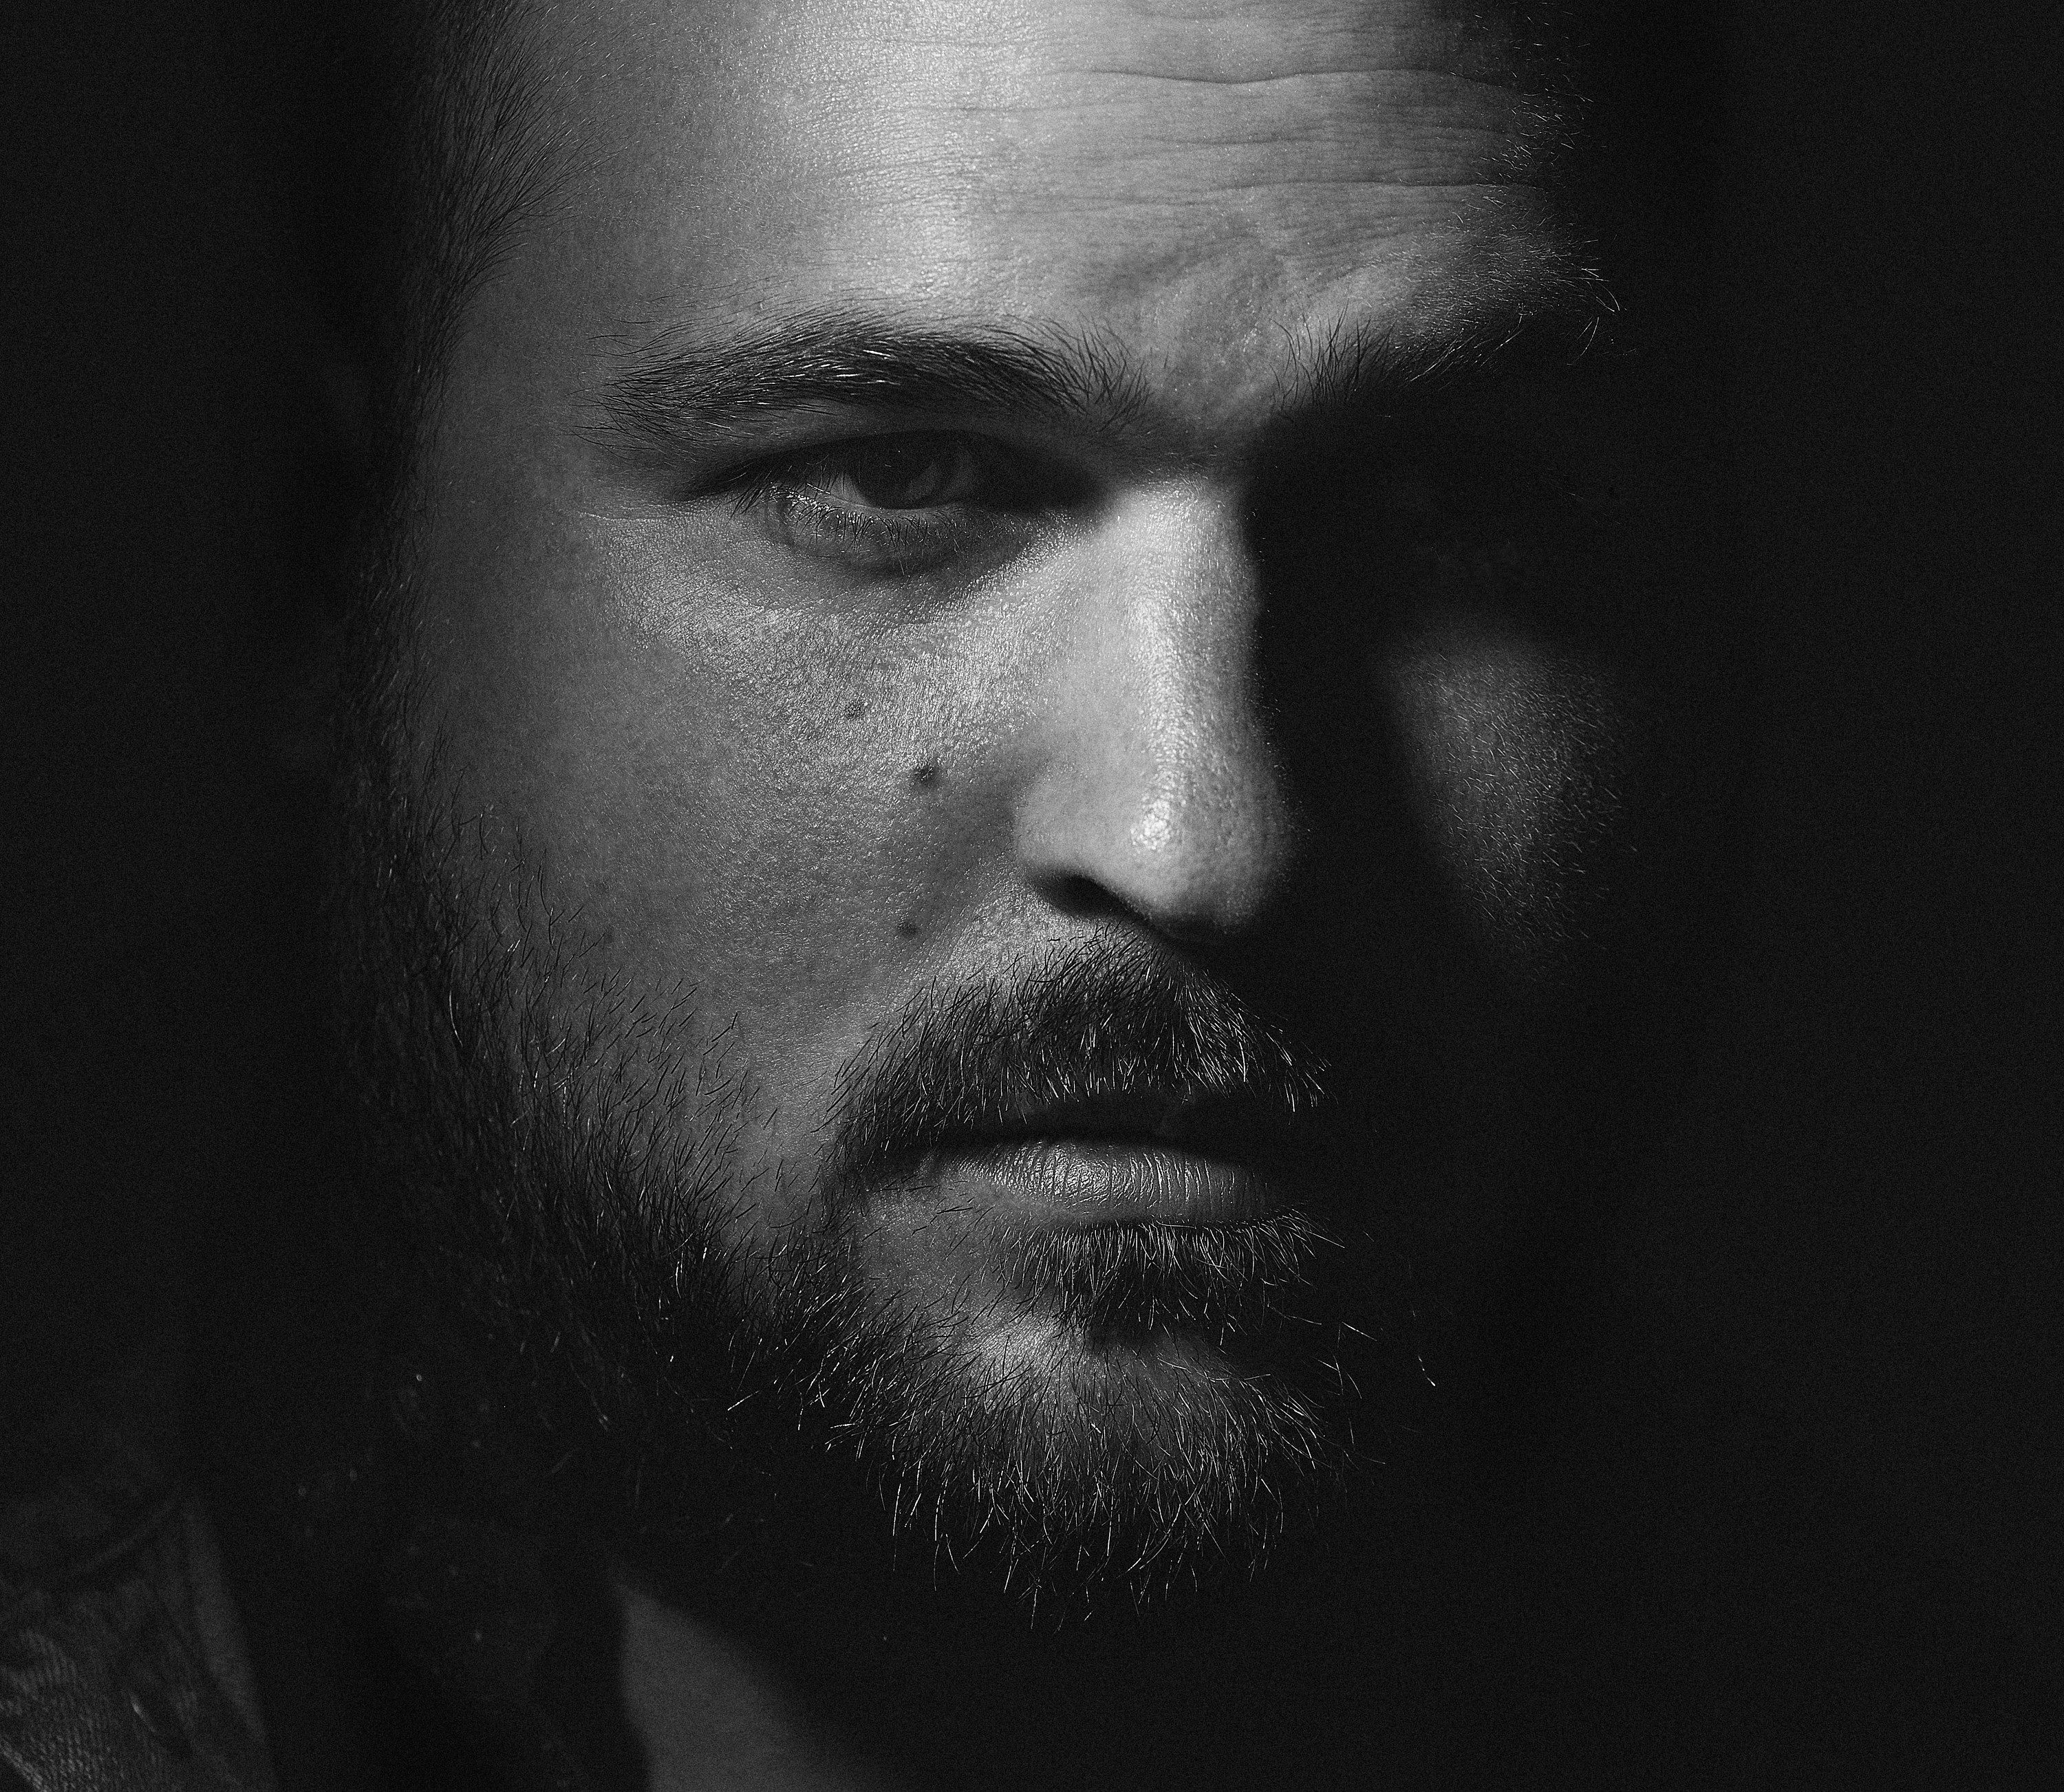
Flags are used in photography to either block the light in certain areas or to create negative fill. In the following shot of my buddy @RebelMartel, we played around with 2 flags to create a dramatic black and white portrait.
Here you can see the shot straight out of camera and also compare to the edited shot in its final black and white form:
Before / After:
Getting good results with flags can be tricky at first, so here are 6 tips that should make it easier for you to make great use of flags in your photography:
1. To block the light, use the flag on the same side as the light
To let the light through only a narrow part of your subject, place the flag between the light source and your subject. See the next tip for some pointers on the correct placement of your flag between the light and the subject.
3. Distance between the light and the flag / the flag and the model
If you’re using a flag and not getting the results you’re looking for, it most likely will be an issue with the placement of the flag in relation to your subject.
For shadows that are really defined, place the flag closer to your subject. The closer the flag, the more defined the shadow will be. Plus, using a hard light source will also help in creating a defined shadow.
For the opposite, where the shadow is soft, place the flag further from the subject and closer to the light, and use a larger light source.
2. For negative fill, use the flag on the opposite side
Negative fill is the opposite of a reflector, it blocks light from otherwise nearby reflectors. If you’re shooting in a small studio for example, it’s common to have the walls act as reflectors and get some light spill that ruins the effect you’re trying to get. Just place a flag that’s large enough to cover the area where your subject is standing to block the light from reflecting onto your subject.
Below you’ll see that this is exactly what I did in for the shot in this post.
4. No flag? Just use a black opaque surface!
If you don’t have a flag available in your studio, you can make clever use of other black opaque surfaces to try and get the same results. Black is important because a white surface will instead reflect the light that’s bouncing around and ruin the effect.
Below you’ll see that I make use of a laptop pad as one of the flags in the shot, but you could also use an assistant who’s wearing a black t-shirt or a piece of black foam core. You can also use the black side of a v-flat, but used like that it becomes only useful as negative fill as it can’t be held in the air in a precise position.
If you only need a small flag very close to your subject, you could also use a piece of Cinefoil held next to your subject.
5. Get a C-Stand
Since the flags need to be in a very specific position to work as intended, you’ll need a way to have them stay in place. I can see 3 main options for that:
- Have the model hold the flag. This has many downsides: it gets tiring, it can distract the model from the posing, it can have in impact on the pose and you won’t be able to use a wide crop where the arm holding the flag is showing.
- Have an assistant hold the flag. Some downsides to that: the assistant has to be diligent and not change the position of the flag between shots. It gets tiring for the assistant and he/she can’t assist with anything else in the meantime.
- Use a C-Stand. C-Stands are perfect for the job because the grip head on them has a whole, especially for flags. You can place the flag exactly where you want it and have it stay in place and forget about it for the rest of the shoot.
6. Make micro-adjustments
The perfect position of the flag and of the model in relation to the flag might have to be very precise, especially if you’re using a flag to block the light and create effects with shadows. You’ll want to communicate with your model about the pose you’re looking for and tell him/her to make only micro-changes in-between shots. You’ll inevitably miss a lot of the shots from a position that’s not quite perfect, so you’ll want to shoot a lot.
Behind the Scenes Look 👀
If you’re curious about the shot I took, here’s an image that gives you a BTS look:

Here’s a breakdown of some of the tools used:
- The light is a Godox AD600Pro with an Impact Fresnel Spot.
- The large flag is this 24x36” one from Matthews.
- The small flag is some crafty use of a laptop pad. Thanks Joe for thinking of that! 😉
As you can see, my model is holding the flags himself and posing at the same time. This can get quite tricky and tiring, especially if it takes a while to arrive at a good shot. Ideally, you’d want to have some extra c-stands, which are perfect for holding flags in any position.
I’m shooting tethered directly into Capture One so both the model and I can review the shots as they come in and make adjustments if needed. I was also able to apply some quick edits so that the shots look more like the final black and white result that I intended. This really helps to see the shots as they are intended.
🌄 Image info:
- Camera: Nikon D800
- Focal length: 105mm
- Shutter speed: 1/250s
- Aperture: f/11
- ISO: 100