Creating a Vintage Effect Using a Film Stock Color Lookup in Photoshop
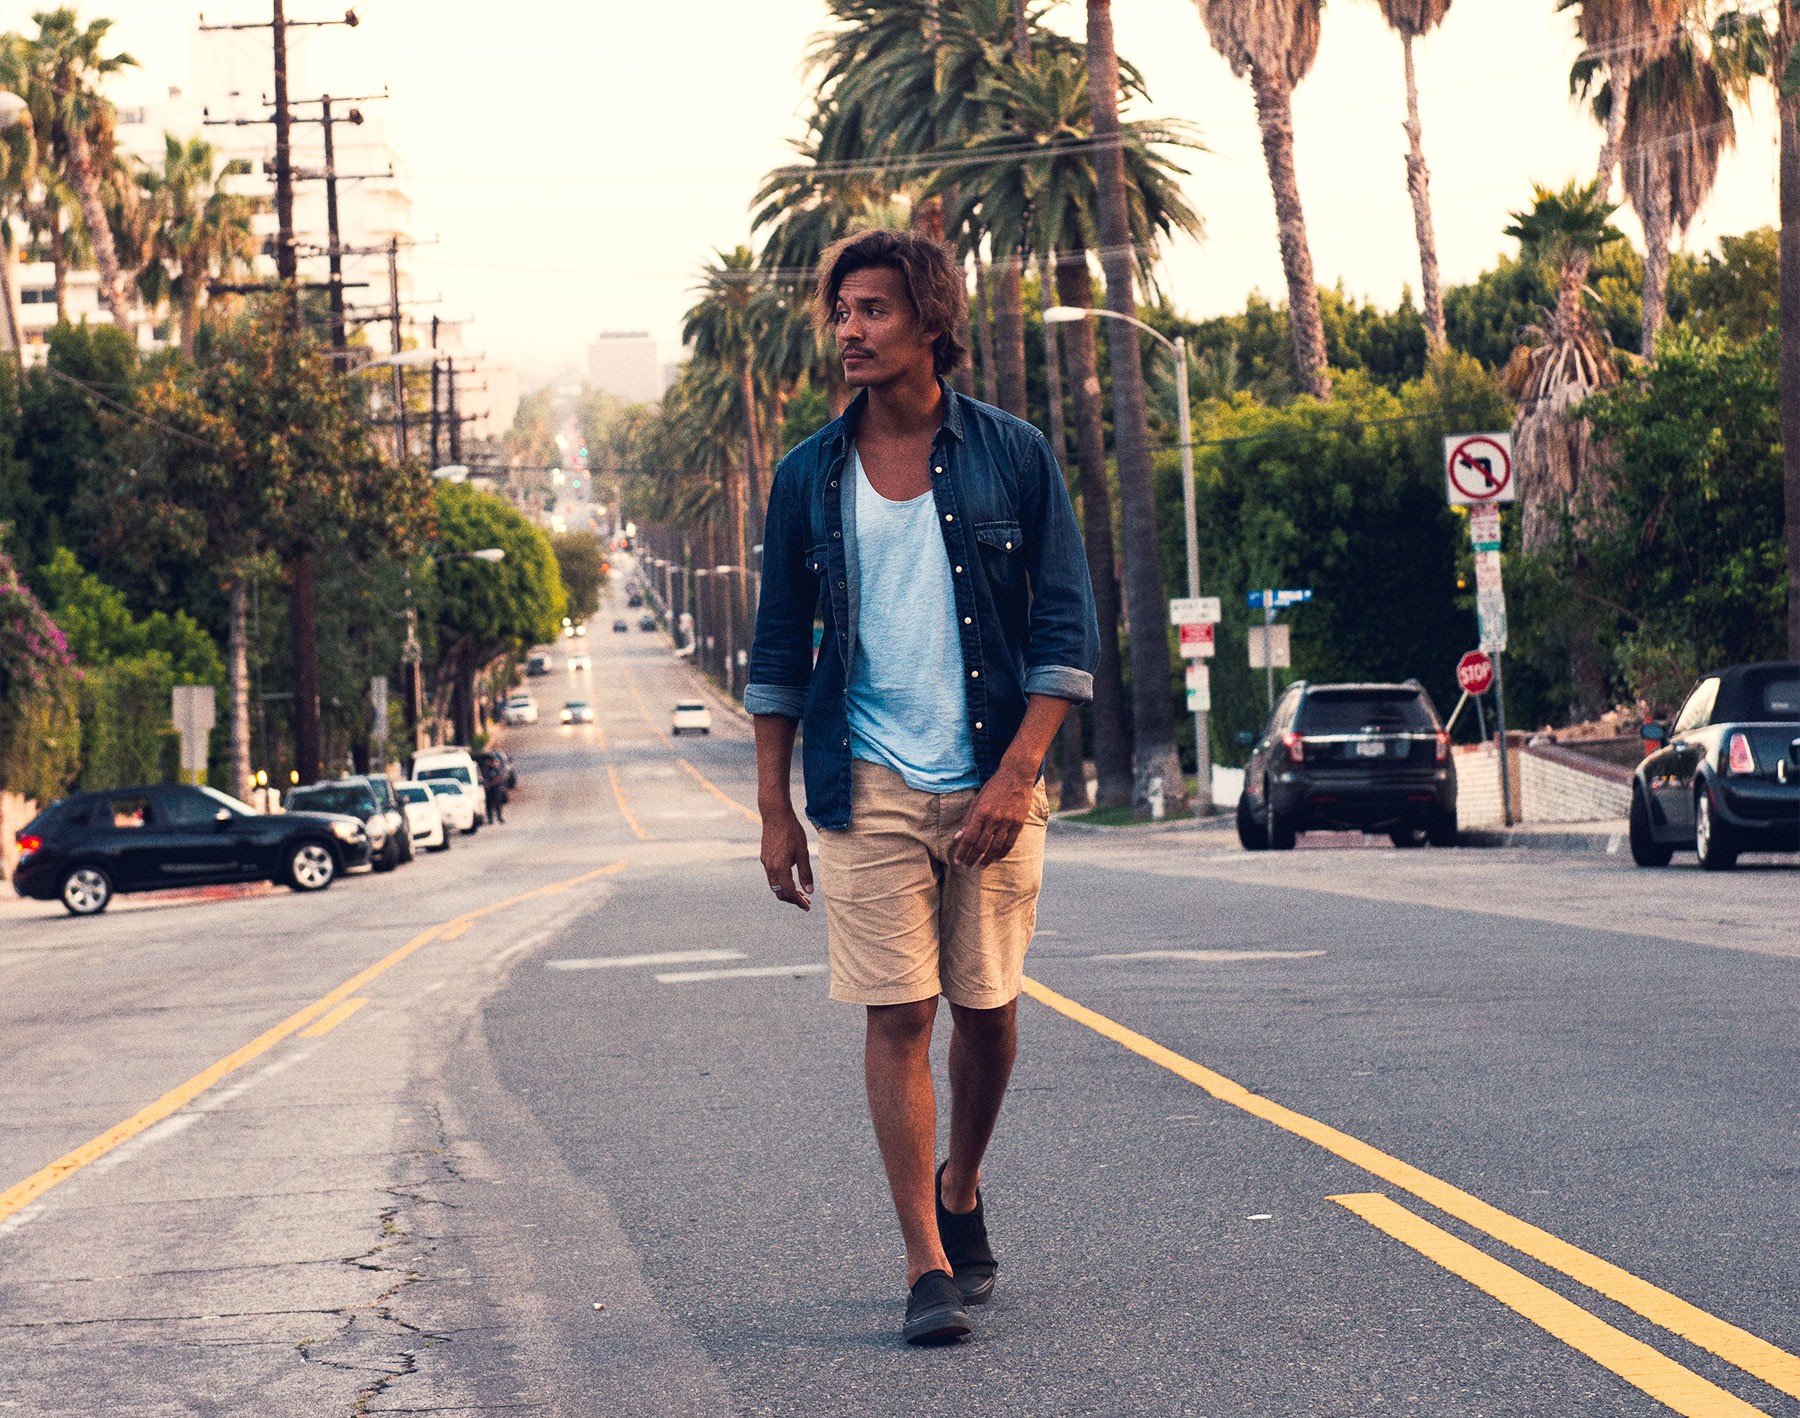
I took this shot of my good friend in Los Angeles when the sun was just about to set. The palm trees and beautiful long street work perfectly to give this image something really special. I decided to accentuate it just slightly with adjustments to give a vintage feel to the final image.
Before / After:
1- Color Lookup
Color lookup is and interesting adjustment layer, and it comes with an effect that’s perfect to add contrast: Film Stock. Film Stock not only pushes contrast, but also adds a slight bleach bypass, oversaturated effect:
- Create a Color Lookup adjustment layer.
- Set the 3DLUT file to FilmStock.
2- Levels
Next I wanted to add a slight blue tint in the shadows and give the image a slight faded look:
- Create a Levels adjustment layer.
- Increase the black output level slightly. In this case I set it to 10.
- Still in the Levels adjustment layer, but this time in the Blue channel, increase the black output slightly as well. In this case I set it to 10 also.
- Also bring down the white output level just a touch to increase the yellows in the highlights. I set mine to 250 from a default value of 255.
3- Some Extra Noise
Finally, let’s add some noise:
- Create a new layer Shift+Cmd+N Shift+Ctrl+N and in the new layer dialog box select Overlay as the Mode and then check the Fill with Overlay neutral color.
- Now go to Filter > Noise > Add Noise.
- In the noise dialog box, I selected an amount of 11%, a distribution of Gaussian and I checked the Monochromatic option. The amount of noise you decide to add here really depends on your preferences and the size of your image to start with, so your eye will be the best judge.
Done! The photo was already great to start with, so not much was needed to arrive at the final result.
🌄 Image info:
- Camera: Nikon D800
- Focal length: 70mm
- Shutter speed: 1/125s
- Aperture: f/6.3
- ISO: 1600