A Look at the Texture Slider in Lightroom and Camera Raw
Good texture and detail are often what separates good photographs from great ones, and Lightroom now has a texture slider to help us with just that. The new slider is available in all 3 RAW editors from Adobe: Lightroom Classic, Lightroom and Camera Raw.
The texture slider can be used for either increasing contrast in the details, thus increasing texture, or decreasing contrast in the details, which effectively decreases texture. Decreasing texture becomes especially great to soften-up skin details.
Let’s have a look at how it works and the results that can be achieved with it.
Accessing the Texture Slider
You’ll find the texture slider in Lightroom under Presence in the Basic panel:

And in Camera Raw it’s found on the Basic tab:

Texture vs Clarity vs Sharpening
In that same Presence Panel where you’ll find the texture slider are also the trusty Clarity slider that has been part of Lightroom for a long time. And then there’s also sharpening that can have a similar effect to texture. Here’s, therefore, a breakdown of the 3 features, so you know what’s the difference between them:
- Sharpening: Sharpening impacts the high-frequency range in your images. That means that the contrast in very fine details is enhanced. This works very well to give the illusion of sharper images, but can also increase the noise in an image if the starting image was noisy to start with.
- Texture: Texture has an effect on the medium frequency ranges of images. This effectively helps increase or decrease contrast in the frequencies that register as texture to our eyes. Most of the time that also means that texture will leave noise alone and increasing texture won’t increase the noise in an image.
- Clarity: Clarity has a much more intense, punchy effect. It’s good for broader adjustments to a wider range of frequencies in an image. It also has a greater effect on luminance and saturation. When applied with excess, Clarity can rapidly make an image look overdone and unnatural.
Many times, just the right combination of sharpening, texture and clarity will really make your photos pop. This is more an art than a science, so you’ll have to experience with combining the adjustments on your own images to get a better feel for their synergistic effect.
Global and Local Adjustments
Texture can be applied globally to a whole image, or it can be used as a local adjustment. Like most adjustments, it’ll probably be very easy to overuse texture and get a final image that’s overly detailed or overly soft. That’s why it can often be a good idea to use texture as a local adjustment instead of a global one. Or, a global adjustment can be combined with a local one. The sky is the limit!
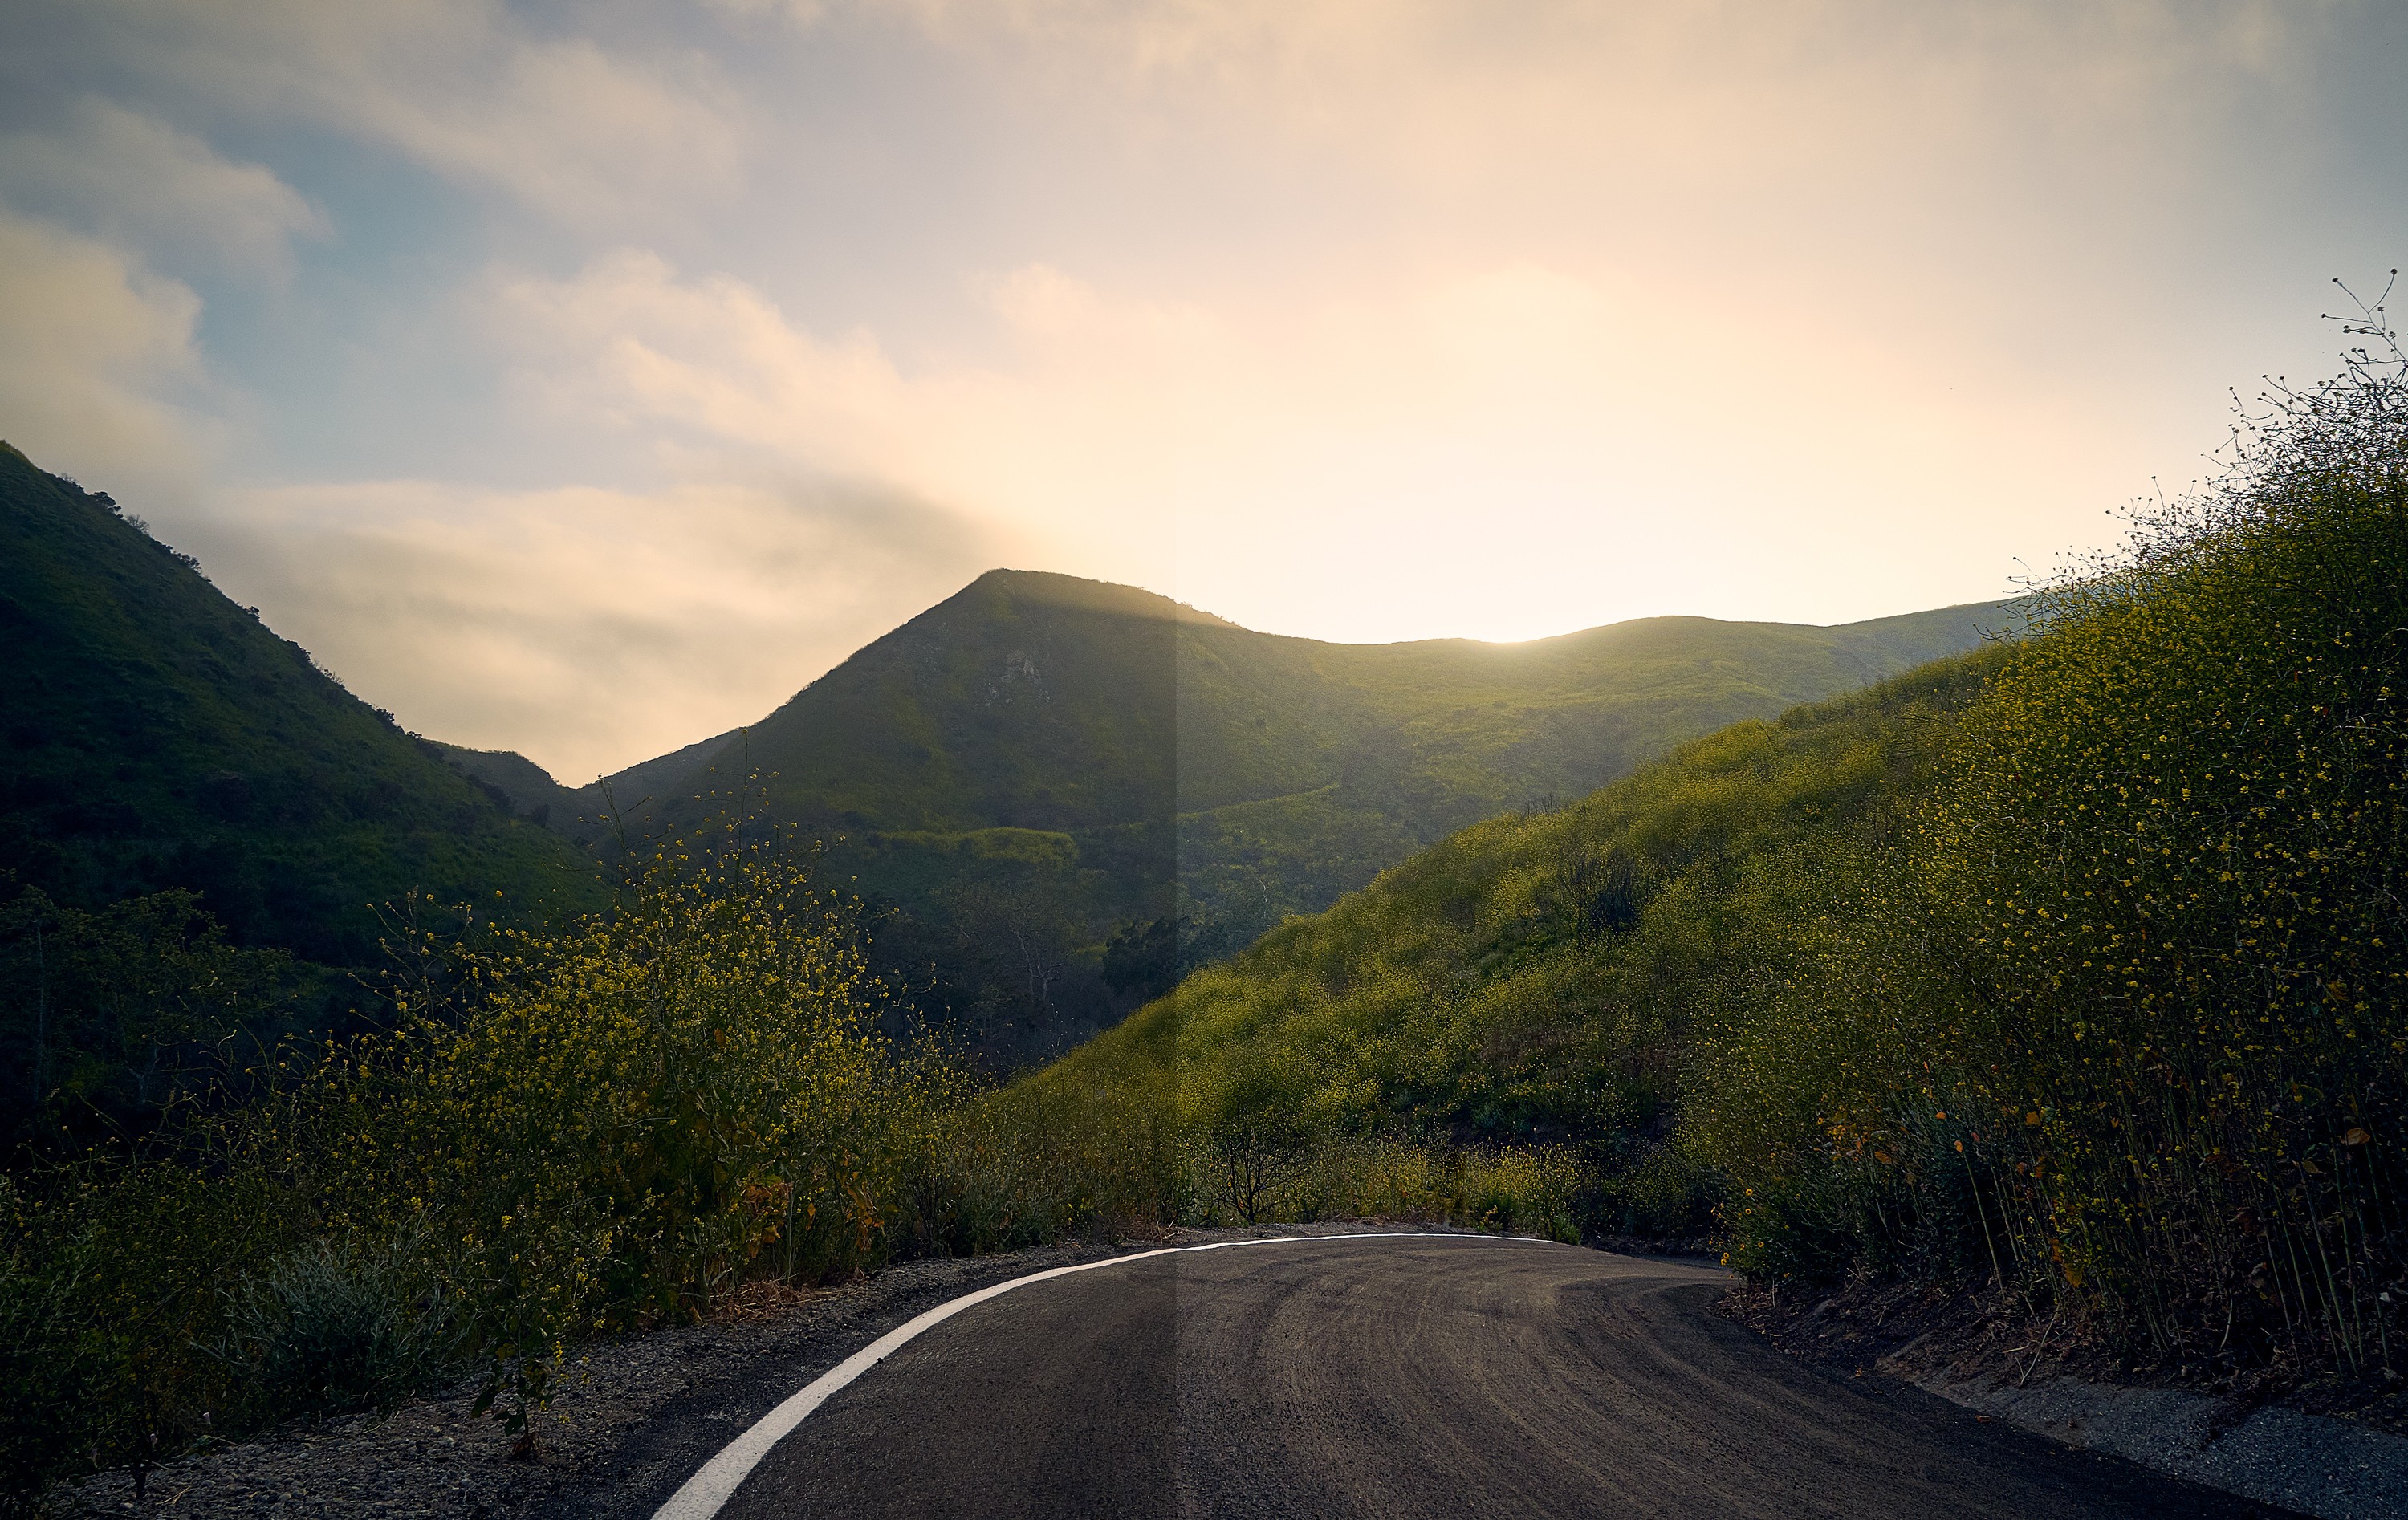
Increasing Texture (Landscape)
Here’s an example of using the texture slider as a local adjustment on a landscape photograph:


I applied as a local adjustment here so that the sky and clouds are left alone. Here you can see my mask for the local adjustment:

And here’s what it looks like in Camera Raw with the slight Exposure increase and a Texture increase of +60:

Decreasing Texture (Skin)
Skin retouching using a technique such as frequency separation is all great, but it can be really labor and time intensive, and time is probably the most valuable resource in life! ⏲️
The texture slider can therefore come-in handy at helping save time with skin softening, while at the same time avoiding the plasticky look that using negative Clarity can create. That’s done using negative values on the texture slider.
It won’t do as good/detailed a job as manual frequency separation would do, but often it’ll do a great first pass at softening the skin while leaving the important skin details alone.
And again here, adding some negative texture as a local adjustment on the skin only will be what will make the most sense for the majority of portraits. Many portraits will actually benefit from some negative texture on the skin and some positive texture on things like the clothing and the jewelry.
Here’s an example where I do a first pass at softening the skin of my model, Shannon Baker, in a breeze by adding negative texture as a local adjustment in Camera Raw:


In this image I applied 3 local adjustments:
- A Texture of -80 on the face
- A Texture of -30 on the rest of the skin
- A Texture of +70 on the clothing
And you can really notice the difference in this closer crop:


As you can see, I was able to do a really good job at softening the skin with a very minimal amount of effort! Now, if I wanted to, I could go in and refine the skin even more with some minor frequency separation work on top of that.
Not Editing Your RAW Photos Using Lightroom?
If you use a RAW editing tool like Capture One instead of Lightroom or Lightroom Classic, you can still benefit from the texture slider, thanks to Camera Raw, which is accessible directly from Photoshop.
- Just do your normal RAW edits and then bring your image to edit in Photoshop.
- In Photoshop, convert the background layer to a Smart Object by right-clicking on the layer and selecting Filter > Camera Raw Filter…. Now you can use the Texture Slider as you normally would! 👍
- Plus, since we made the background layer a Smart Object, you’ll always be able to go back and modify the amount of texture at any point in the editing process.
💅 With this, you can now go on and make those details pop!